
Continuing from the previous article, I will be introducing the enhanced email functionality that is a new feature of D365BC’s 2020ReleaseWave2. It’s time to edit and send emails.
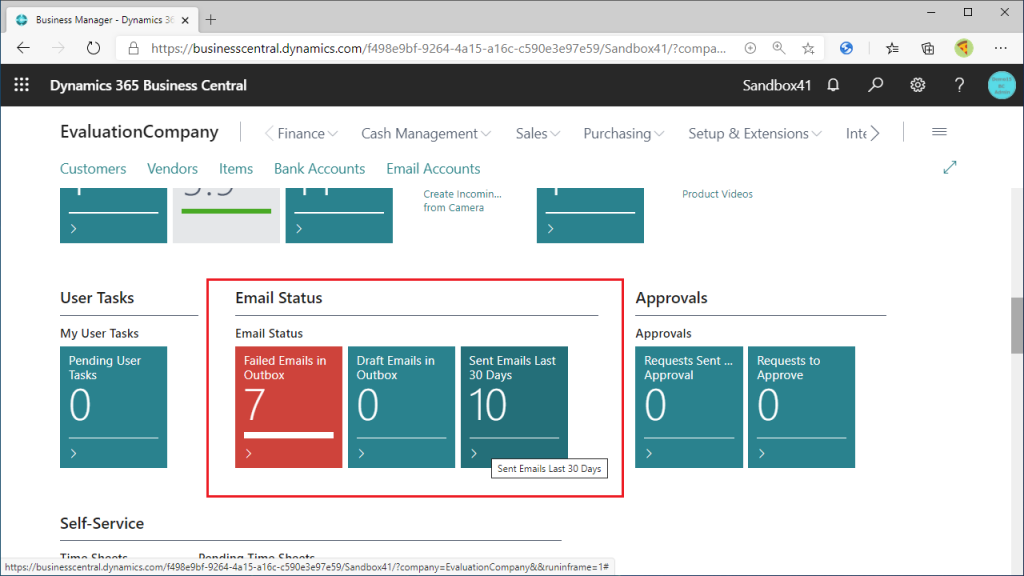
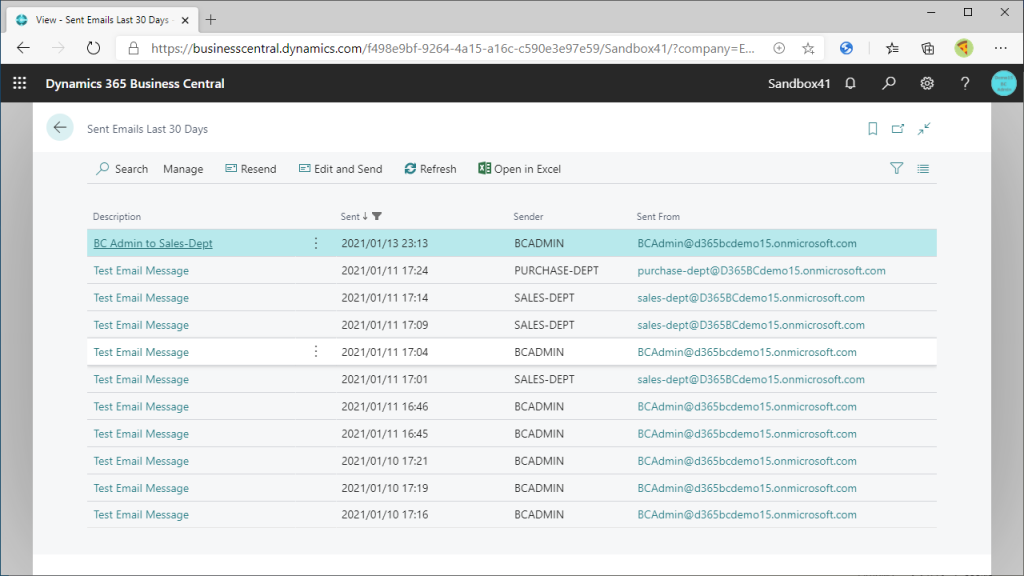
Before editing and sending an email, let’s take a look at your mailbox. Scroll down to the middle of the Business Manager’s Role Center and you will see a section named Email Status. Let’s click on the “Sent Emails Last 30Day” tile.
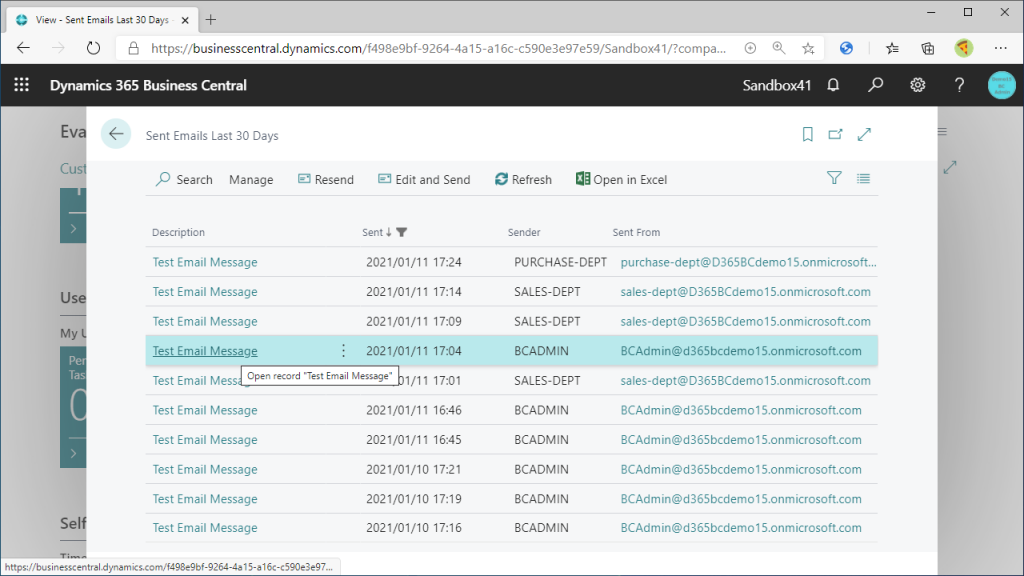
You will see a list of emails sent by this user, including the test email you sent when you configured your account. Let’s select one of the lines and click on the link.
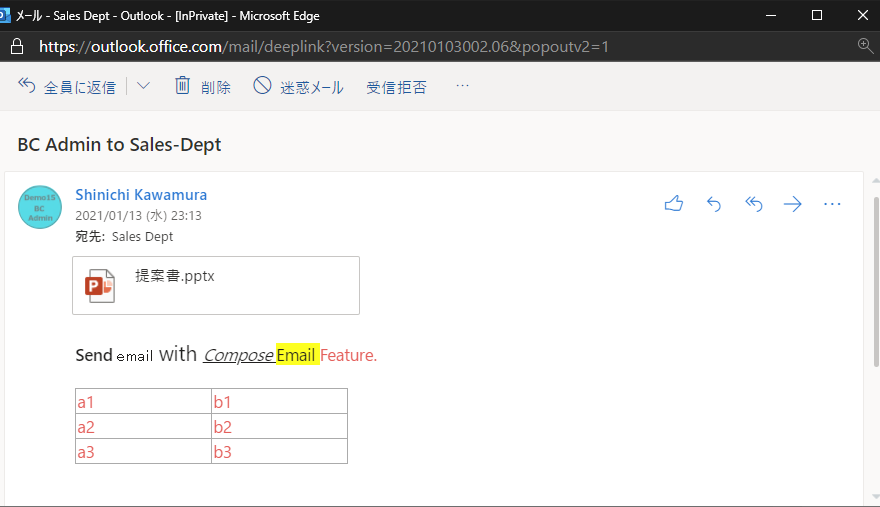
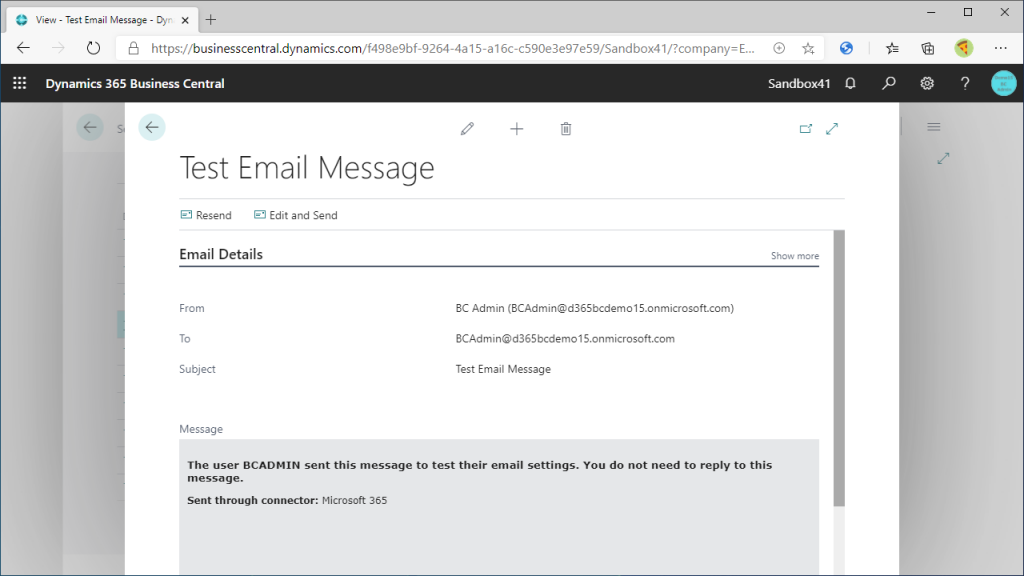
The mail will open. This is a test email sent from you to yourself.
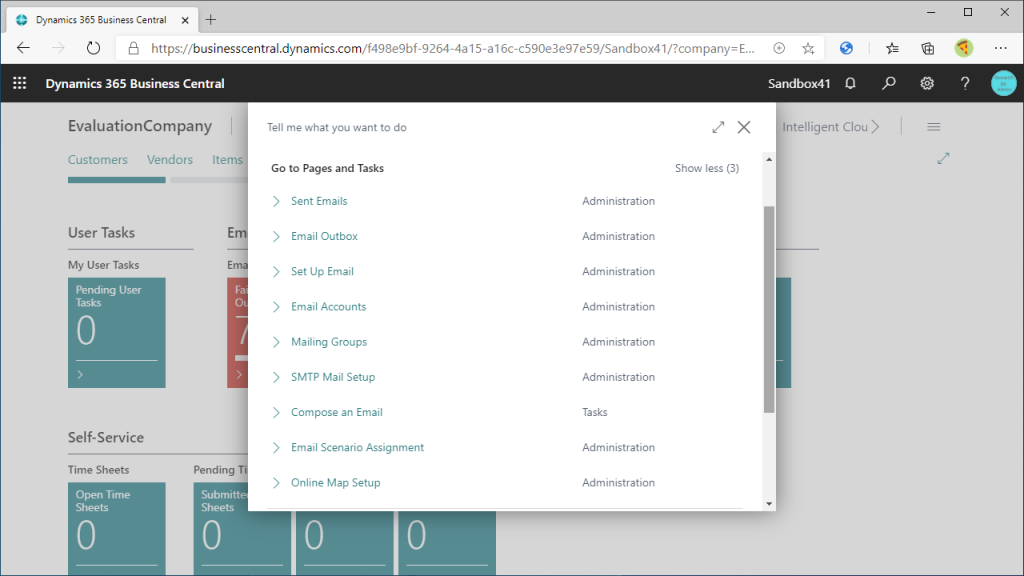
What I just saw is the Sent Box. Is there an Inbox? If you do a keyword search for ‘Mail’ using the tell me what icon, you will see that there is no Inbox.
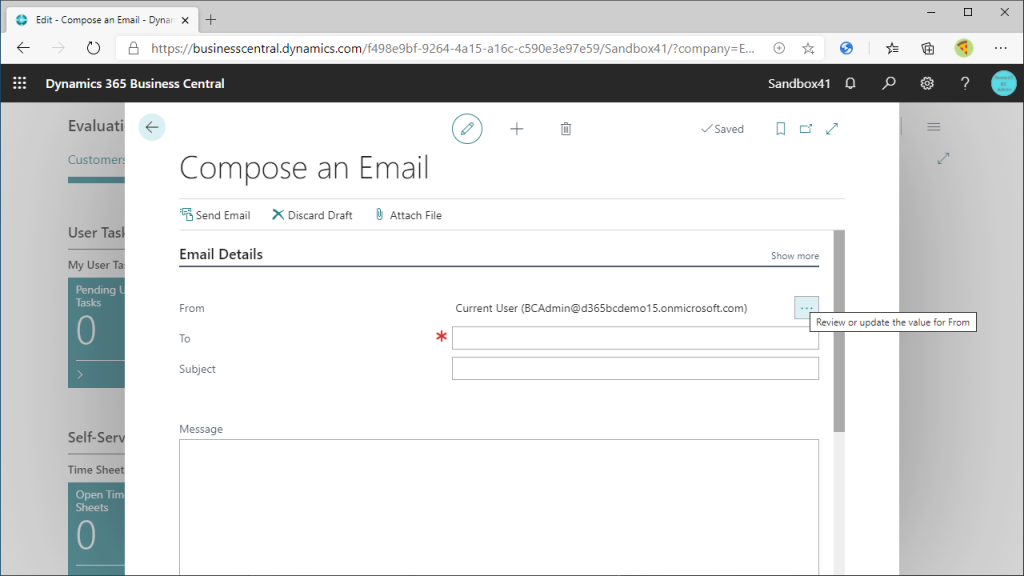
Now, let’s edit an email and send it. choose the ‘Compose an Email’ feature.

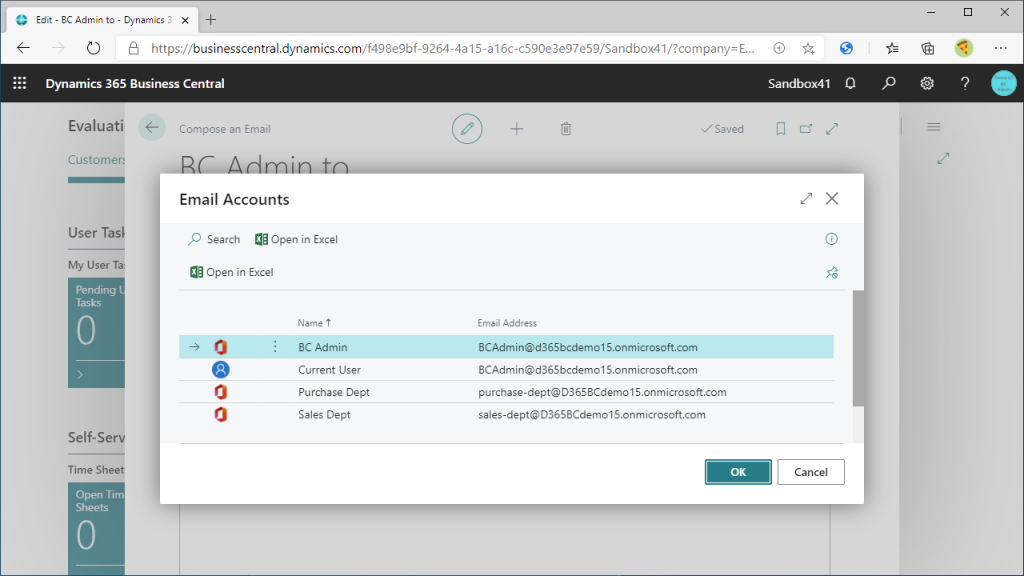
Compose an email screen will be open. Default account on “From” field is Current User, which can be changed. Click the “…” button then..
You will see a list of email account which I explained how to configure in the previous article. Select your own user of type M365 to try it out.
The sender user has been changed. Enter the “To” email address and Subject field.
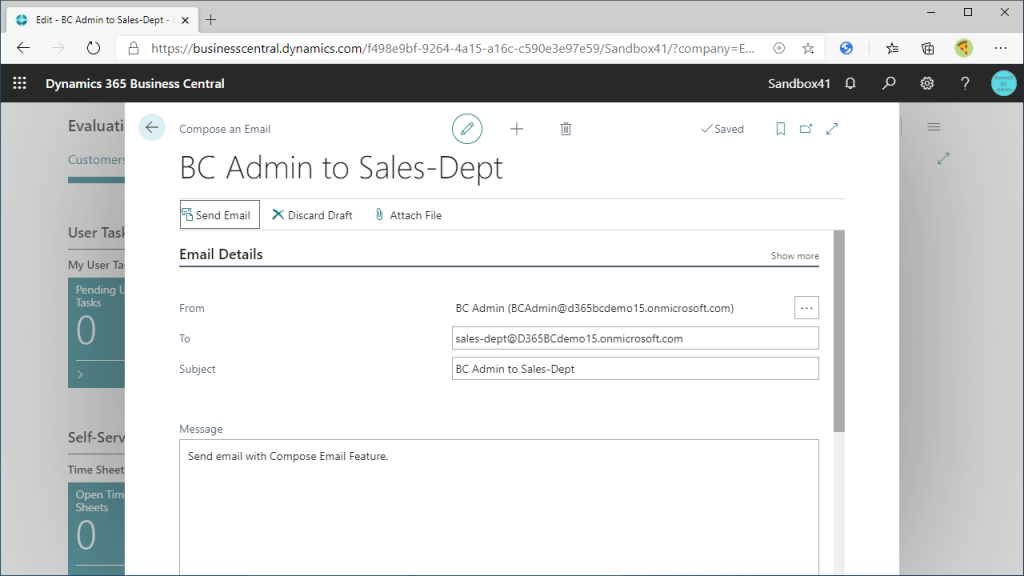
Enter the Message (e-mail body). With this enhancement, you can now edit the message in rich text. Bold, italic, font size, character font, font color, background color, tabular display… you can create a message with various kinds of decoration.
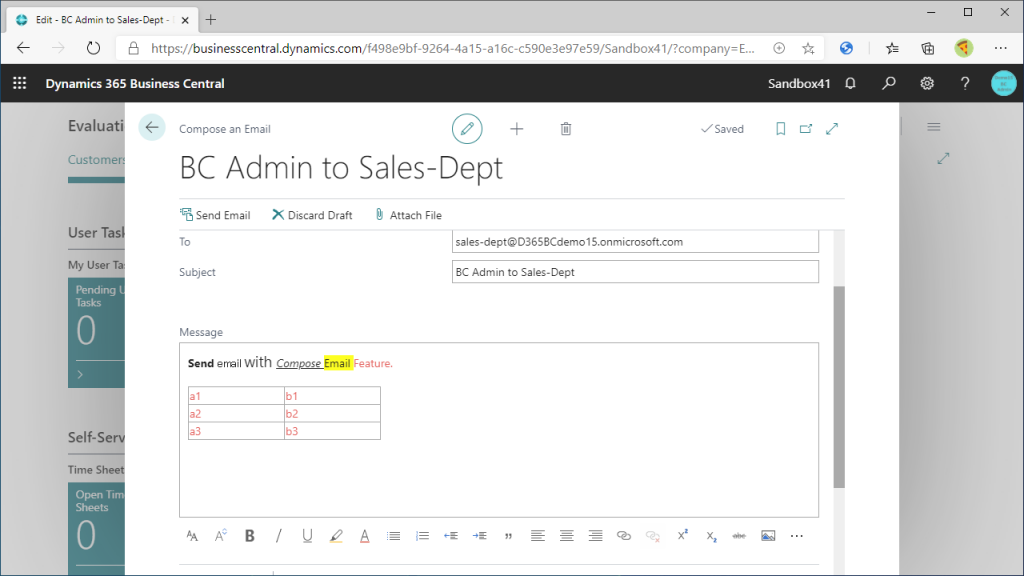
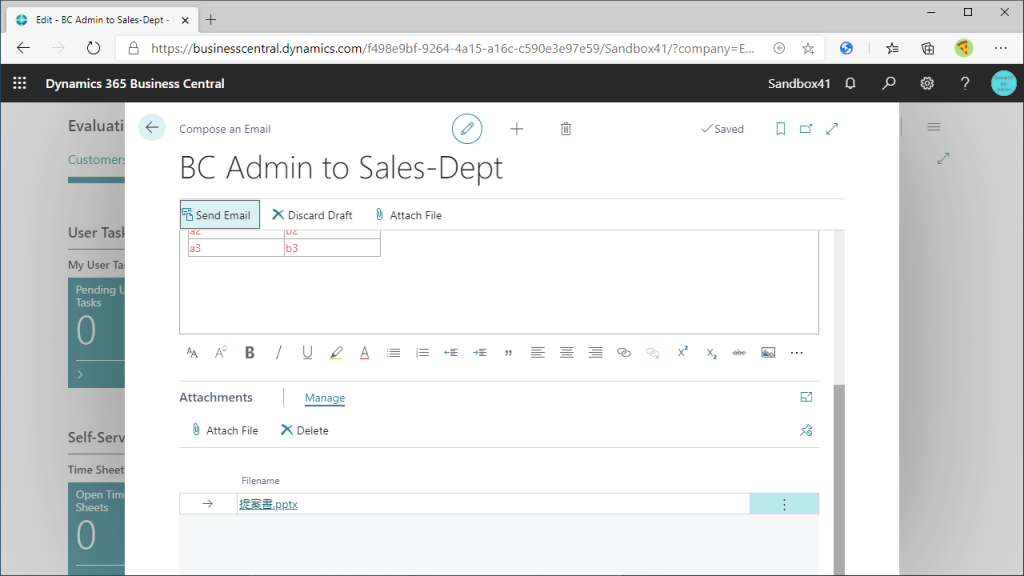
Scroll down to the bottom to attach a file. Click the Attach Files button under Manage, select a file, and attach it. Then click on Send Email button.
A line has been added to the Sent Box item list.
Check your email on outlook service. You will see that you have received an email with rich text and a file attachment.
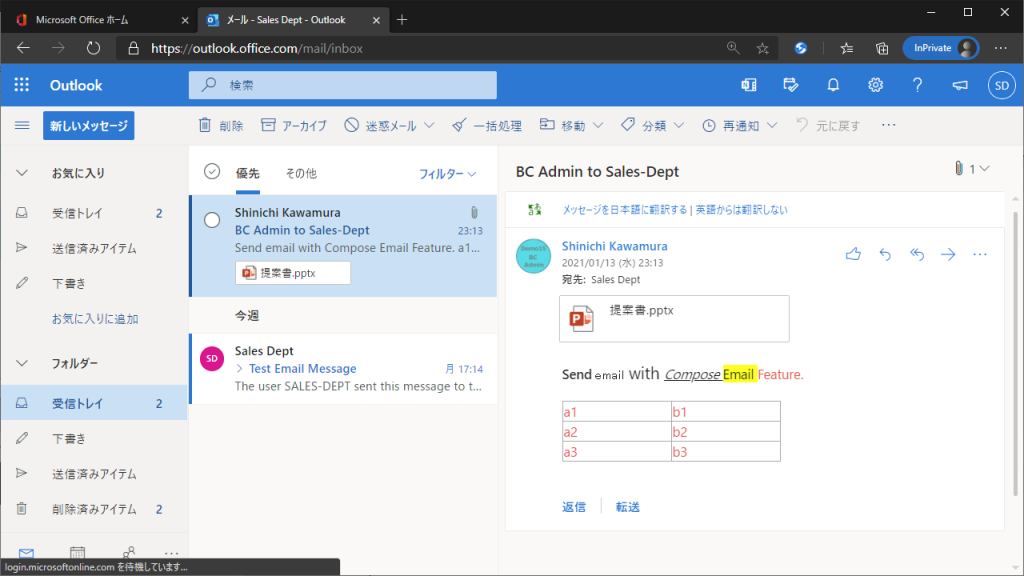
Now I can send emails with rich text and attachments, and I feel that its practicality has improved dramatically. Since the BC user ID and M365 user ID are integrated, when you send an email from BC, it will appear as a sent email in the Sent box on Outlook. Since you can manage your sending history, if you make it a rule to send sales quotations and purchase orders from BC, you won’t have to look around for the sent box in Outlook. I hope you will find it useful.
1件のコメント