This is a sub contents of How to Setup Workflow of D365BC
In the previous articles and in the two previous article, I created a flow for approving Sales Quote in BC using Power Automate. In this article, we will try to run the Power Automate flow by actually requesting the approval of this Sales Quote.
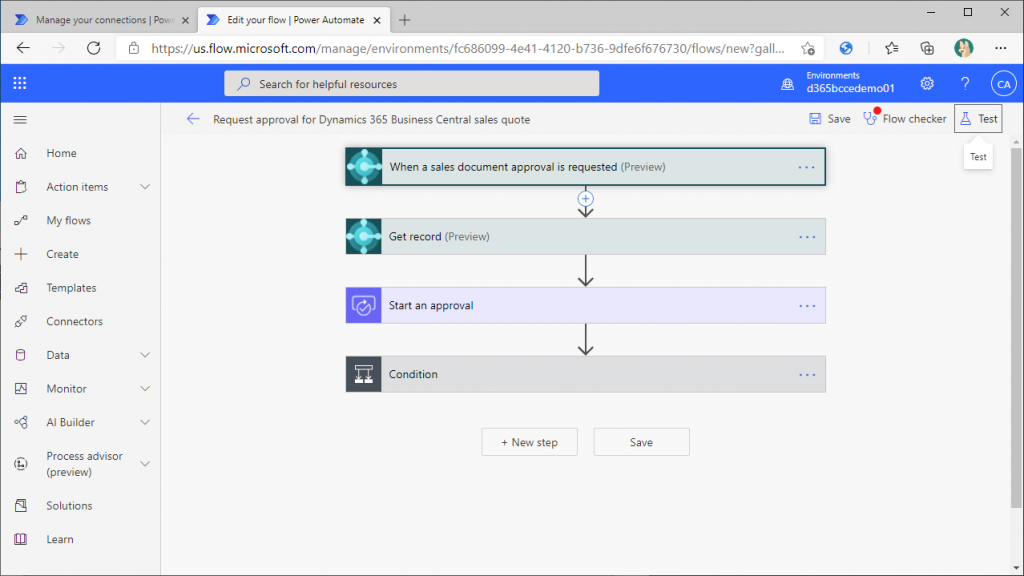
Open the flow that you created in Power Automate. Click “Test” in the upper right corner to run the flow in test mode.
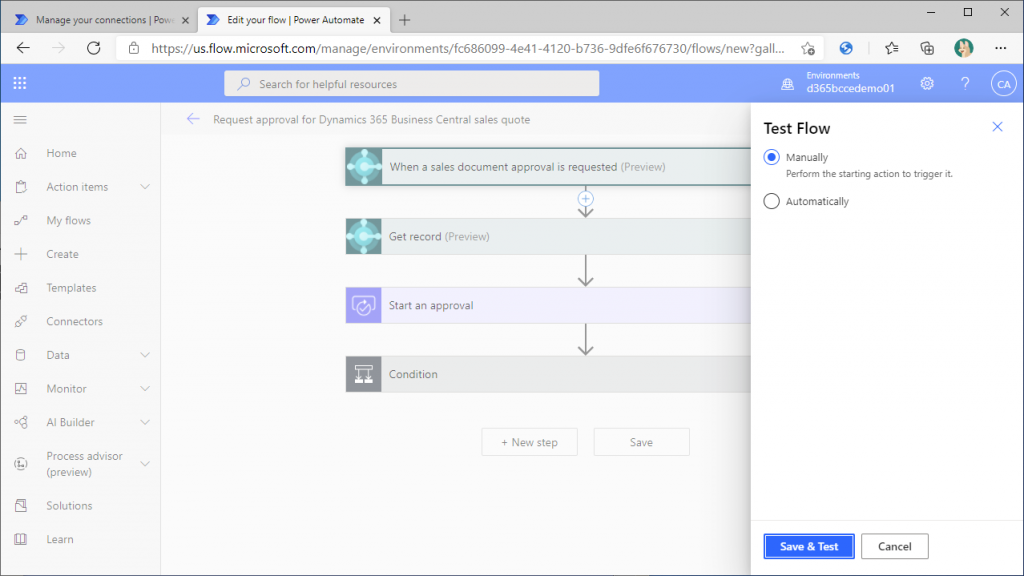
Set the radio button “Manually” to On and click “Save & Test”.
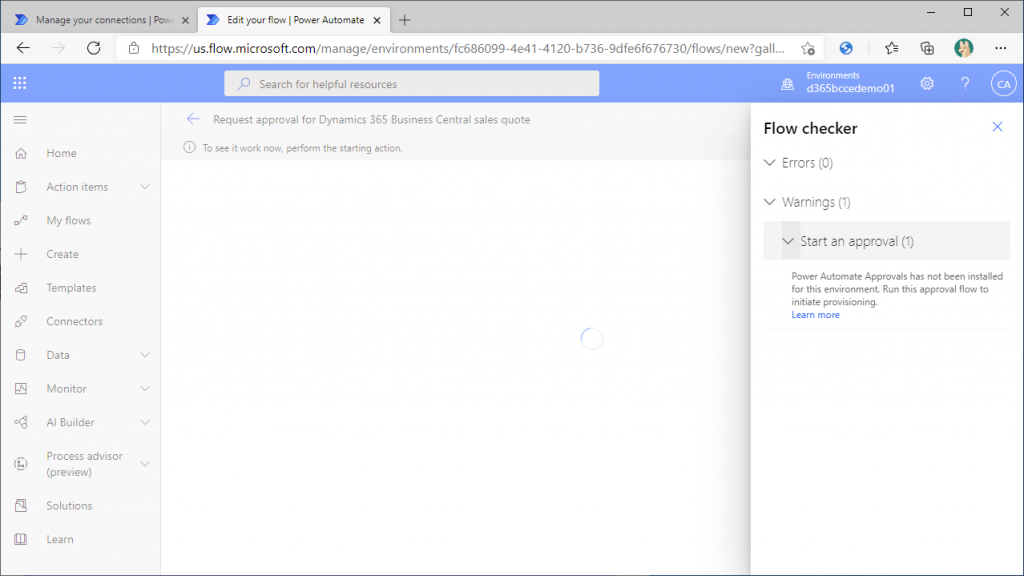
The flow is activated. To be a little more precise, it is in a state of waiting for a trigger.
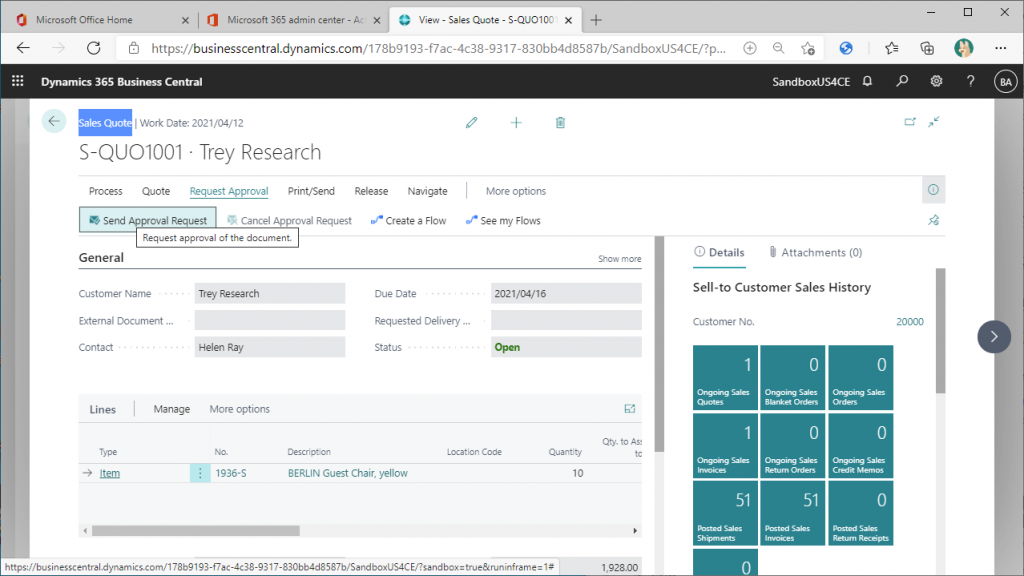
Open the BC Sales Quote card page, which can be any item that has been registered as sample data in Cronus and has a status of Open. Click “Send Approval Request” in the “Request Approval” tab.
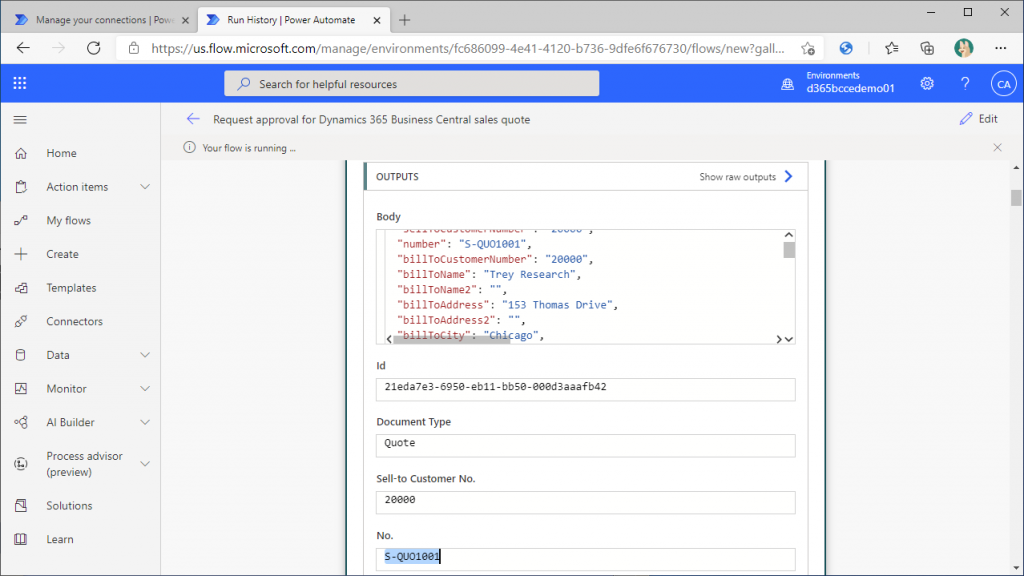
The status will change to “Pending Approval” and the “Send Approval Request” button will become inactive. This sales quote has been requested for approval.
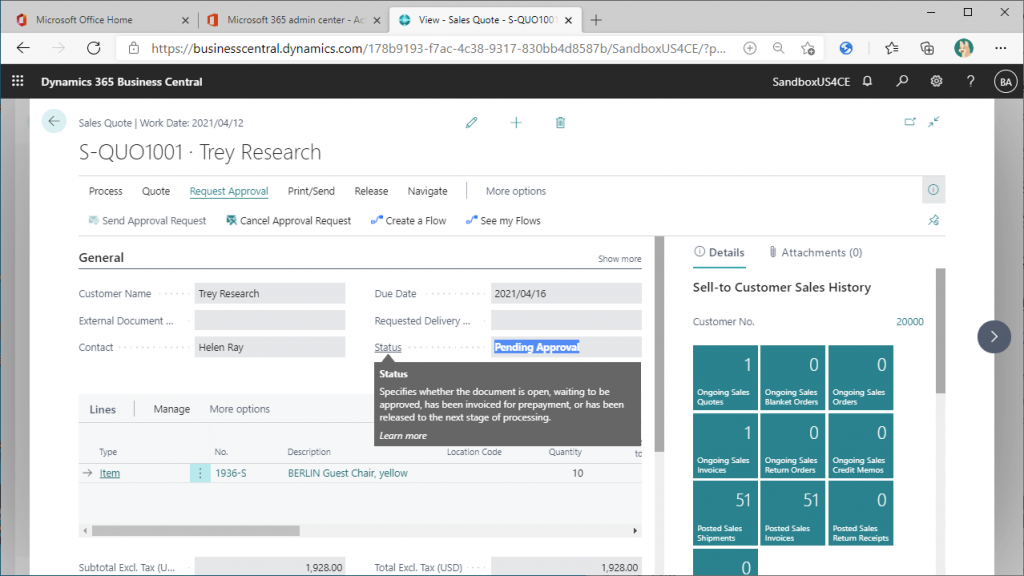
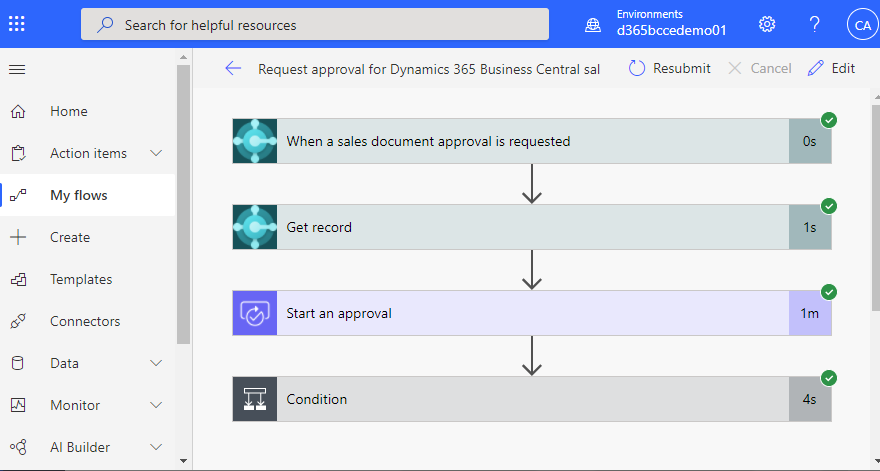
Back to the Power Automate flow, the two connectors on the BC are marked with a green check marks, indicating that these two steps are complete.
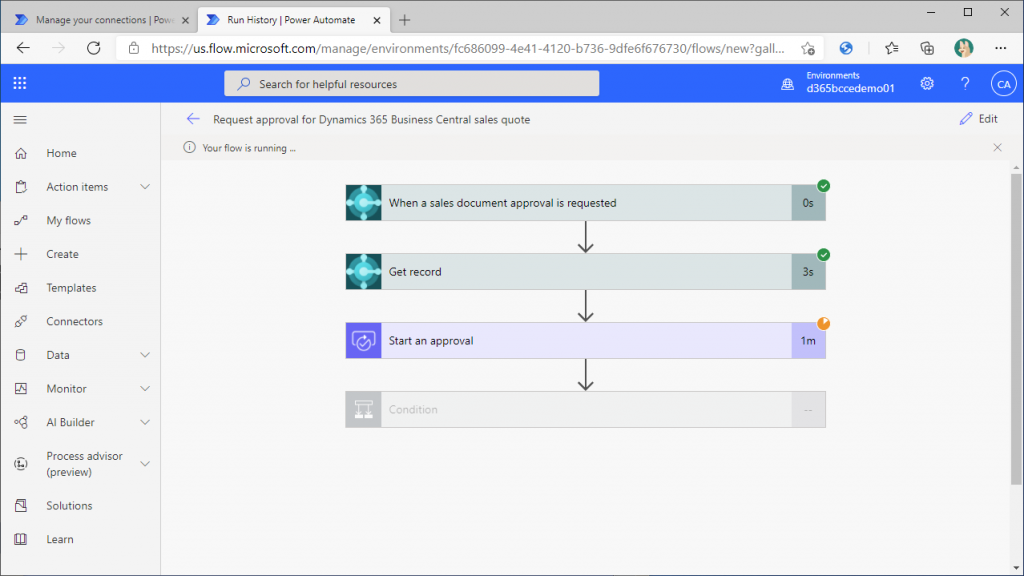
Click on the second connector in BC. Then the connector will expand.
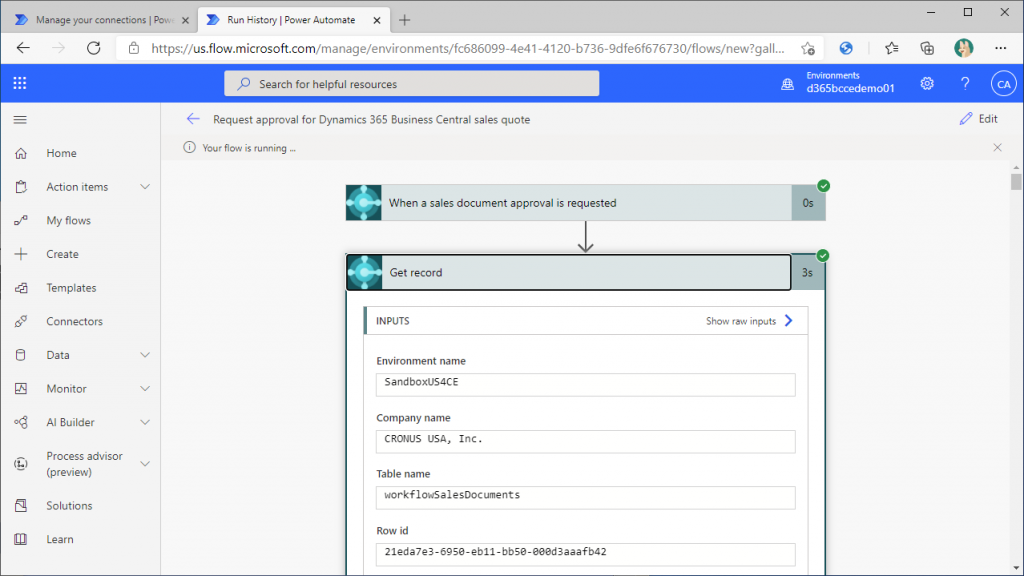
If you scroll down, you can see that the sales quotation you just requested approval for in BC is the target of this flow. So far, everything is working fine.
At this point, let’s check the Restricted Record on BC. One record has been created. You can see that it is the detail of the sales quote that you requested for approval.
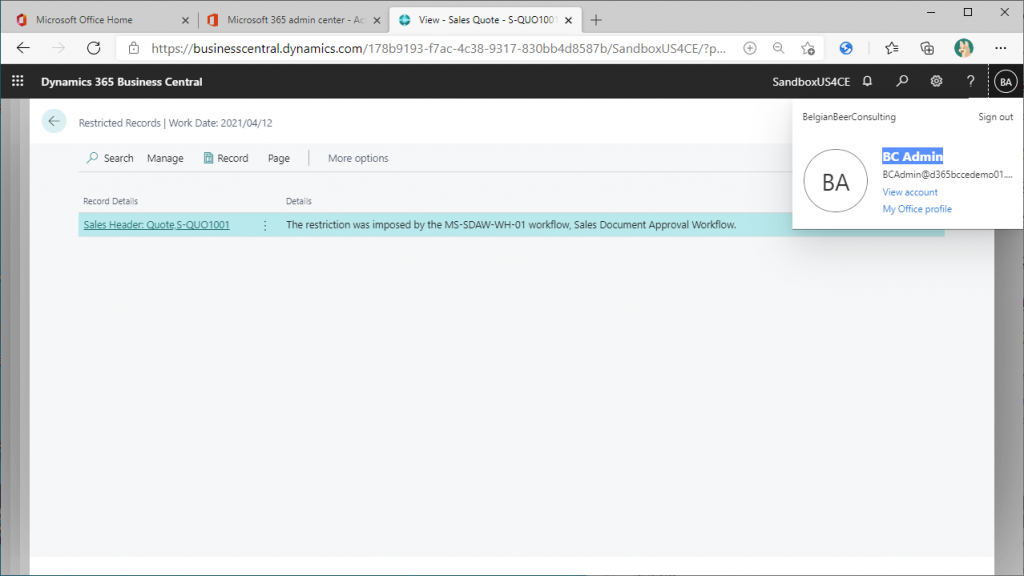
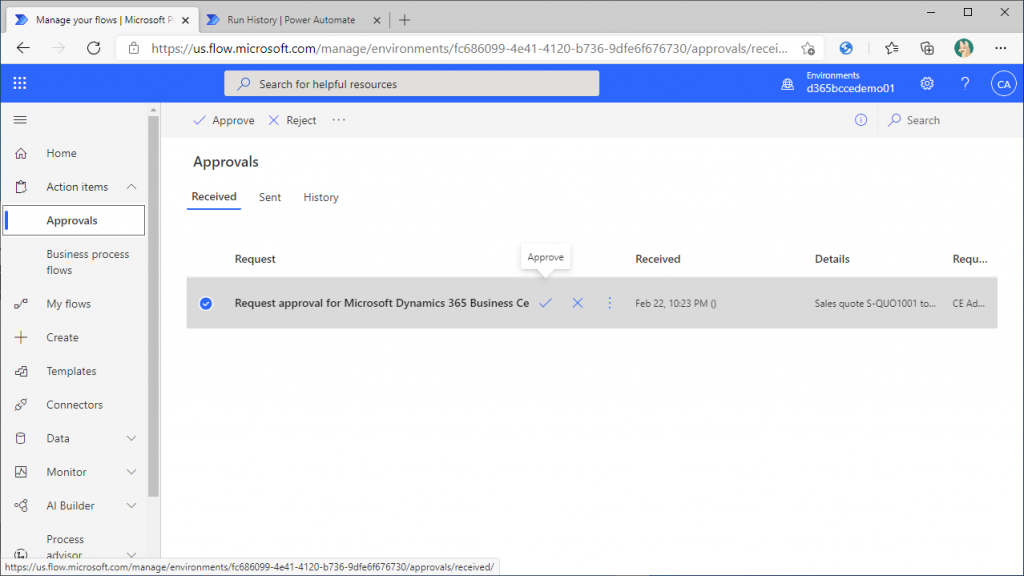
Go back to the Power Automate screen. Open “Approvals” under “Action Items” in left side menu on in a new browser tab. There is one approval request. This flow needs to be approved by Power Automate. You can approve it on this screen. Click on the check mark in the middle of this line to approve it.
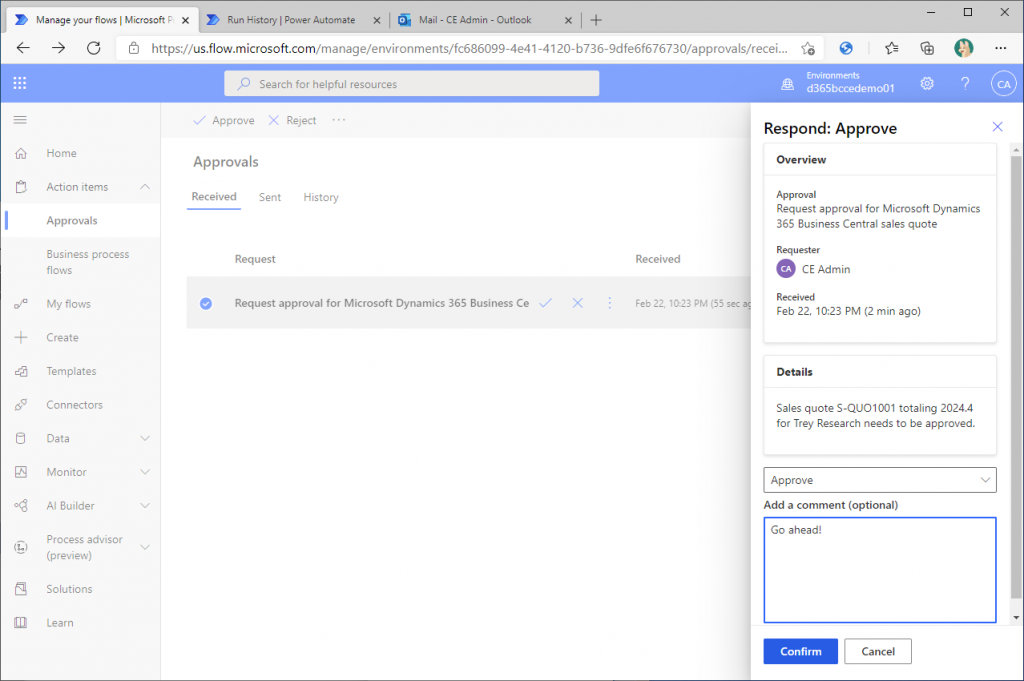
You can also enter a comment if you want. Enter your comments and click “Confirm”.
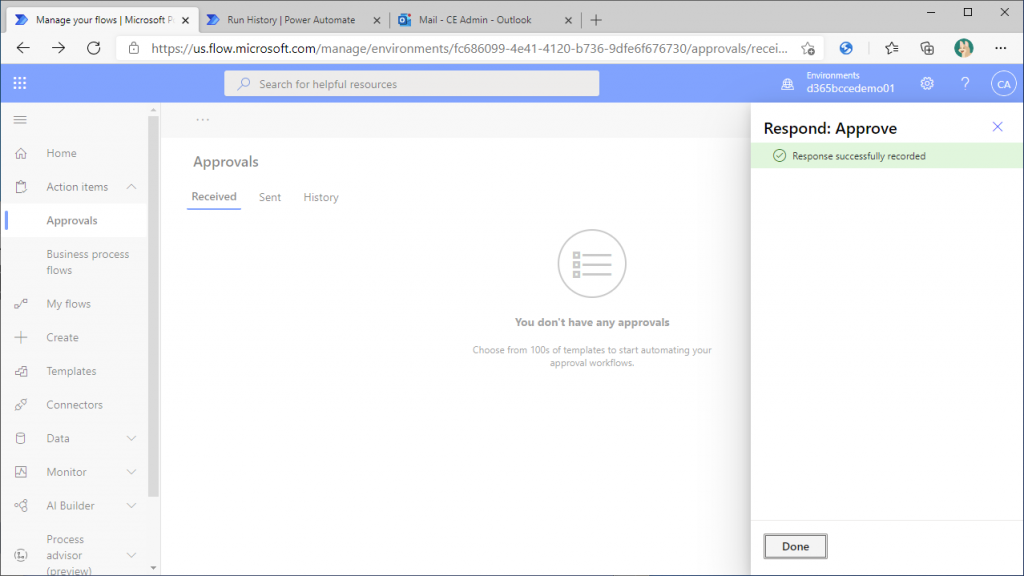
The approval is now complete. Click “Done”.
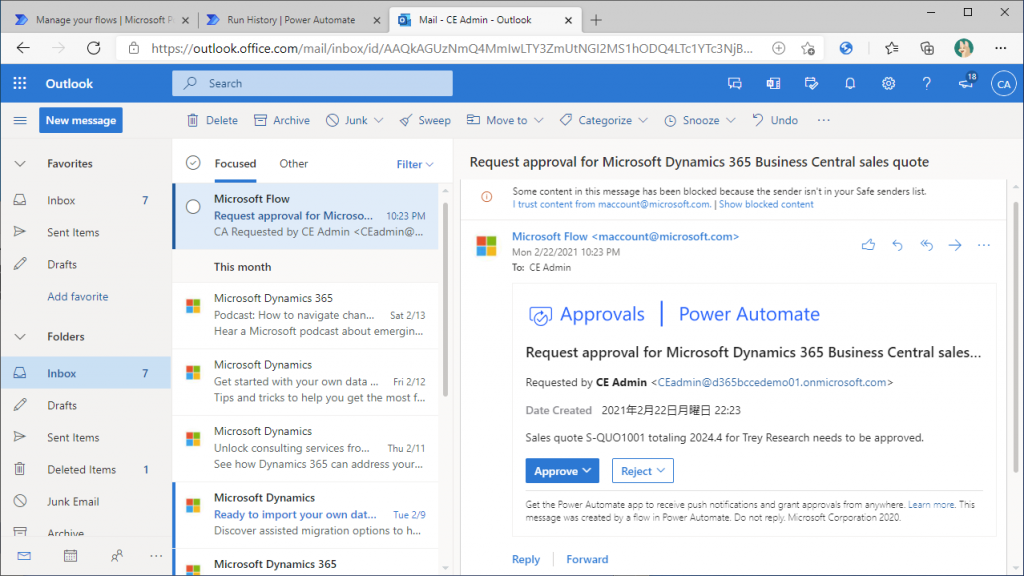
There are other ways to approve. For example, when you start Outlook, you can find an email requesting your approval, and you can approve it by clicking the “Approve” button in the email. This time, I’ve already approved it, so I’ll return without doing anything in Outlook.
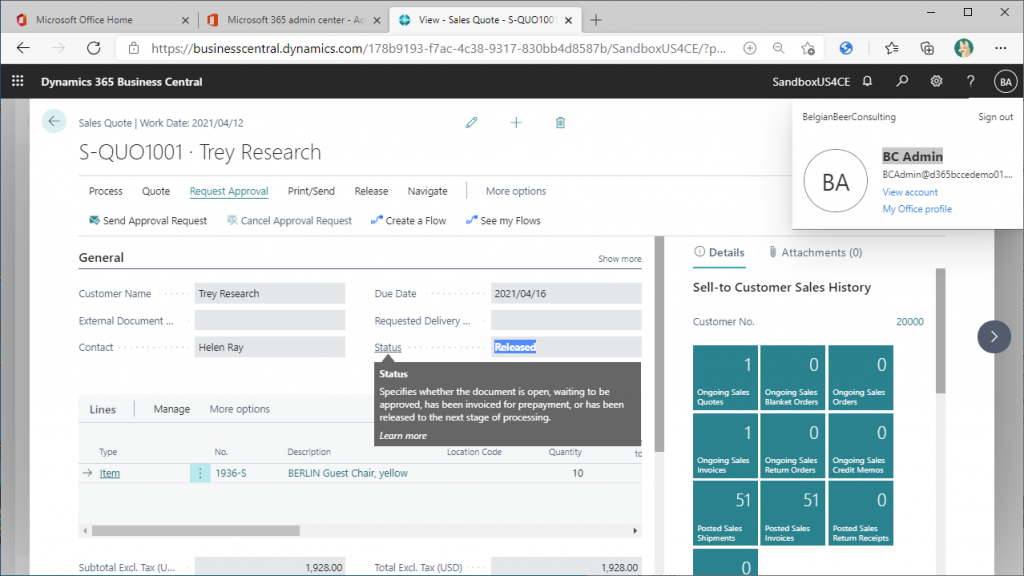
Return to the sales quote card page in BC. You can see that the status of the sales quote is ” Released”. In other words, by approving it with Power Automate, we were able to approve the sales quote in BC.
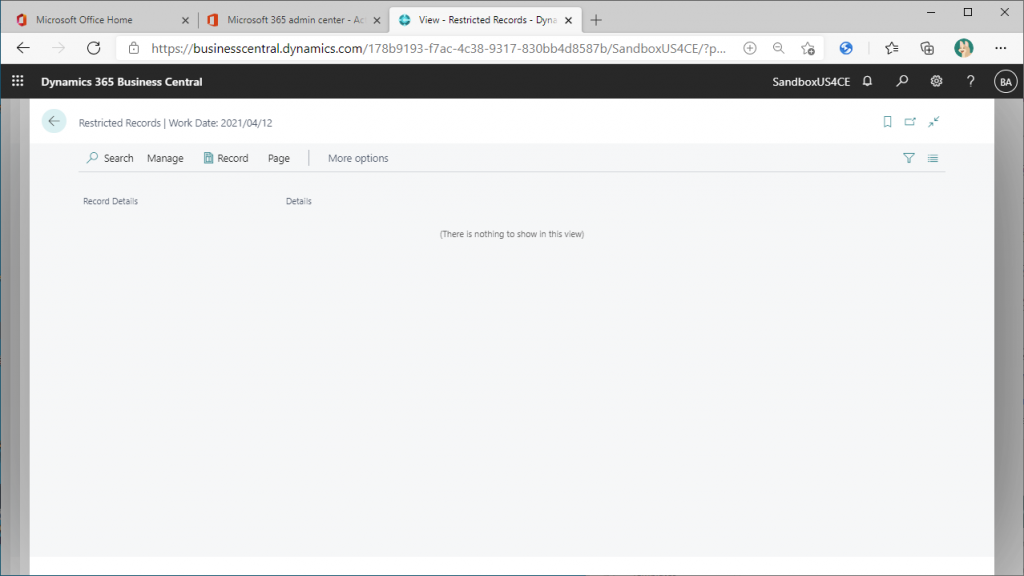
If you check the Restricted Record, you will see that the record created when you requested approval is no longer there.
I hope you now understand how easy it is to create an approval flow for BC sales quote using the Power Automate template.
This time, I have created the flow from the Power Automate side, but you can also create a Power Automate flow from the BC side. The my friend’s blog post is a good reference for how to do it.
Dynamics 365 Business Central: Microsoft Power Automate template (For example, Request approval for sales order) | Dynamics 365 Lab (yzhums.com)
In the next article, I will explain the flow created by Power Automate and Teams integration. This is also an explanation of the Demo trick.

1件のコメント