This is a sub contents of How to Setup Workflow of D365BC
In this article, I will explain the trick for Demo 1 (https://youtu.be/FmhwUCG3oNY).
Basically, the flow is based on the previous article (Using Power Automate template to approve BC sales quote.) However, if we leave the template as it is, the approval will have to be done in Power Automate or Outlook, so what settings should we add to make sure we NEVER LEAVE Microsoft Teams?
_________________________________________________________
Trick 1: Notify approval users in Teams of approval requests.
‾‾‾‾‾‾‾‾‾‾‾‾‾‾‾‾‾‾‾‾‾‾‾‾‾‾‾‾‾‾‾‾‾‾‾‾‾‾‾‾‾‾‾‾‾‾‾‾‾‾‾‾‾‾‾‾‾
First, run the workflow as described in the previous step, and then open Teams. You should see the following screenshot in your Activity. (The number of items you see should be a little less.)
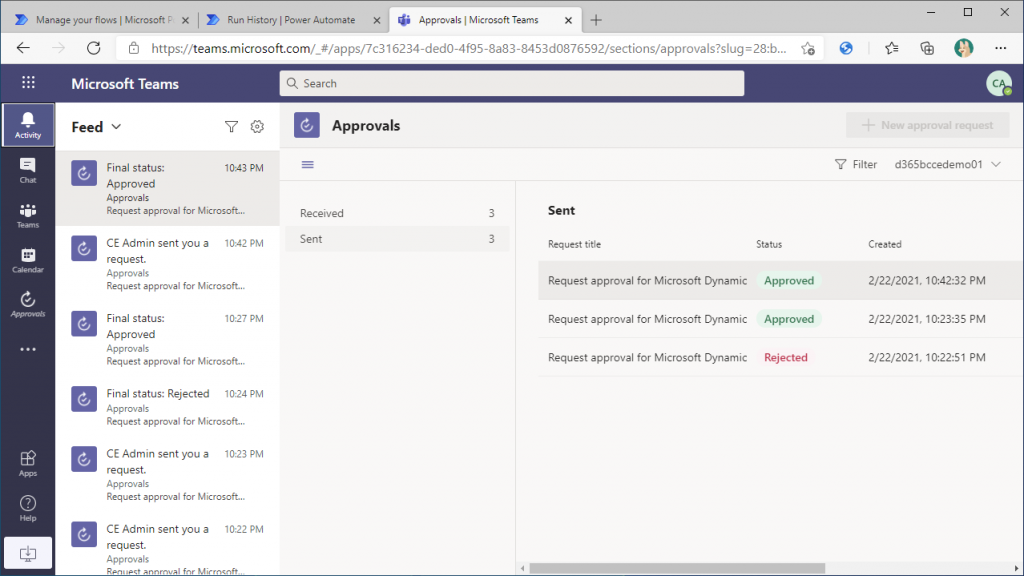
When you use the approval connector in Power Automate, the Approve app will send notifications to the Teams of approved users. You will see notifications being sent when an approval is requested and when it is completed. Of course, a notification will also be sent in case of rejection.
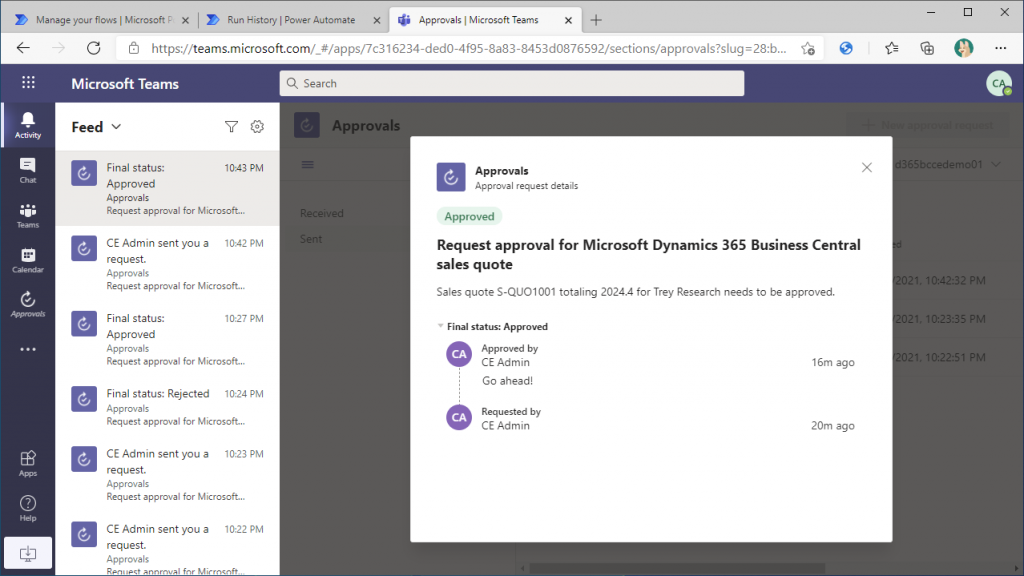
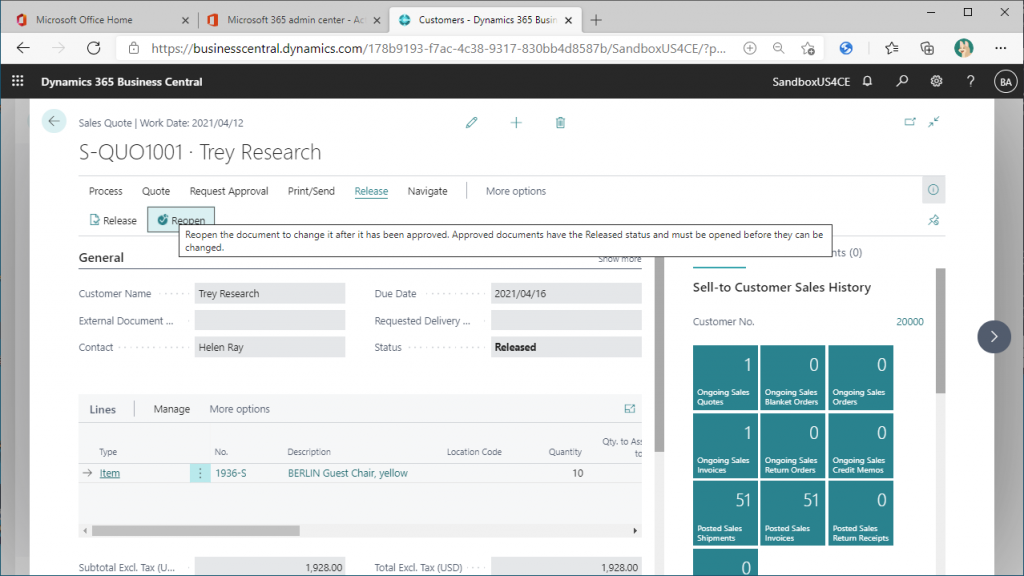
Let’s try again to request approval of a BC sales quote and check the notification to Teams. Click on “Reopen.
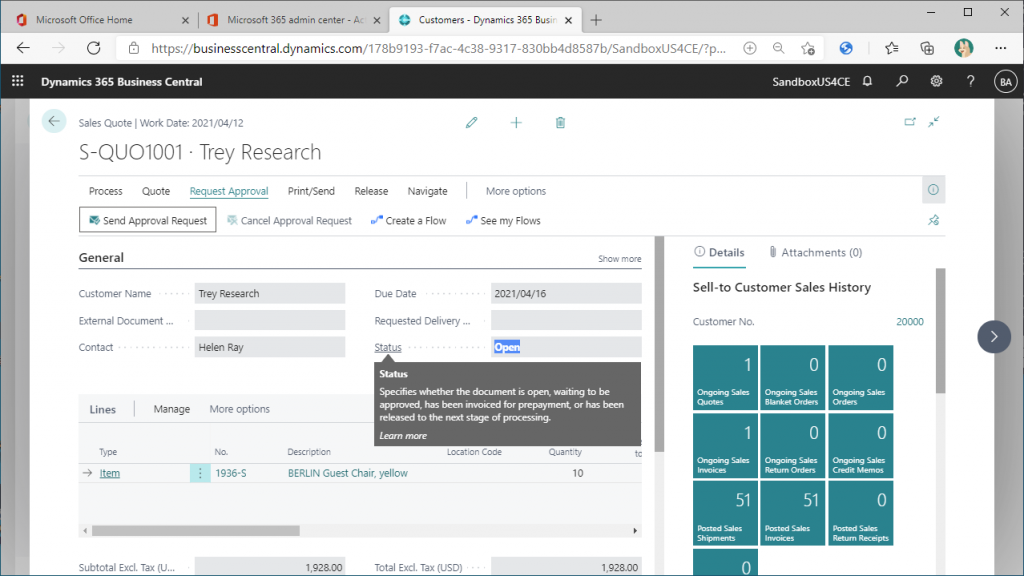
The status of the sales quote will return to “Open”. In this state, click “Send Approval Request” again.
Go back to the Teams window. You can see in the Activity that you have received a notification that you have received a request to approve a Sales Quote from BC. The document number is also shown.
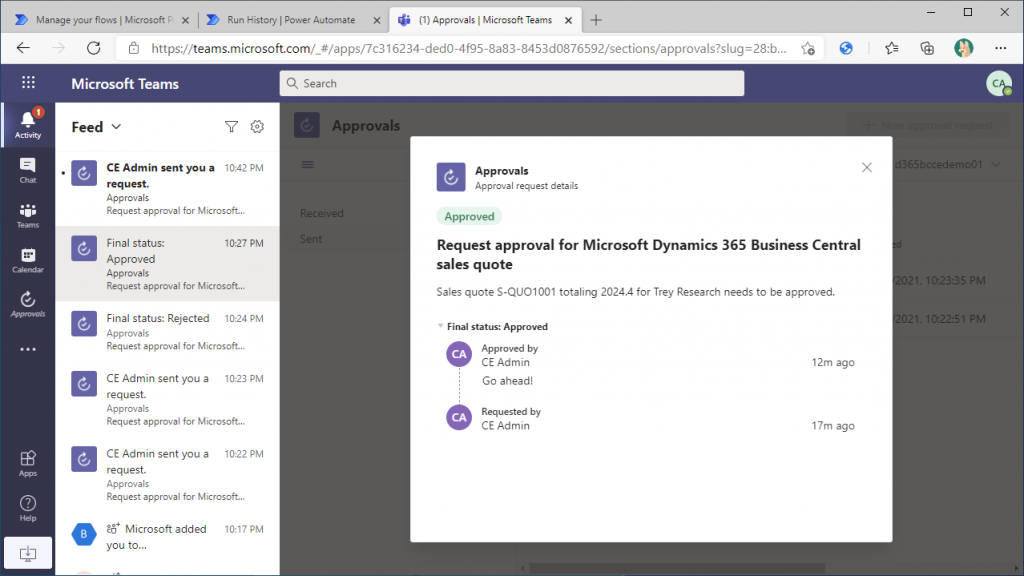
You will also receive notifications like the one in the lower right corner of this screen-shot below if you have Teams notifications turned on.
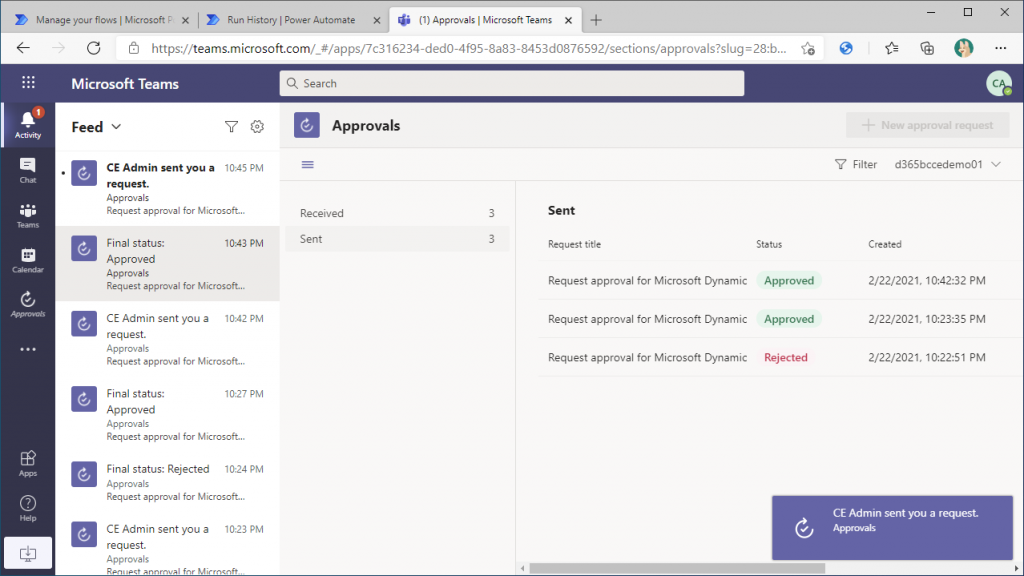
You can also approve it from the Approvals app in Teams. Enter your comments and click “Approve”.
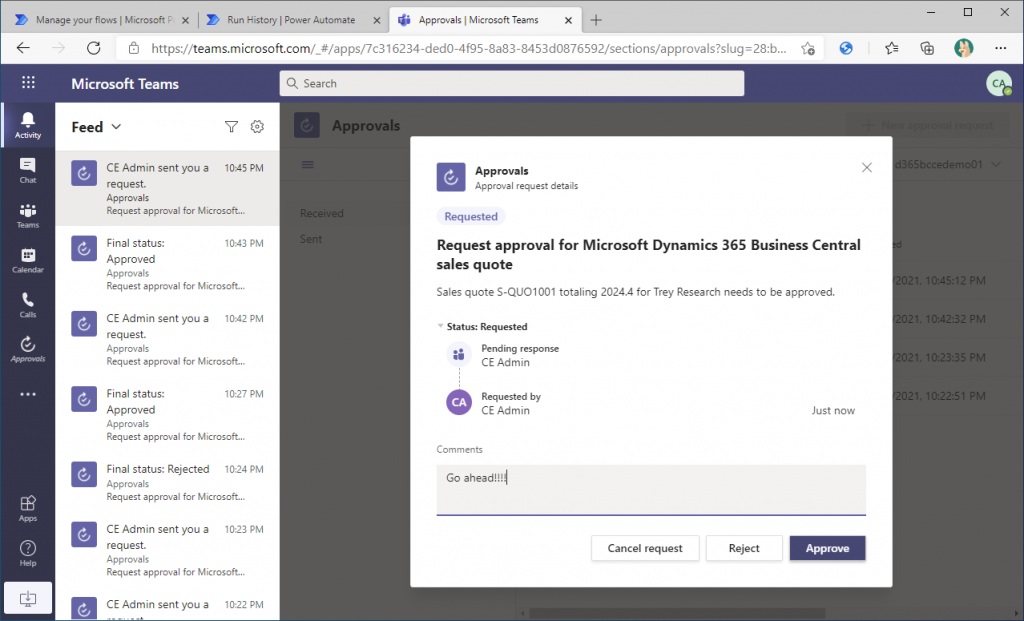
An approval response will be returned.
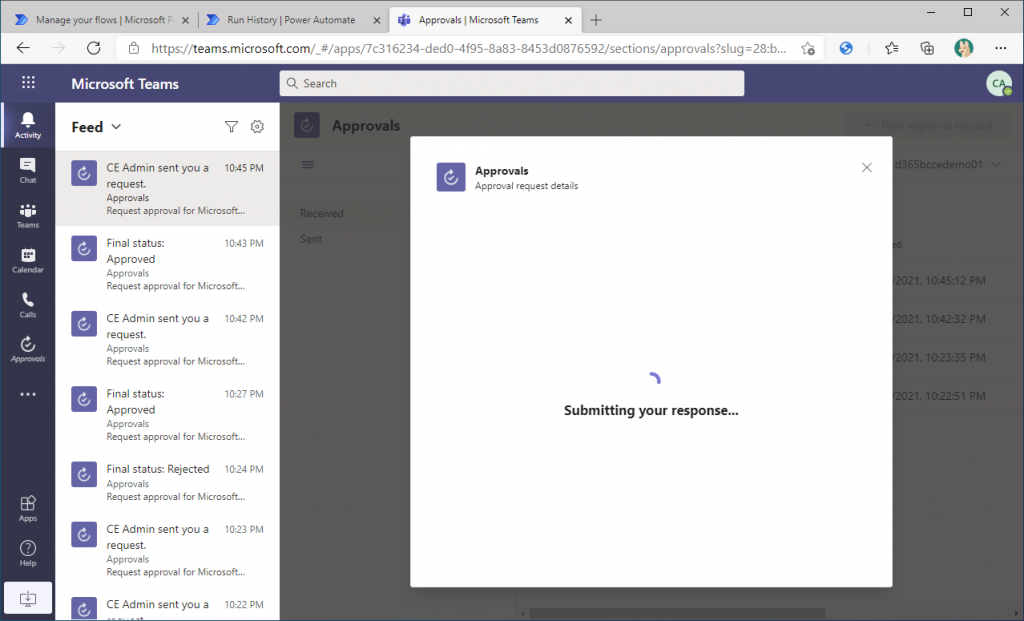
Approved.
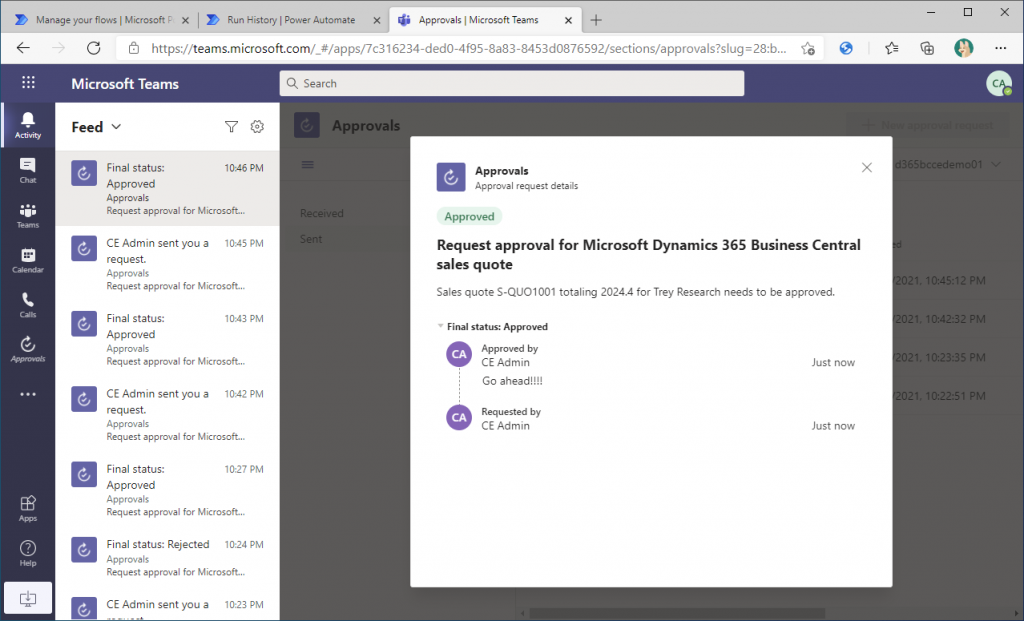
Go back to the BC Sales Quote and you will see that the status is now “Released”. The approval was successfully completed.
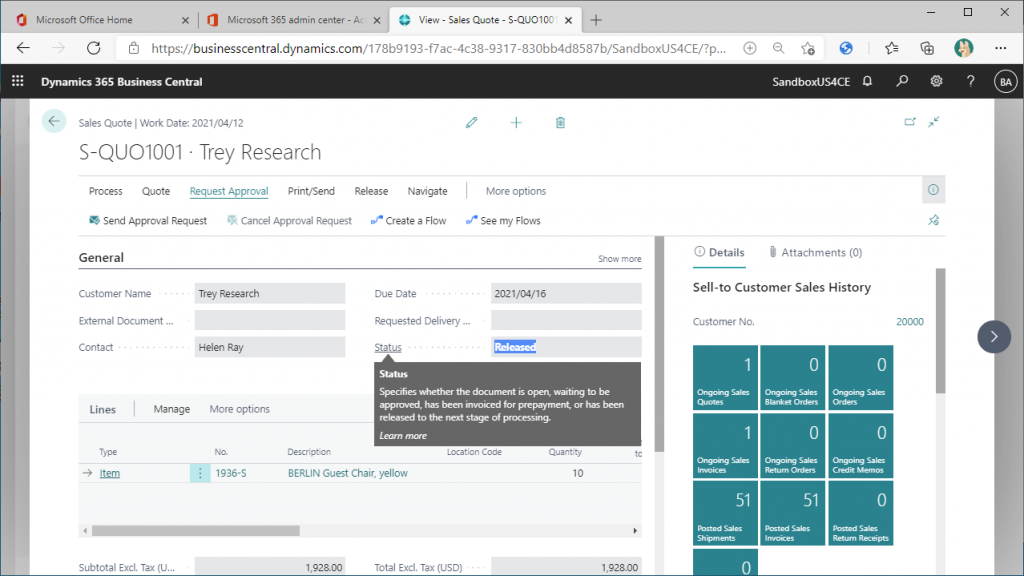
This means that no setup is required and you can approve BC sales quote without ever leaving Teams.
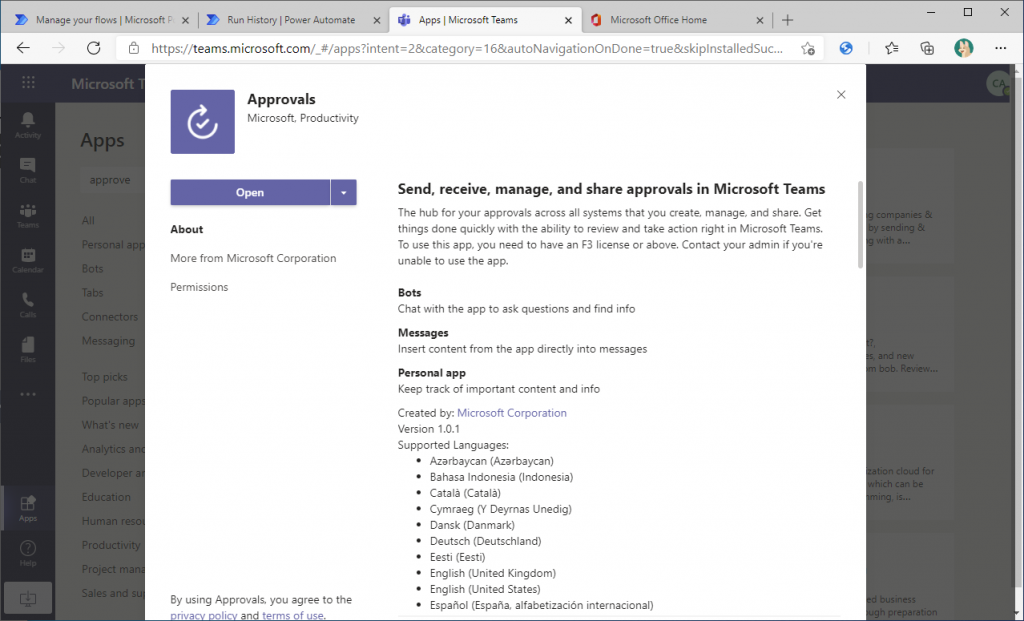
By the way, why does Power Automate send notifications to Teams when I haven’t specifically set up Teams notifications? The answer lies in the “Approvals” app in Teams. This app detects Power Automate approvals and notifies Teams. You can find it by doing a keyword search for “Approvals” under “Apps” in the bottom left corner of the side menu.
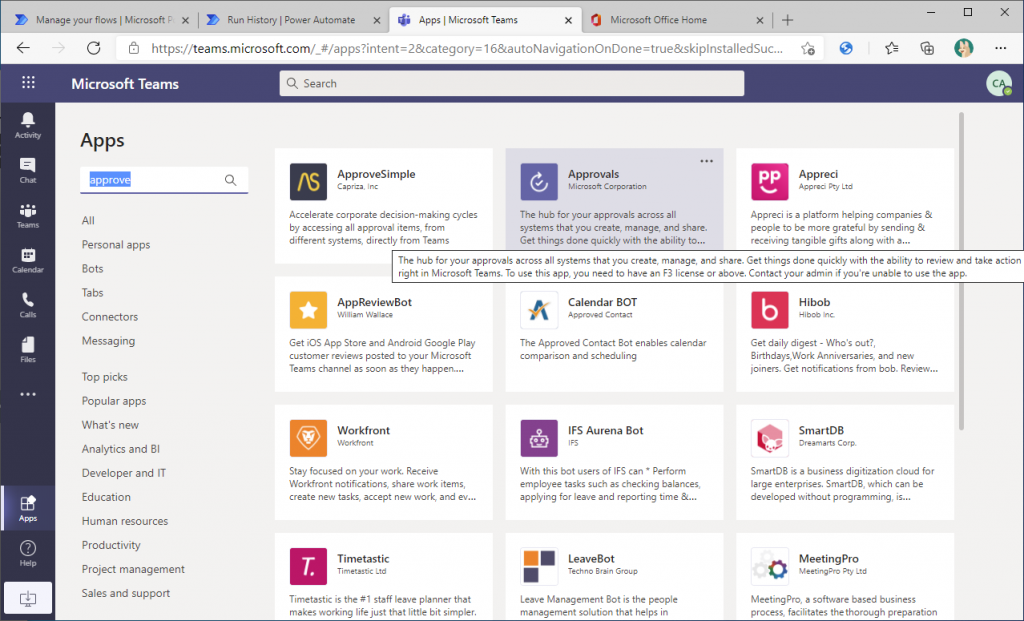
I don’t remember explicitly installing the “Approvals” app, but it seems to have been installed automatically in the background. (Or it was installed from the beginning.)
__________________________________________________________________
Trick 2: Notify stakeholders of approval requests via Teams channels.
‾‾‾‾‾‾‾‾‾‾‾‾‾‾‾‾‾‾‾‾‾‾‾‾‾‾‾‾‾‾‾‾‾‾‾‾‾‾‾‾‾‾‾‾‾‾‾‾‾‾‾‾‾‾‾‾‾‾‾‾‾‾‾‾‾‾
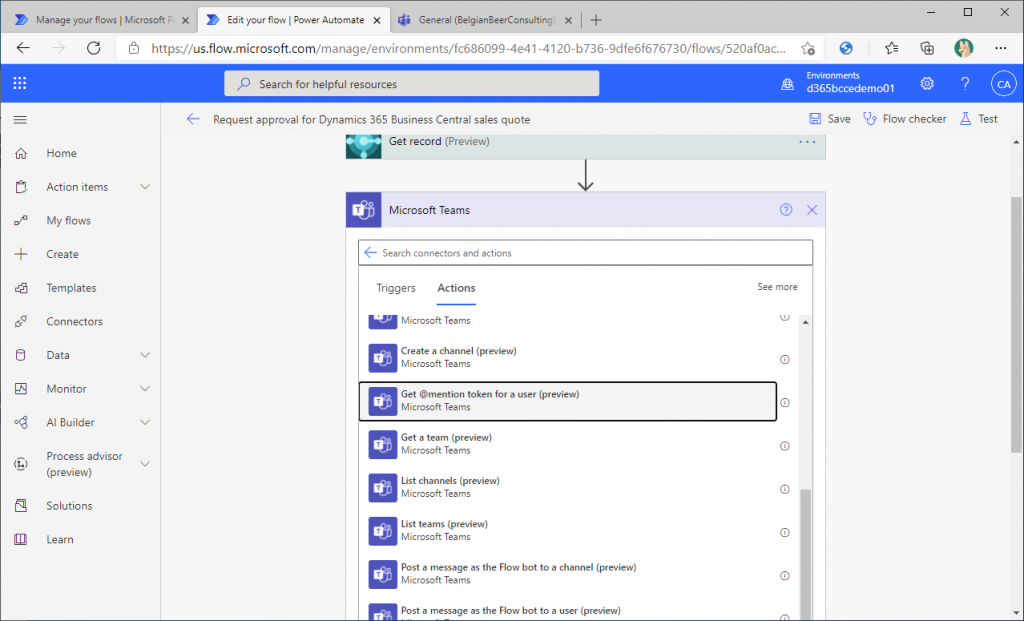
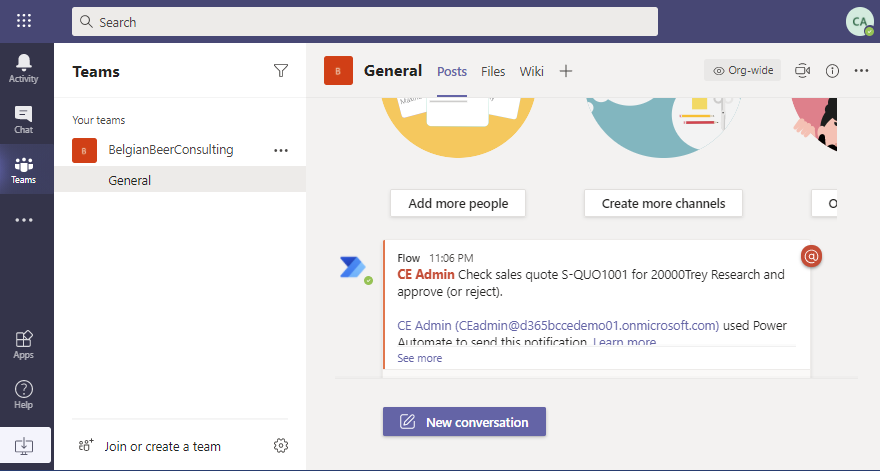
Notifications by the “Approvals” app are for individual users. In other words, only the approver will know if an approval request has been received. When an approval request occurs, you can post it to a channel so that other people can know about it. For example, let’s set up this Team to post to the General channel.
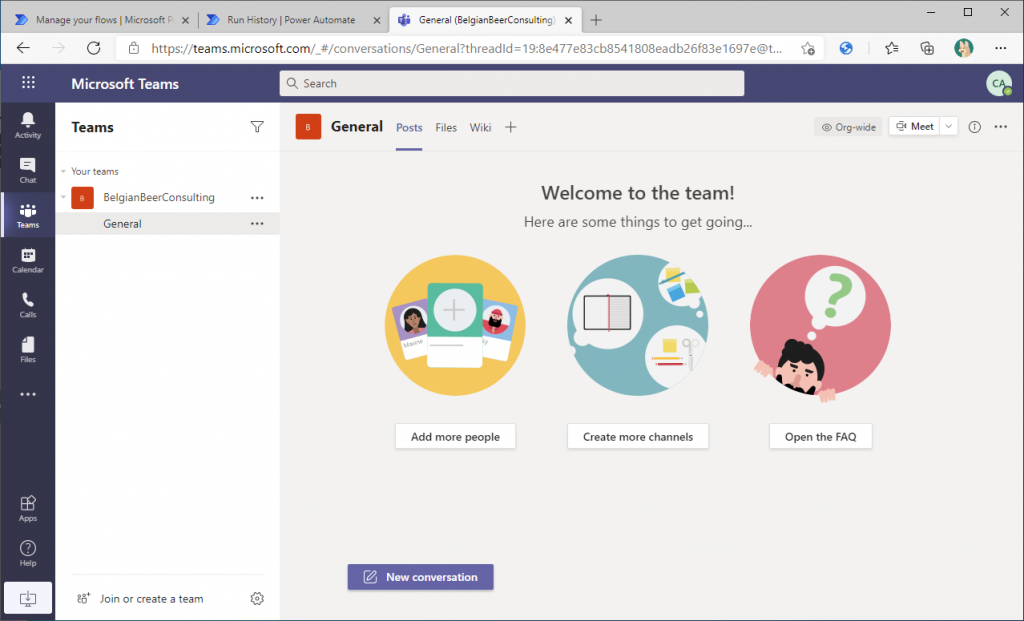
Add a step to the flow created from template. Add an action between the approval connector and the BC connector.
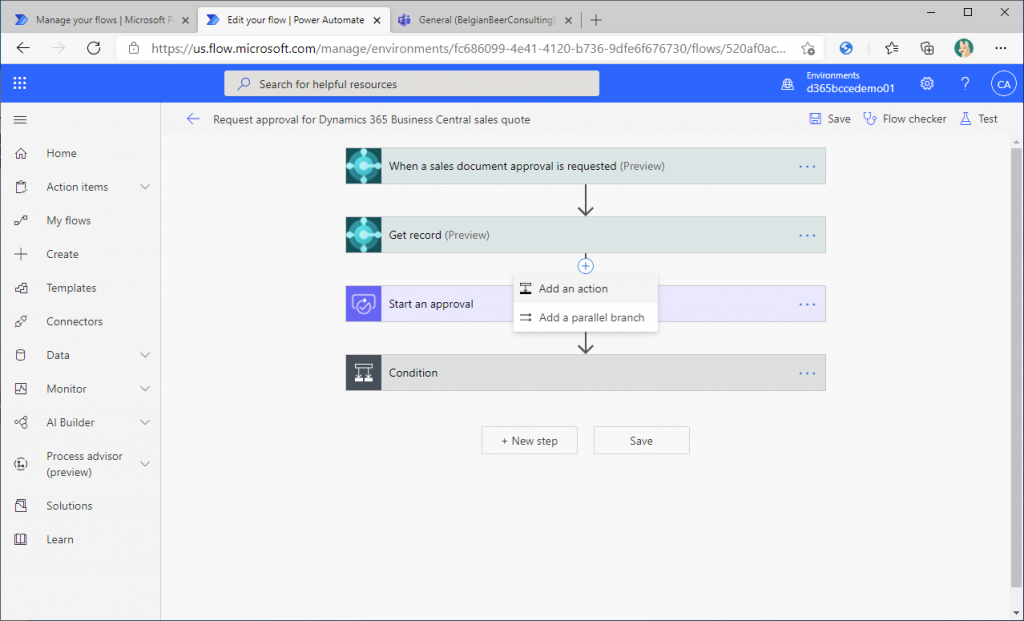
Select the Teams connector as the action to add.
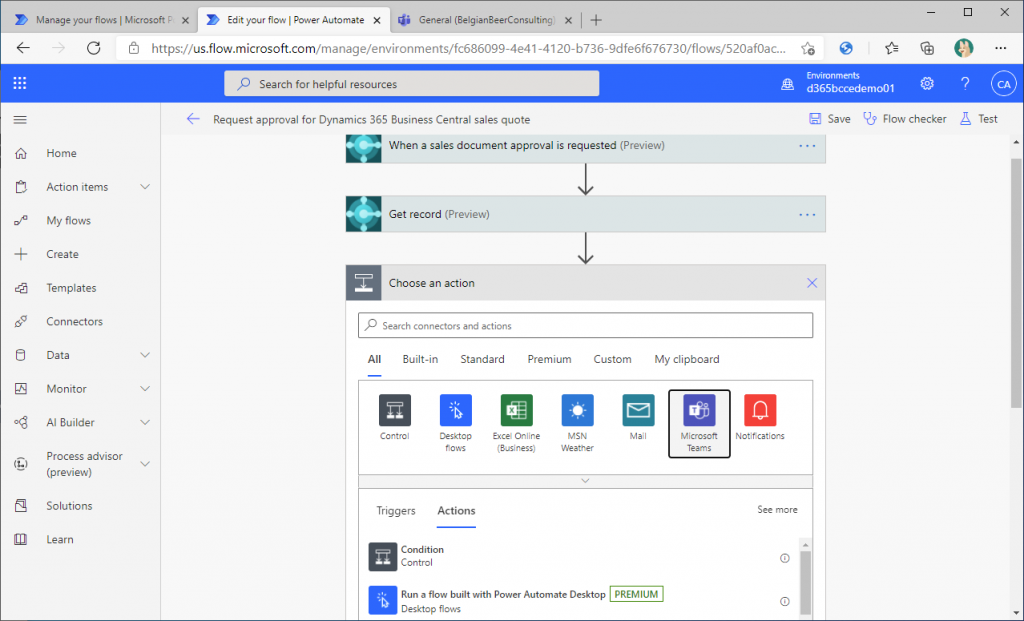
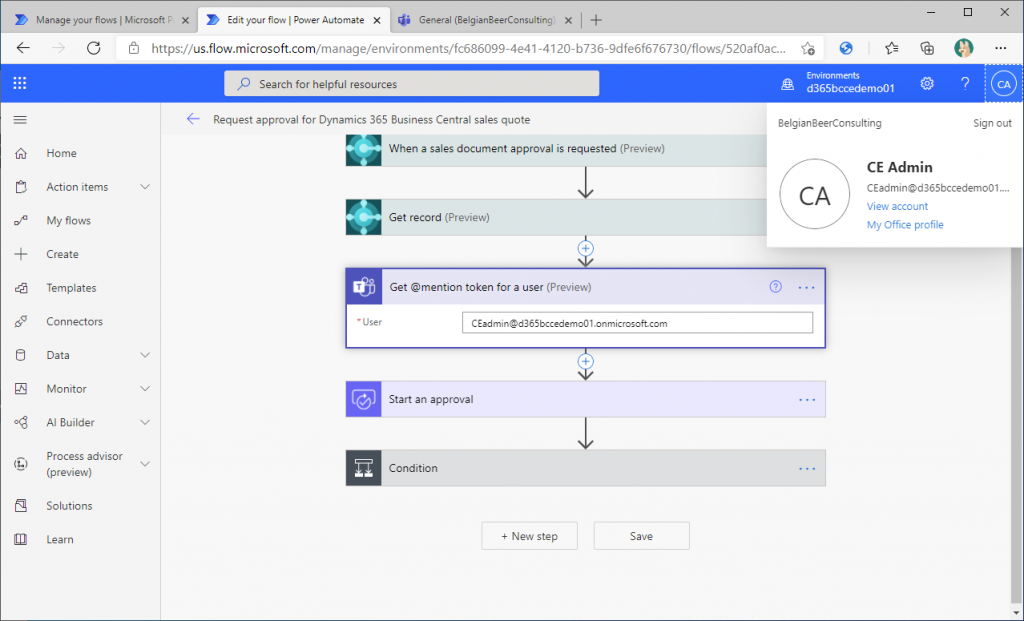
Use the action “Get @mention token for a use (preview)”.
Specify the user ID of the approver here. This will get you the token needed for the mention.
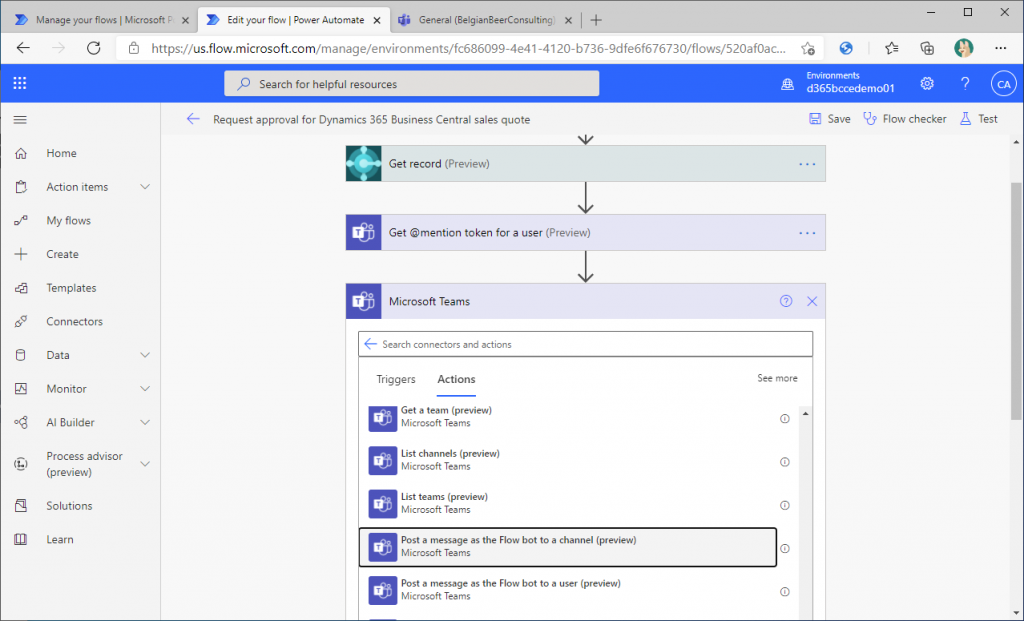
Add one more connector, “Post a message as the Flow bot to a channel (preview)” in Teams.
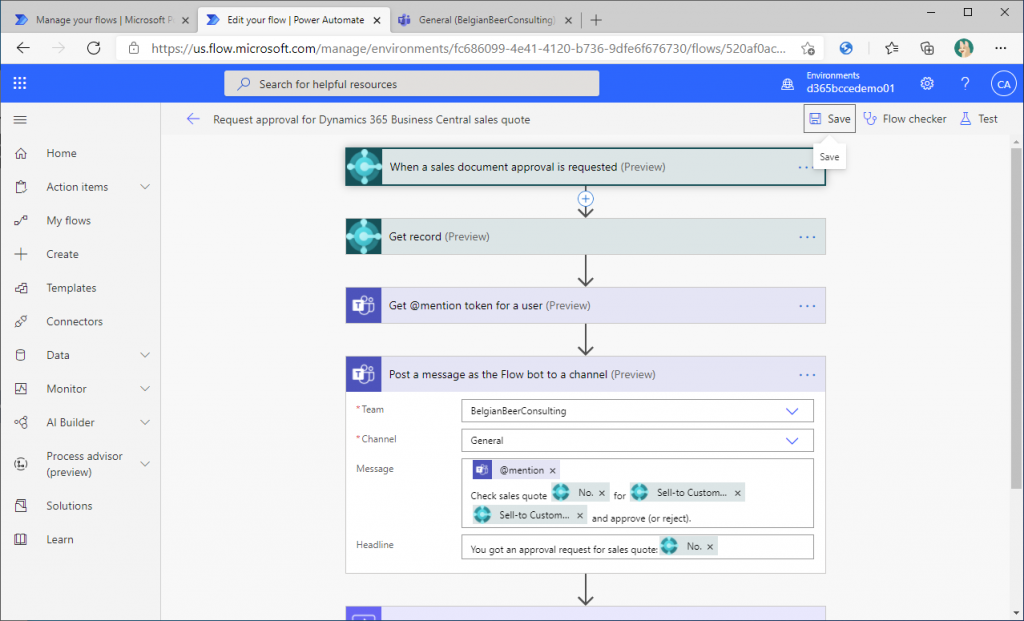
In this connector, you can edit the content to be posted to the channel, specify the Team and Channel, and edit the message. Specify the message token obtained in the previous connector. You can also edit the sales quote number and the name of the customer to sell. Finally, save the flow.
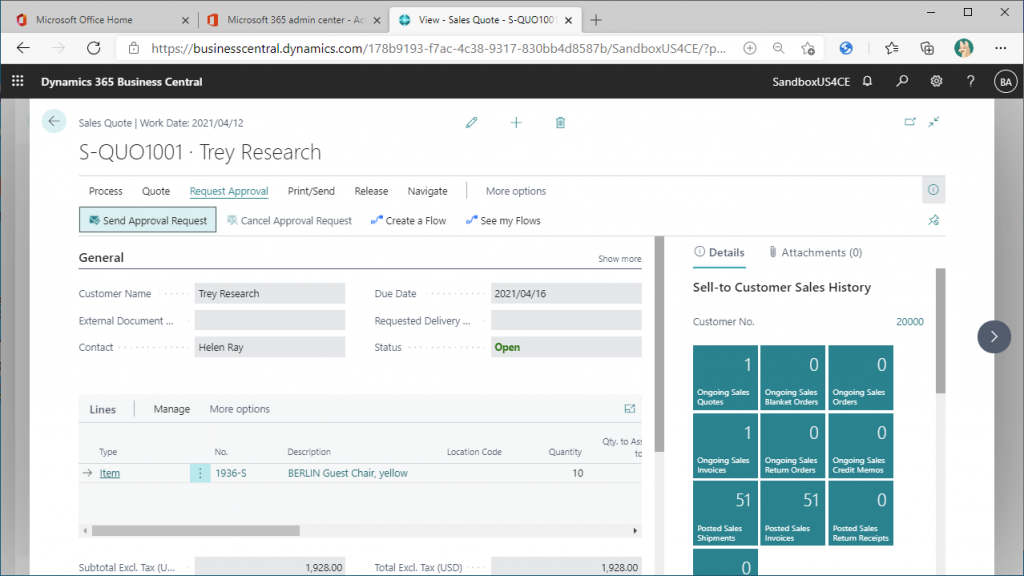
Now all settings are complete, let’s request approval of the sales quote from the BC page.
This is how it was posted on the channel.
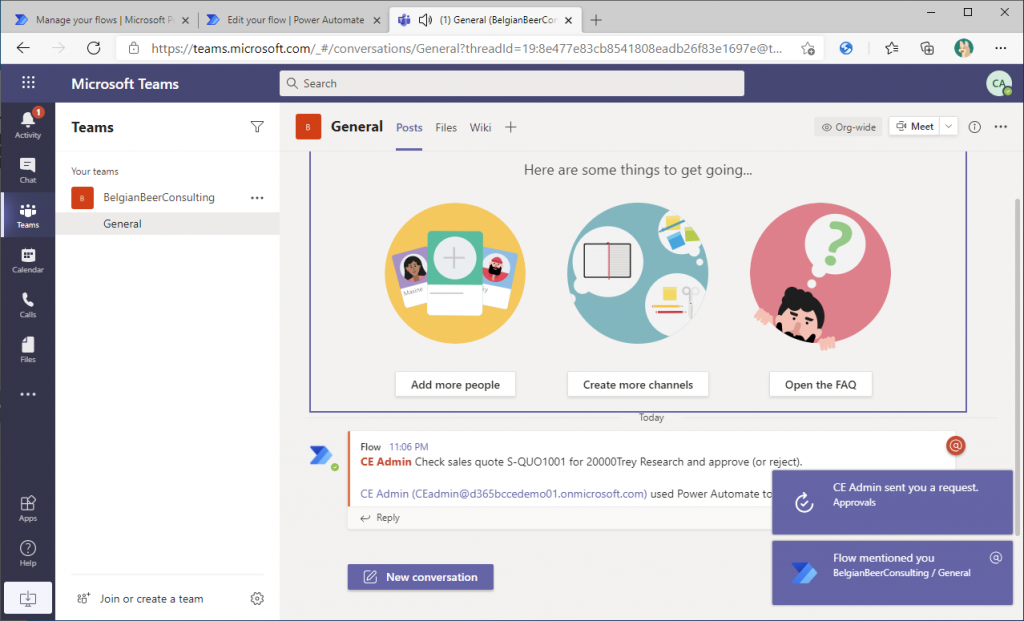
I have found that notifying channels in Teams is easier to achieve than I thought it would be. However, when you post to a channel, approvers are simply notified. Chanel post is a richer notification than “Approvals”, but approver can’t approve on the channel, so it’s a pross and cons. (Maybe the Adaptive Card can be used to approve from the channel…)
_______________________________________________________________
Trick 3:Display BC page in Microsoft Teams and approve sales quote
‾‾‾‾‾‾‾‾‾‾‾‾‾‾‾‾‾‾‾‾‾‾‾‾‾‾‾‾‾‾‾‾‾‾‾‾‾‾‾‾‾‾‾‾‾‾‾‾‾‾‾‾‾‾‾‾‾‾‾‾‾‾‾‾
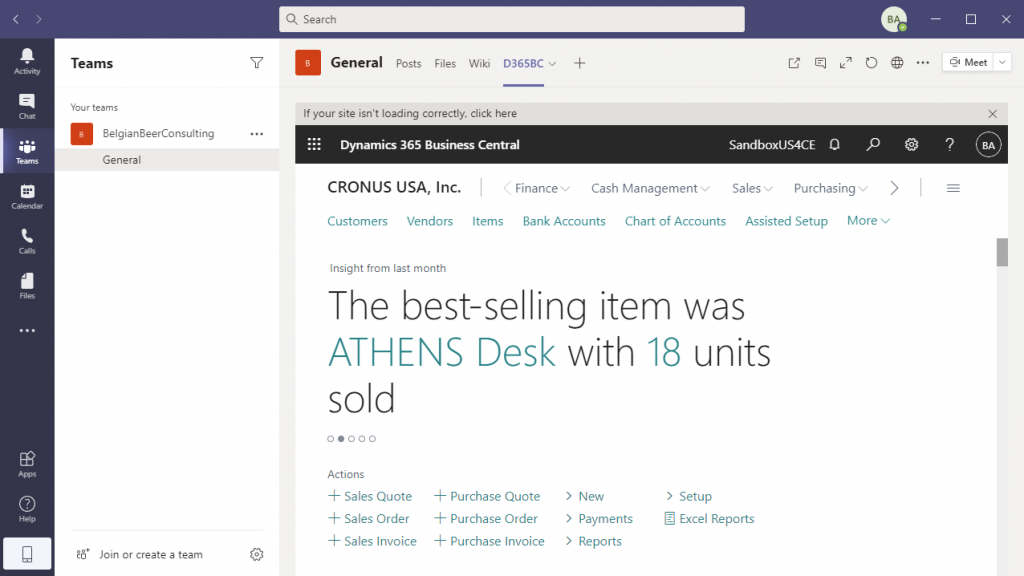
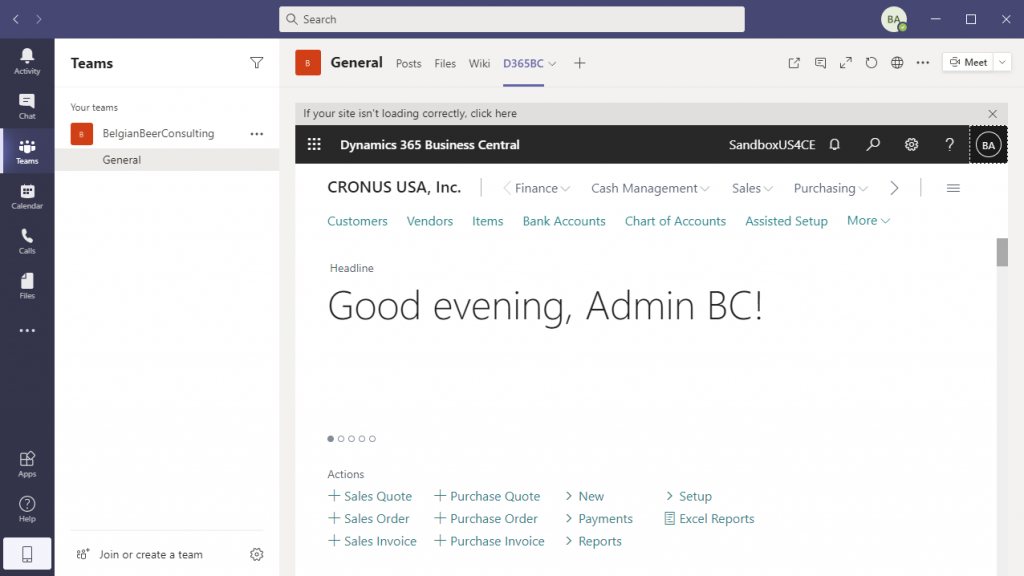
If you only want to approve a sales quote, you can do so without leaving Teams by using the method described above. However, if you are approving sales quote, you may want to see the sales quote card page to be approved. As shown in the demo, it is possible to display the BC screen on the Teams screen. (Image below)
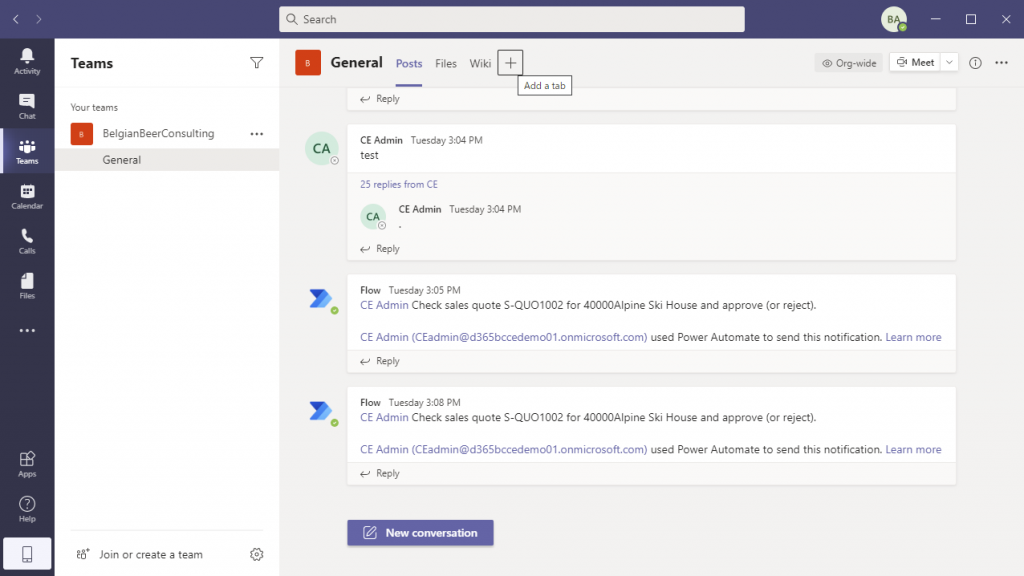
Add a tab to the channel where you want to add the BC screen. Click on the “+” button.
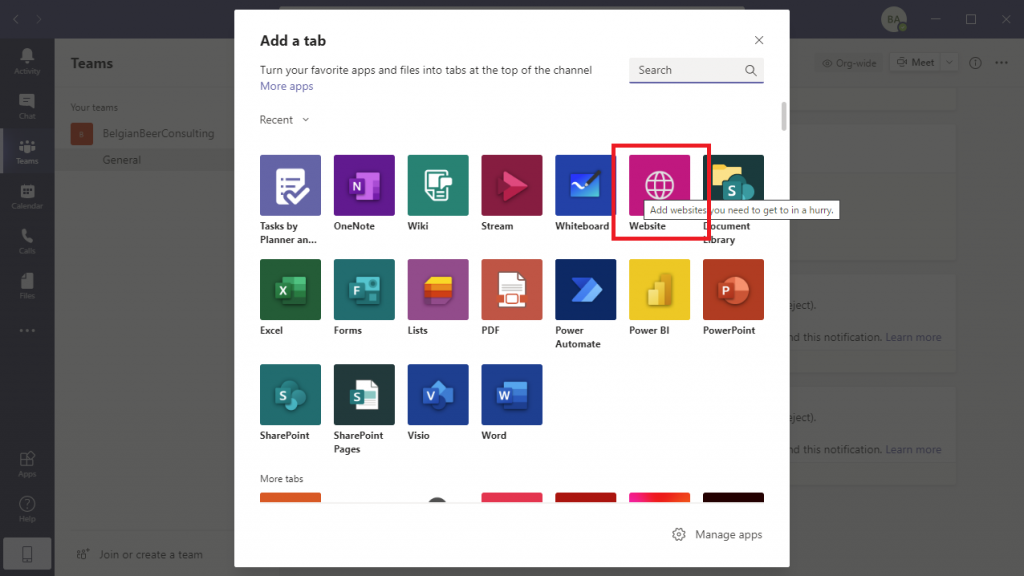
You will then be asked what you want to add. Select “Website” here.
Copy the URL of the Roll Center in the BC window.
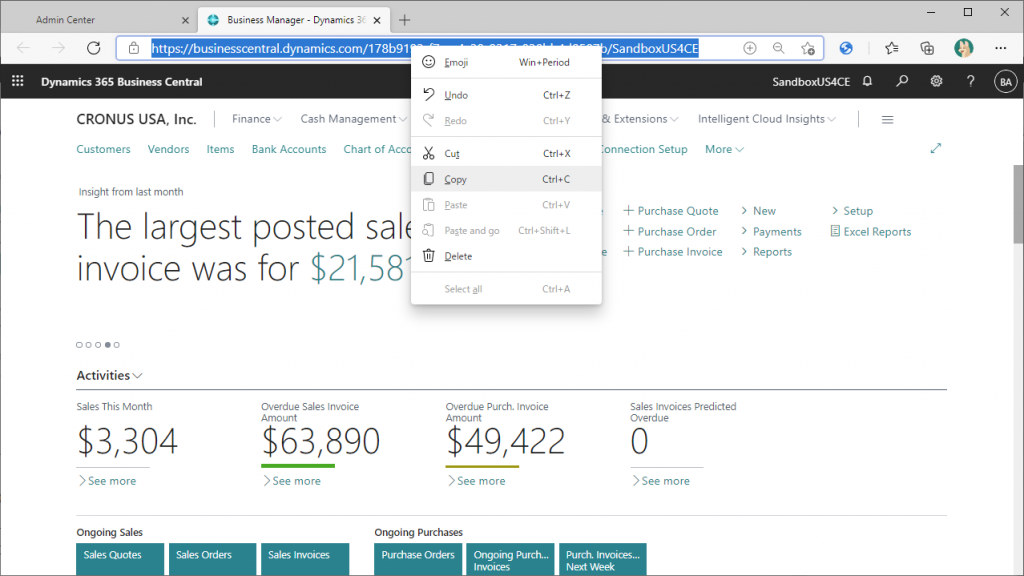
Paste the URL you copied into the URL of the Teams website, using “D365BC” or so as the Tab Name. Then click “Save”. That’s it.
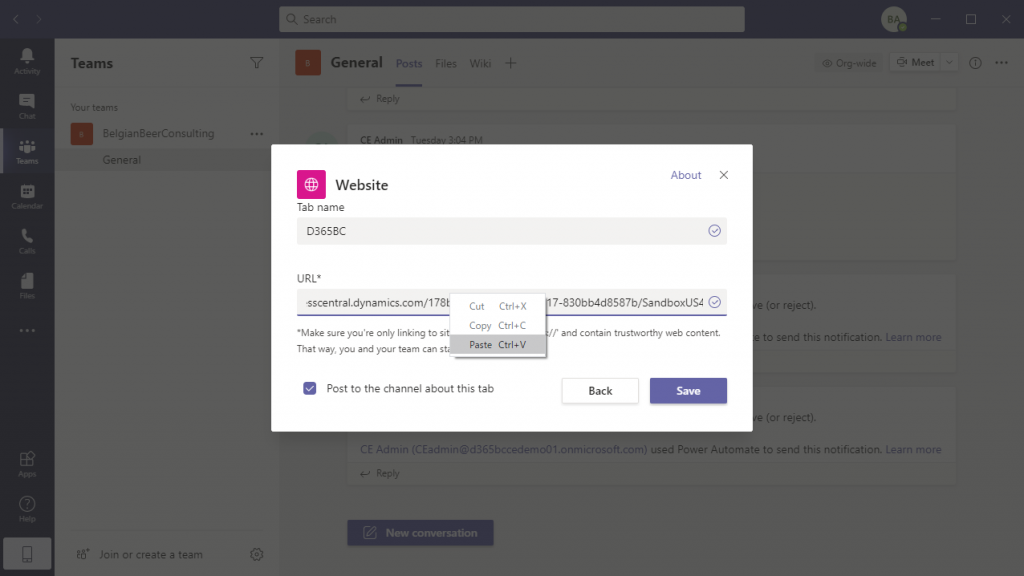
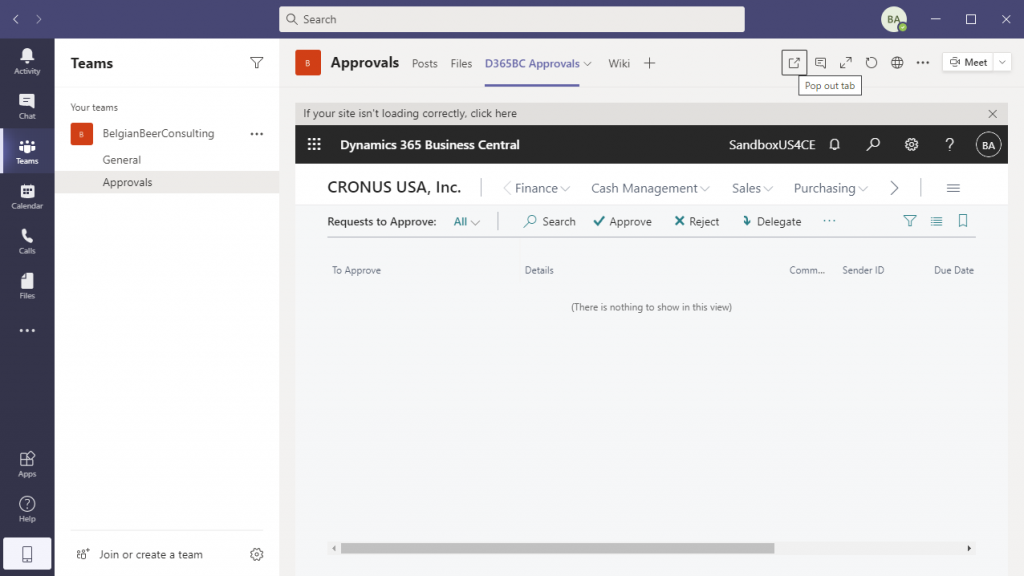
After passing the sign-in verification, BC appeared in the channel tab of Teams as shown below.
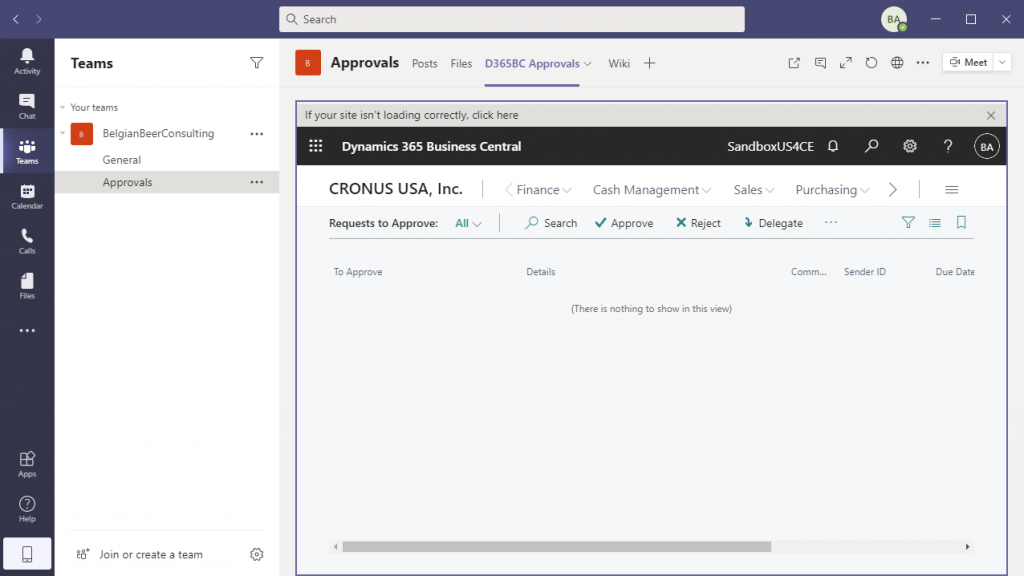
The URL does not have to be a role center. If you create a tab using the URL of the approval request list page, the approval request list page will be displayed first. From the approval requests list page, you can go to the card page of the sales quotation to be approved, which makes it easy to check the sales quotation. You can also create a channel dedicated for approvals, post a notification to that channel using the method described in “Trick 2.” section, and add a BC tab to this channel for quicker processing.
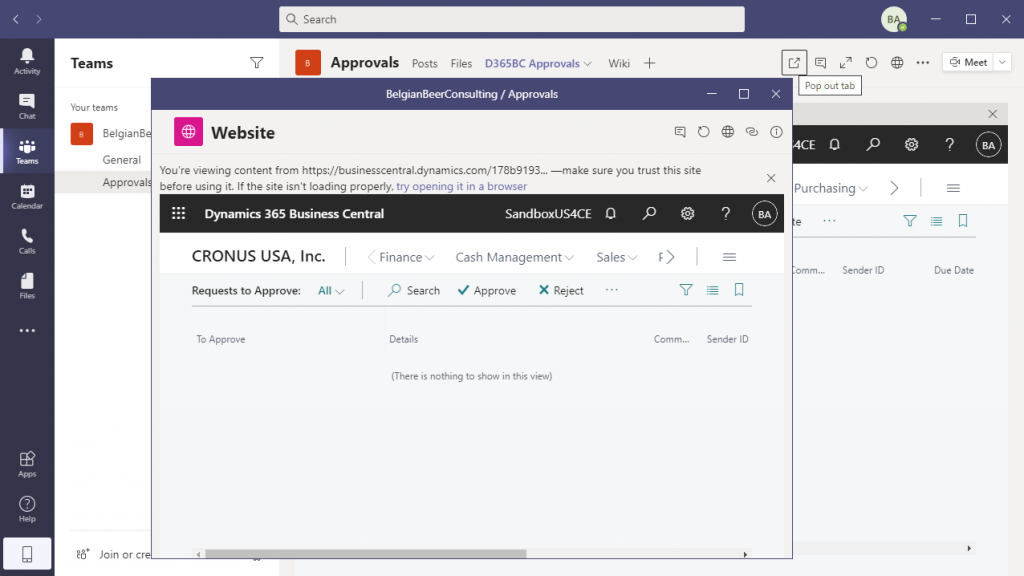
Note: This also happened in the demo, but sometimes the screen is not displayed. In that case, you can use Pop-up to display another screen.
Like this. It may be more convenient to display it in another window so that you can check it along with the approval request message.
In the next article, I will explain the tricks of Demo2, and show you how to start the BC flow from the Power Automate flow.

1件のコメント