
In this article, I will explain how to configure the checklist feature added in D365BC’s 2021 Release Wave 1. It seems that management functions is not fully implemented yet, but I will explain as confirmed as of 13th March 2020. Please refer to the previous article for an explanation of the checklist feature.
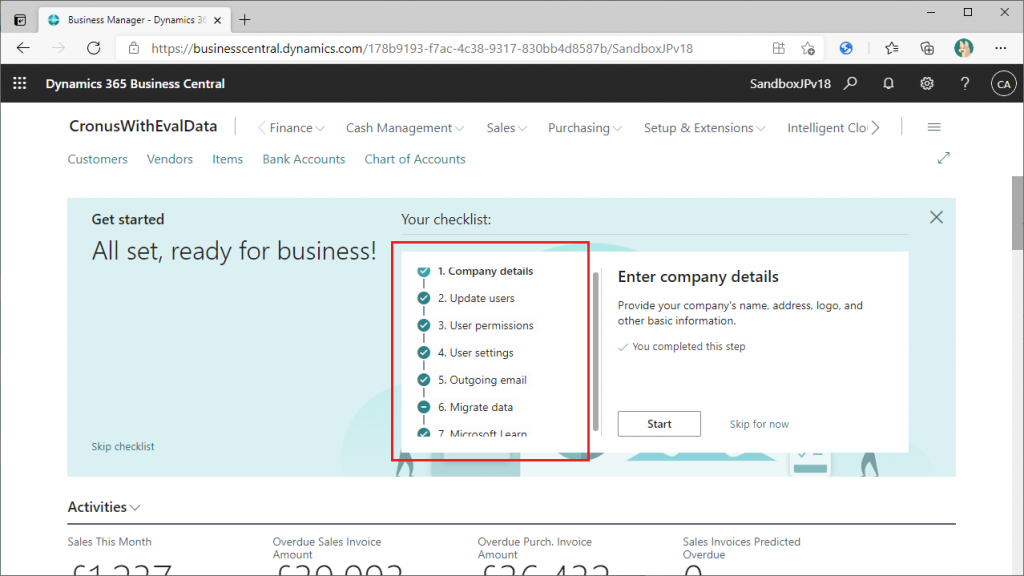
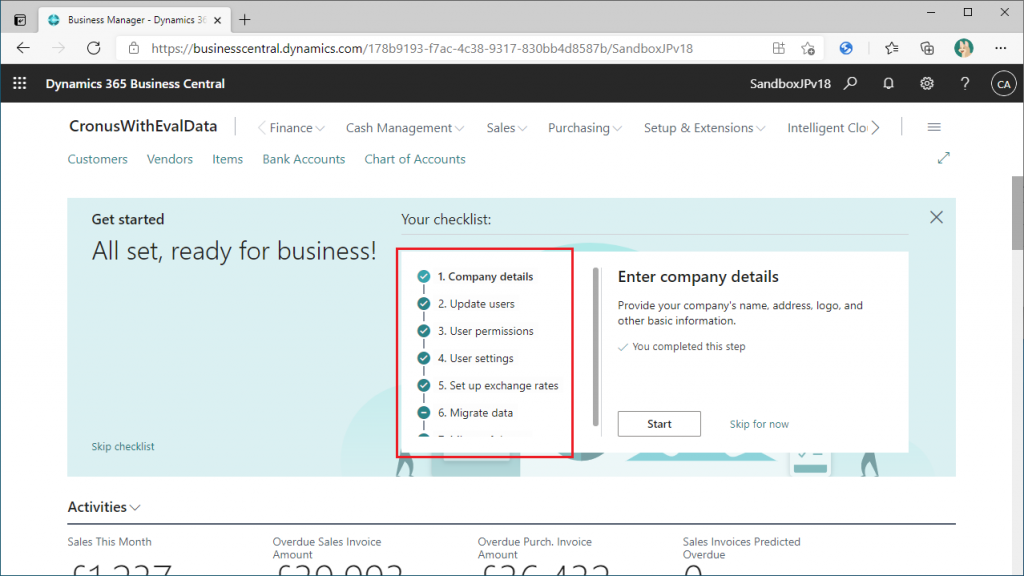
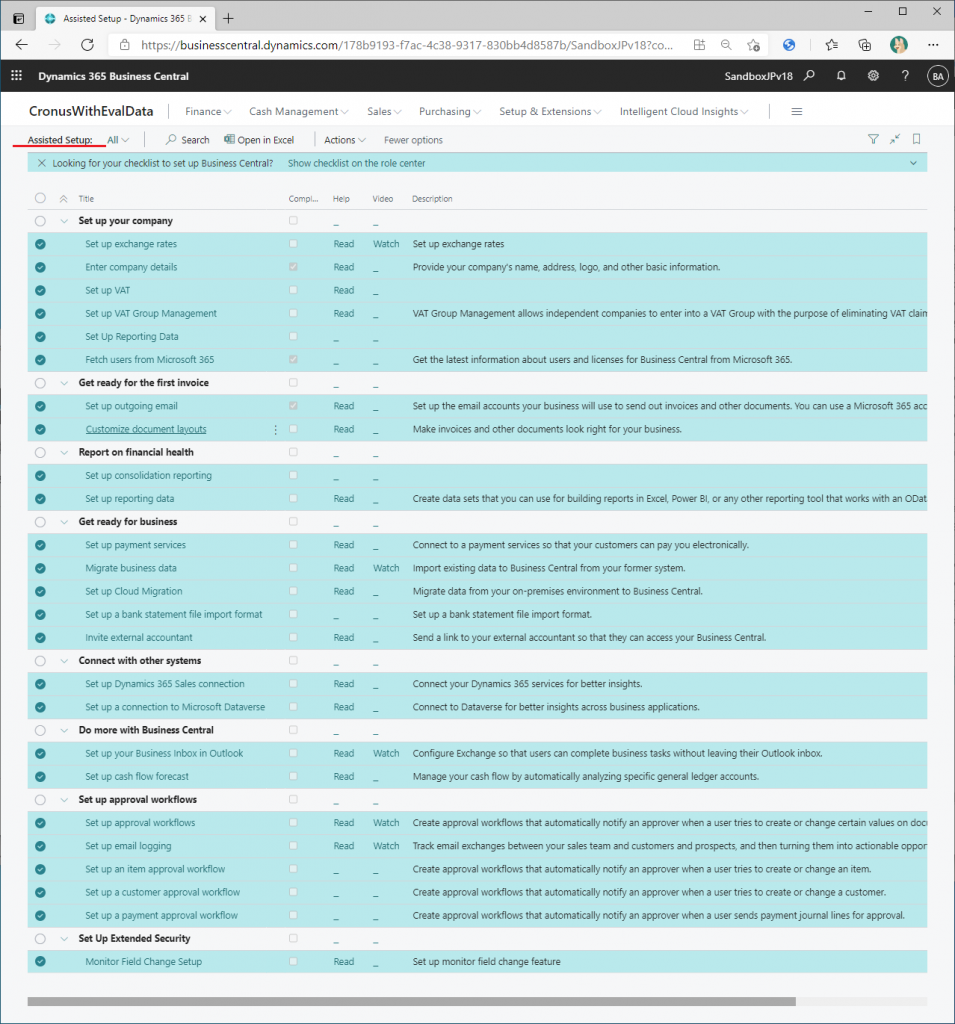
The checklist function consists of seven steps by default, as shown in the following image. Let’s check the page where these functions are configured and see the settings which can be changed.
1. checklist management page
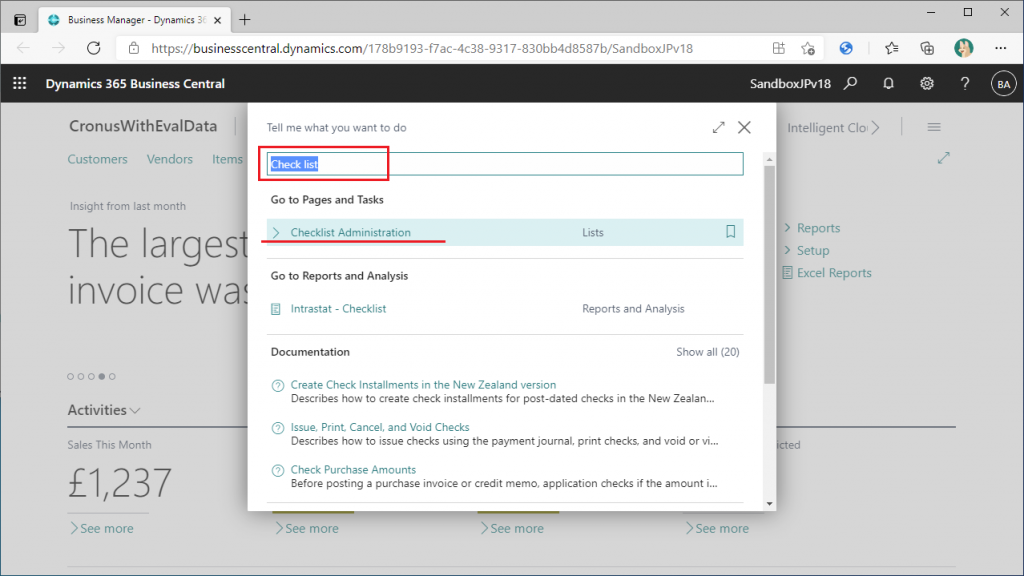
Search for the keyword “Check list” from the Tell Me What icon and you will get one result. Open the “Checklist Administration” page.
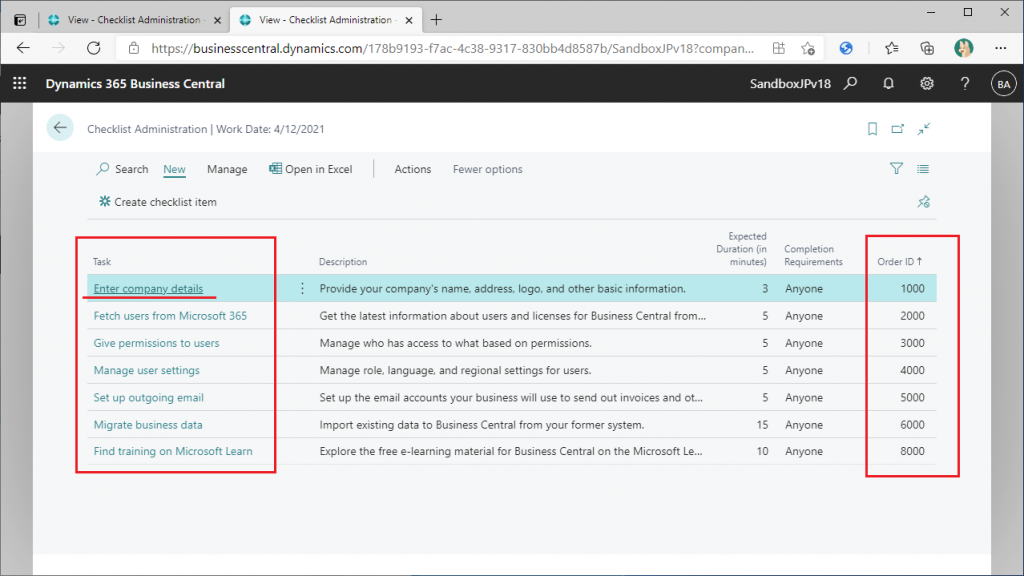
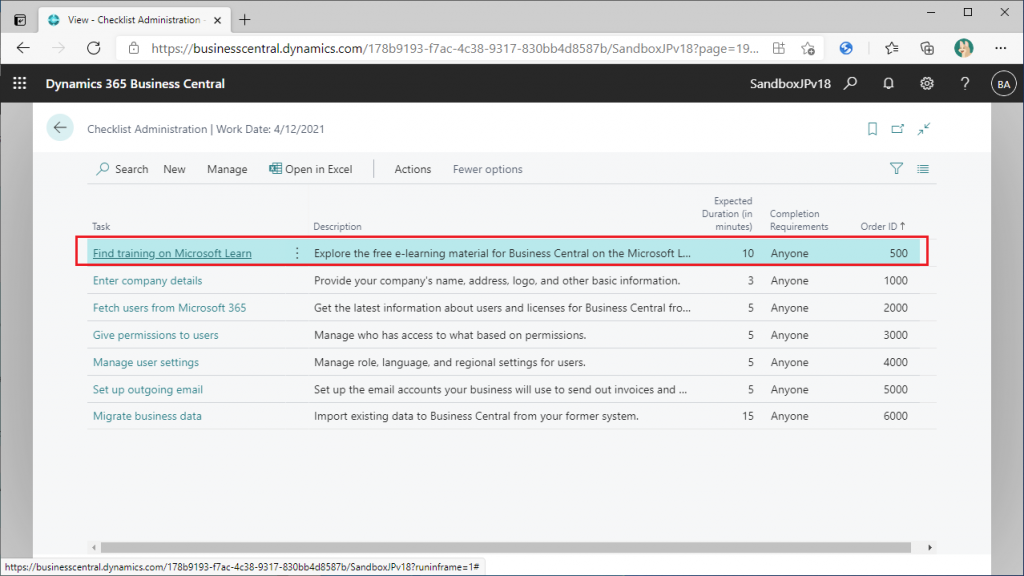
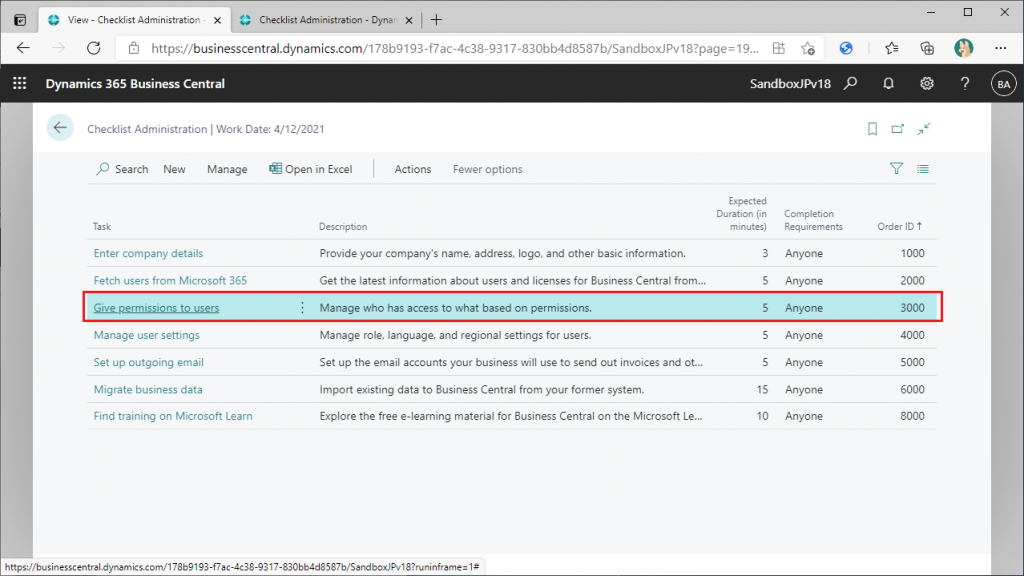
You will see a list page like this. It seems to correspond to the seven steps of the checklist, according to the description of each row. The “Order ID” column on the right side seems to define the order of the steps. Later, let’s see if we can change the order.
Click on “Enter Company Details” in the top row.
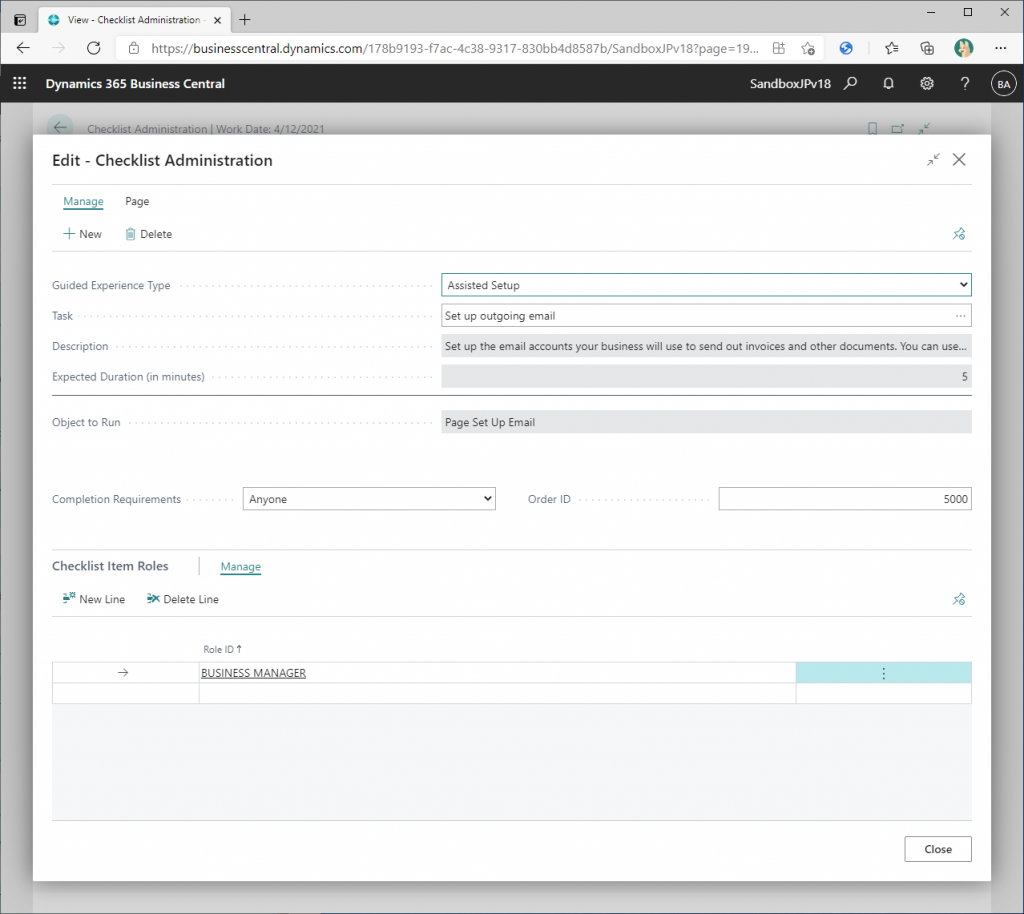
The card page opened. I don’t see some buttons that are specific to card pages, such as Edit/View/Delete. There is a “Next” button on the “Page” tab, so click on it.

The second item in the list is now displayed. This is the card page of the “Fetch users from Microsoft 365” on the second line of the list page. Let’s look at all items in order by pressing the “Next” button.


This is the last card page of checklist.
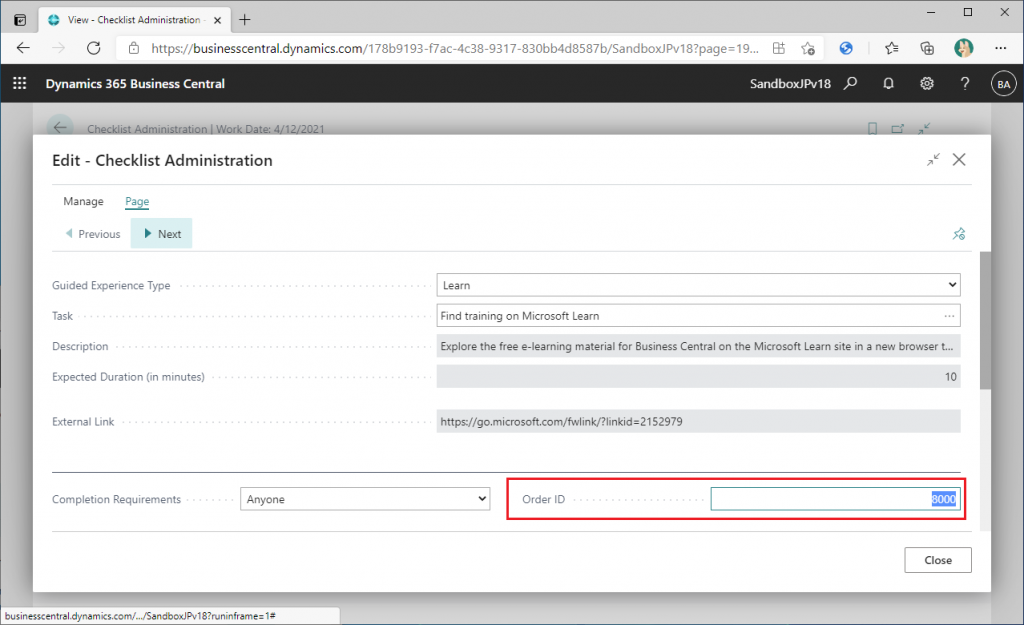
2. Change Order ID
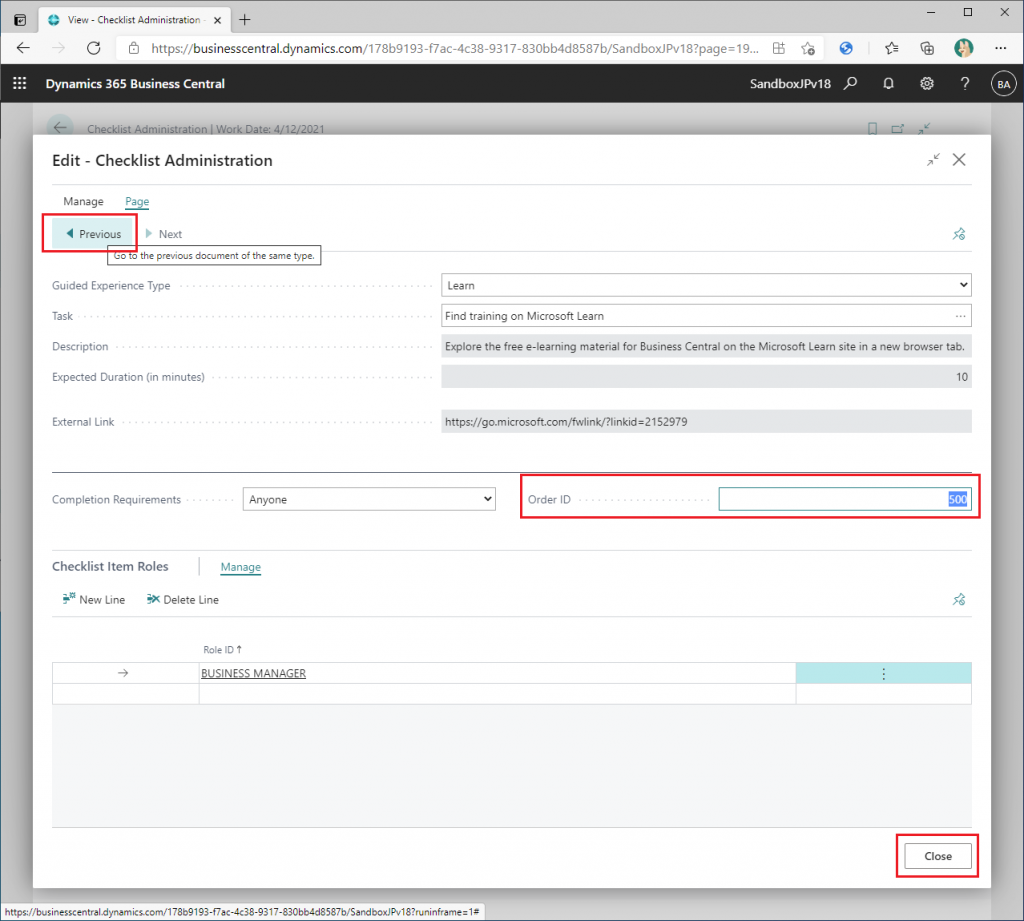
Let’s see what happens when we change the value of OrderID. Change the value from 8000 to 500, and click the “Previous” button. (The result is the same if you click the “Close” button. I think it is nice to add an “Edit/View” button here.
Back to the list page. ” The “Order ID” has been updated and the Microsoft Learn details are now displayed on the top line.
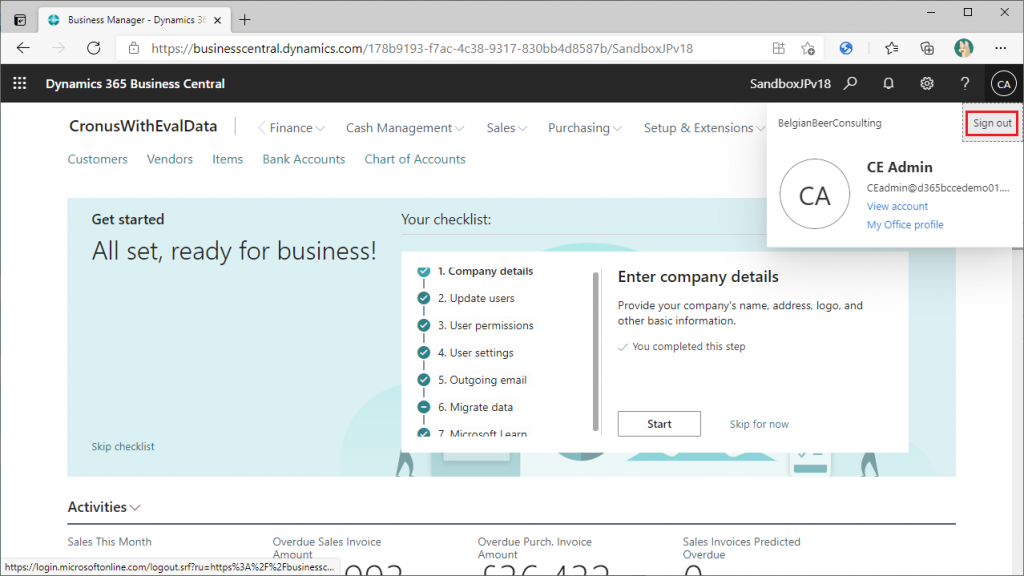
Review the checklist. Sign out once and sign in again.
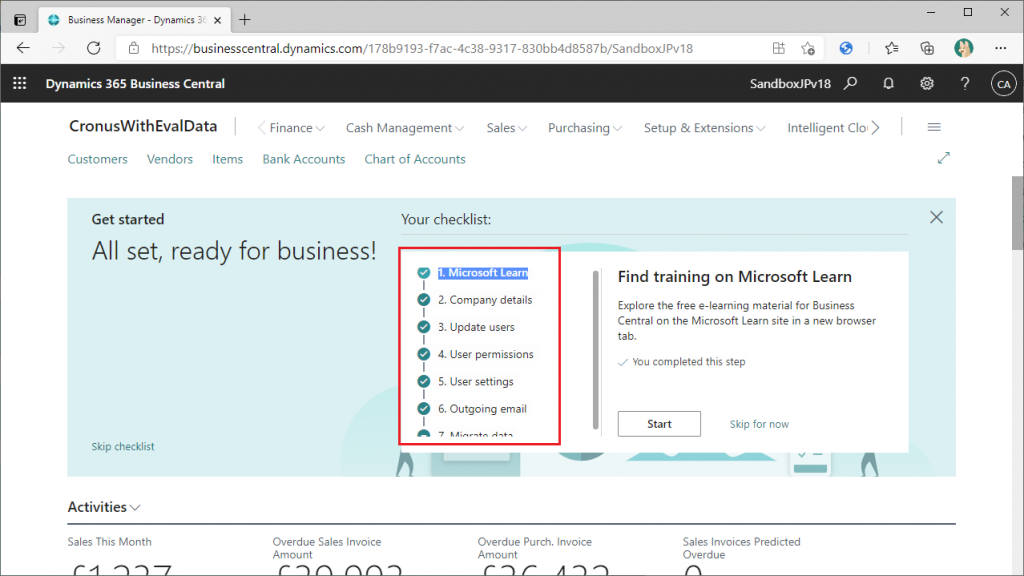
Step 1 is now Microsoft Learn. Success. Note that the order did not change if I just refreshed the browser without signing out.
Change the “Order ID” back to the original.
When I signed in again, the order was restored.
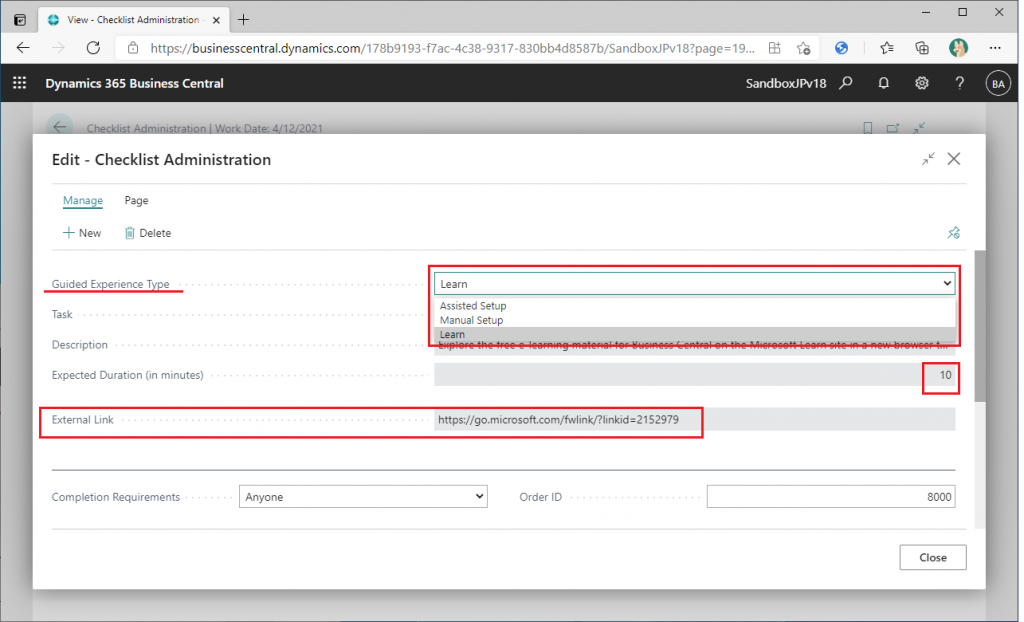
3. Guided Experience Type : Learn
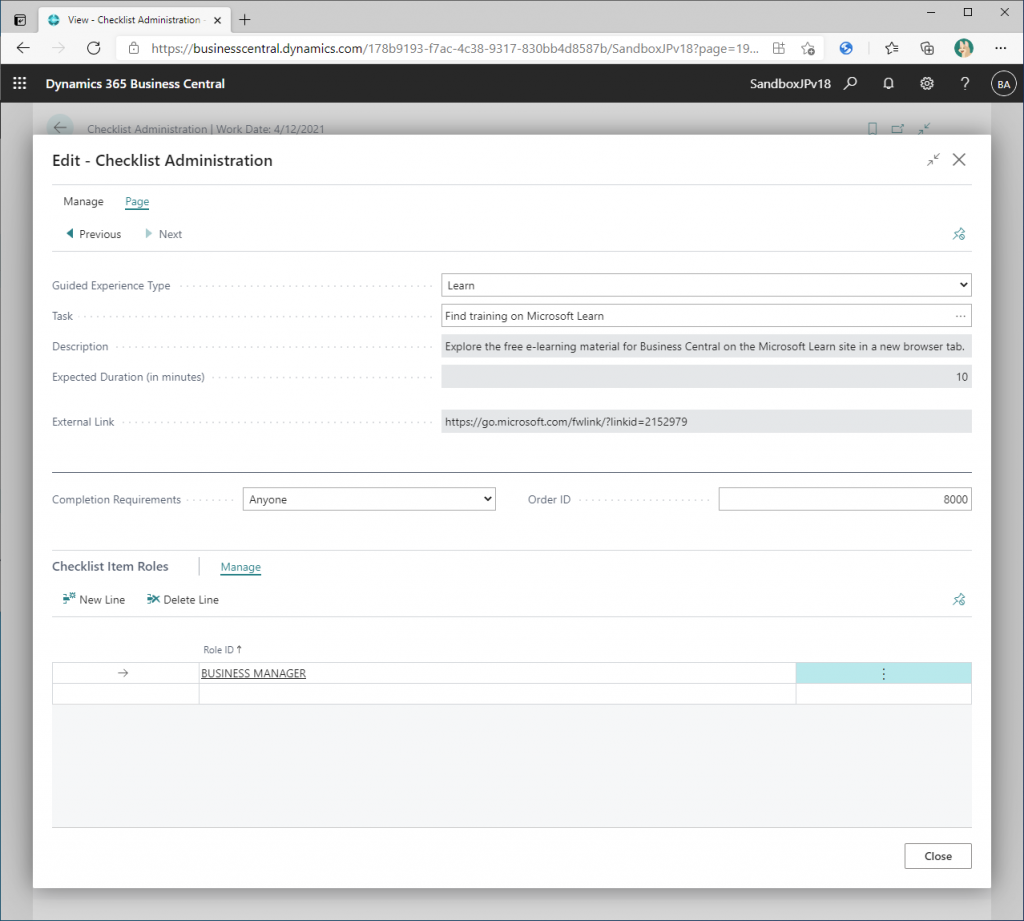
Return to the Microsoft Learn card page and click on the Guided Experience Type pull-down button to see the options. You will see that in addition to “Learn”, there are “Assisted Setup” and “Manual Setup”. Microsoft Learn is the “Learn” type. The number 10 is the estimated time required. The number 10 is the estimated time, in minutes. (Realistically, it will take more than 10 days.) In the External Link field, the URL of the screen transition destination is described. This page cannot be edited at this time, but I hope that in the future we will be able to edit this column and set the URL to refer to our own learning contents on the web.
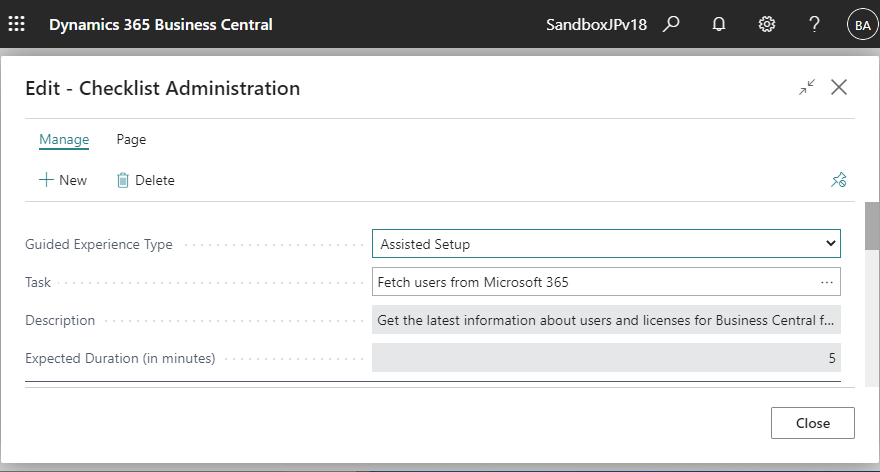
4. Guided Experience Type : Assisted Setup
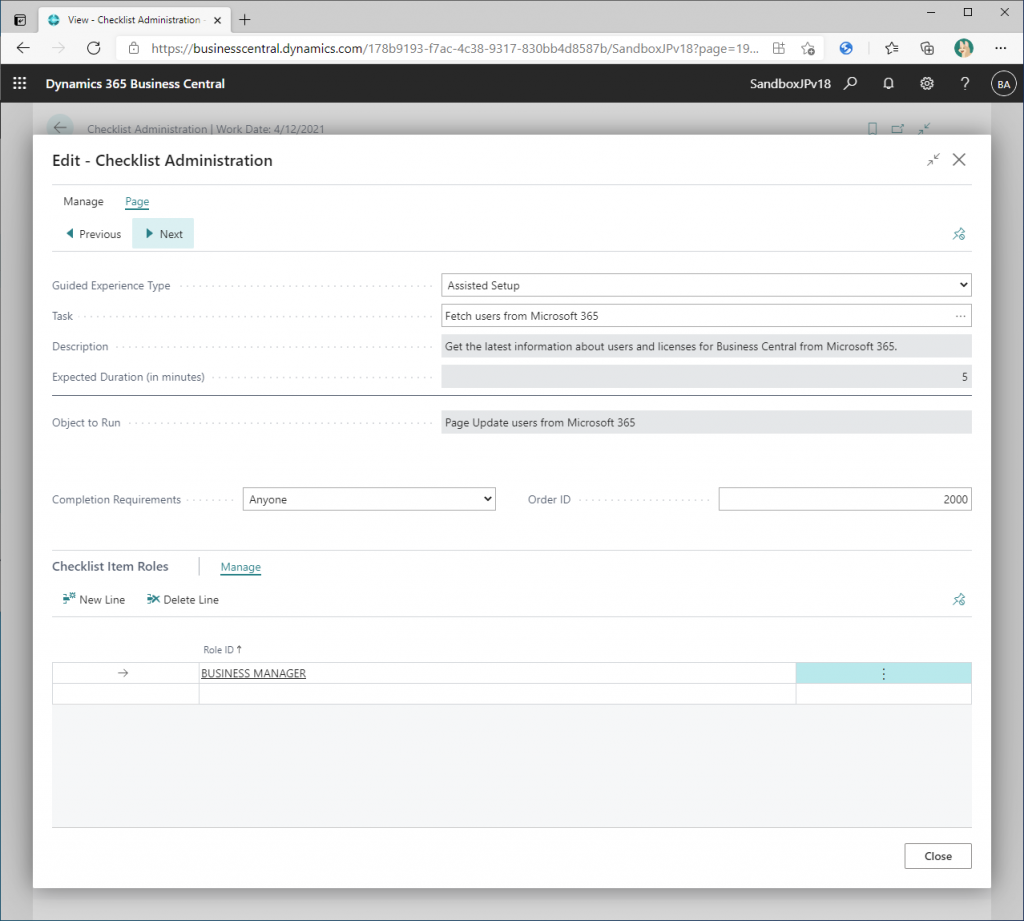
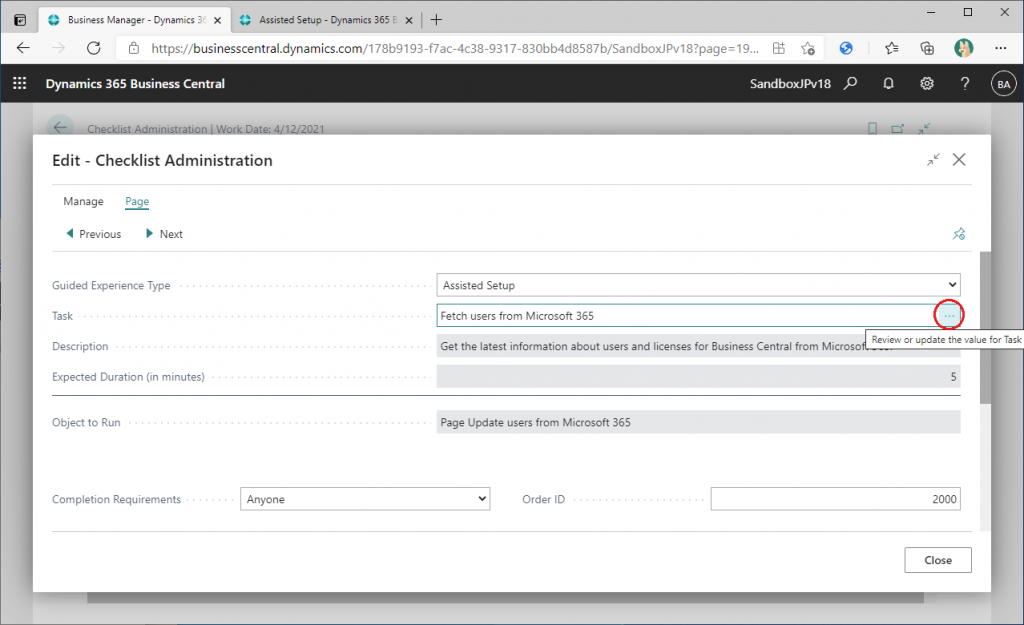
View the card page for “Fetch users from Microsoft 365” with Order ID:2000 and Guided Experience Type of “Assisted Setup. The Guided Experience Type is “Assisted Setup”.

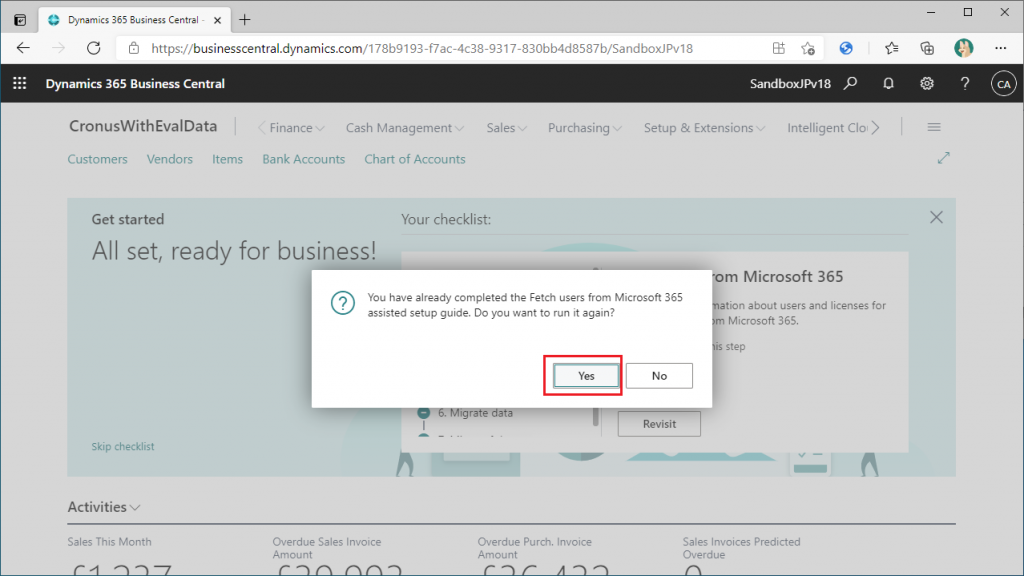
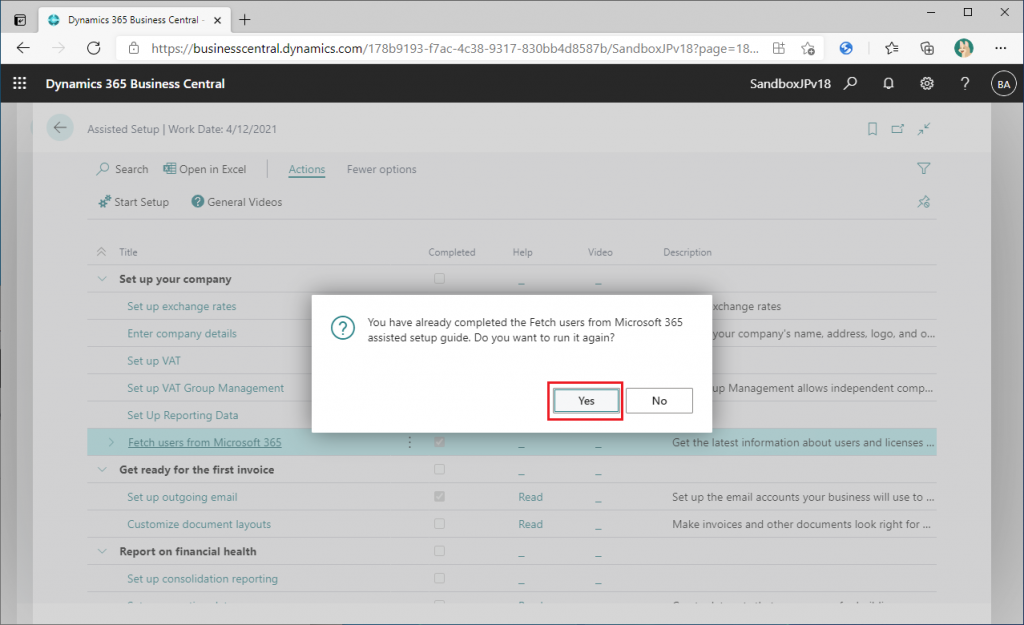
To remember the Step 2 page, let’s select Step 2 on the checklist banner and click on the “Revisit” button.
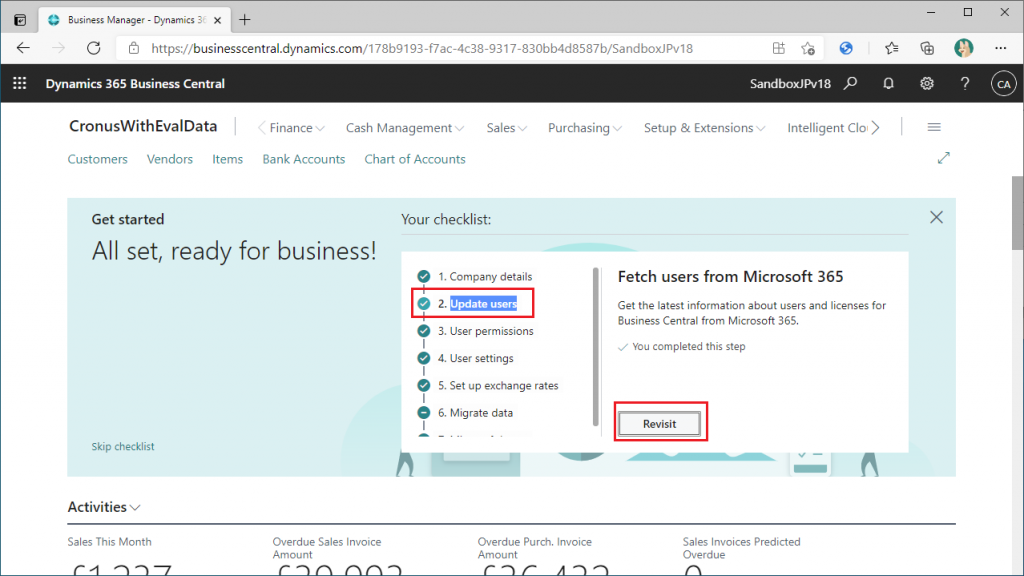
confirm message will be displayed since you have already done so. Select “Yes” this time.
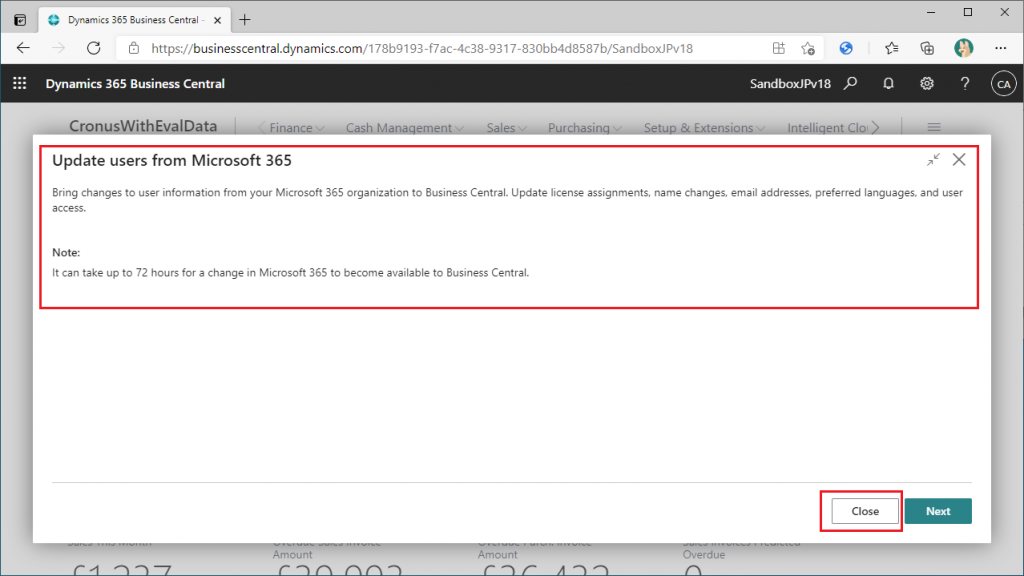
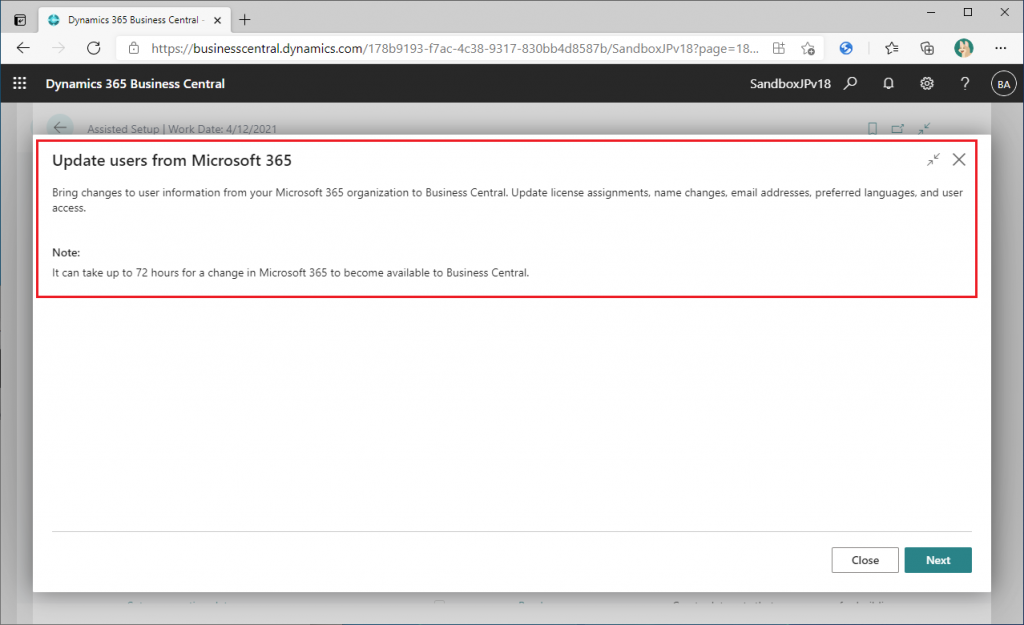
The following page appeared, a wizard to update the BC user information based on the M365 user information. After confirming the page, click “Close” to return.
If the Guided Experience Type is “Assisted Setup” type, the same thing can be done from Assisted Setup. It would be more accurate to say that each step in the checklist calls the wizard in Assisted Setup. Let’s try to run Assisted Setup.
Start “Fetch users from Microsoft365.”
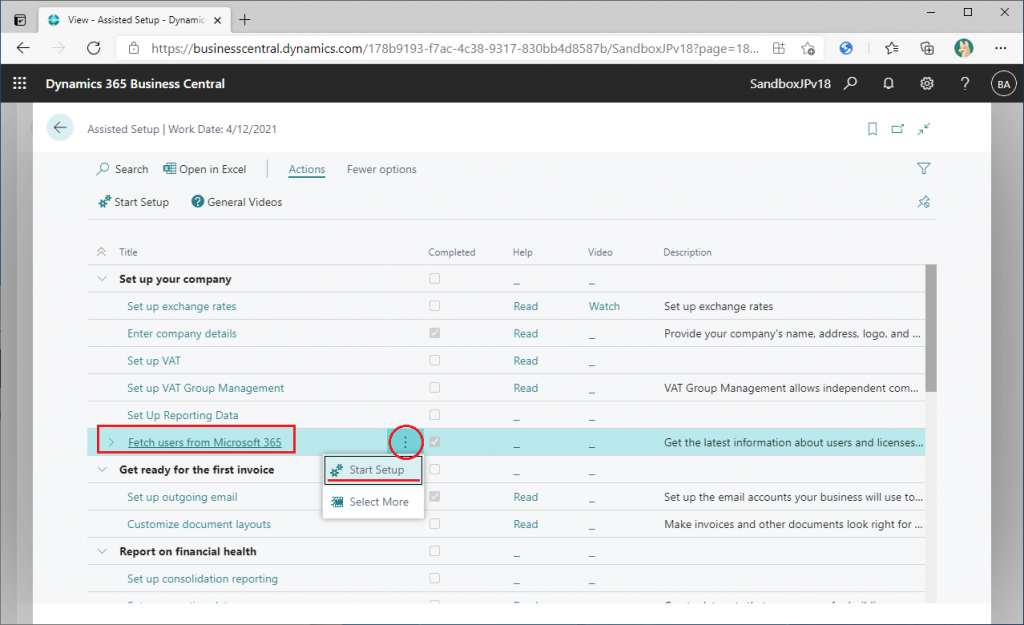
A confirmation message will be displayed since it has already been executed. This behavior is the same as before. Select “Yes” this time.
It is the same page as before, although you can see it more clearly by pressing Ctrl+Alt+F1 to check the page ID.
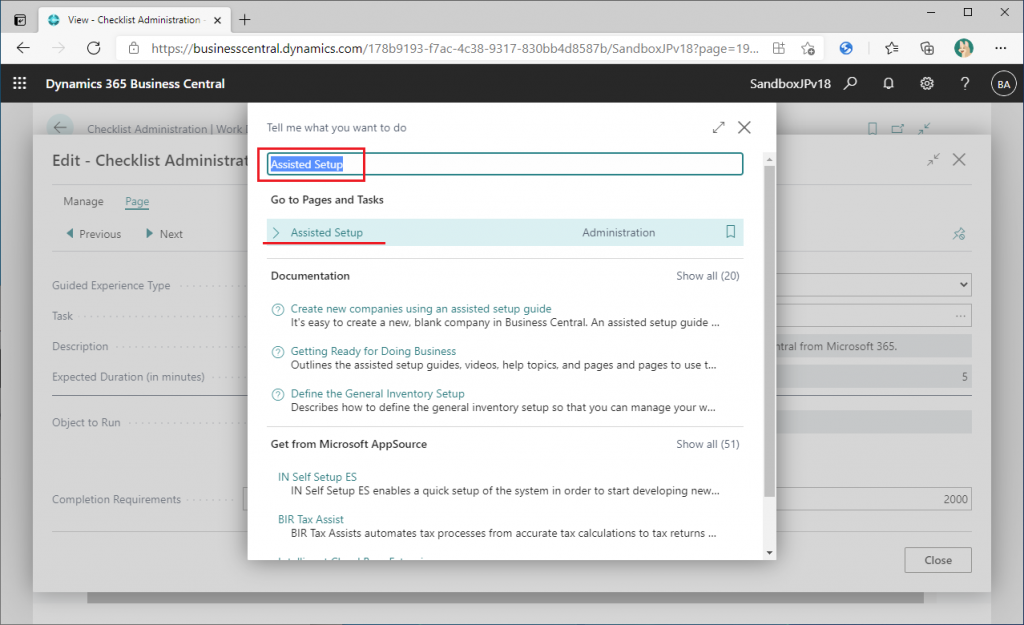
Let’s go back to the “Fetch users from Microsoft” card page of the checklist and look at the Task options.
“Guided Experience Item List” page is displayed. Are the items in this list the same as those in the Assisted Setup list?
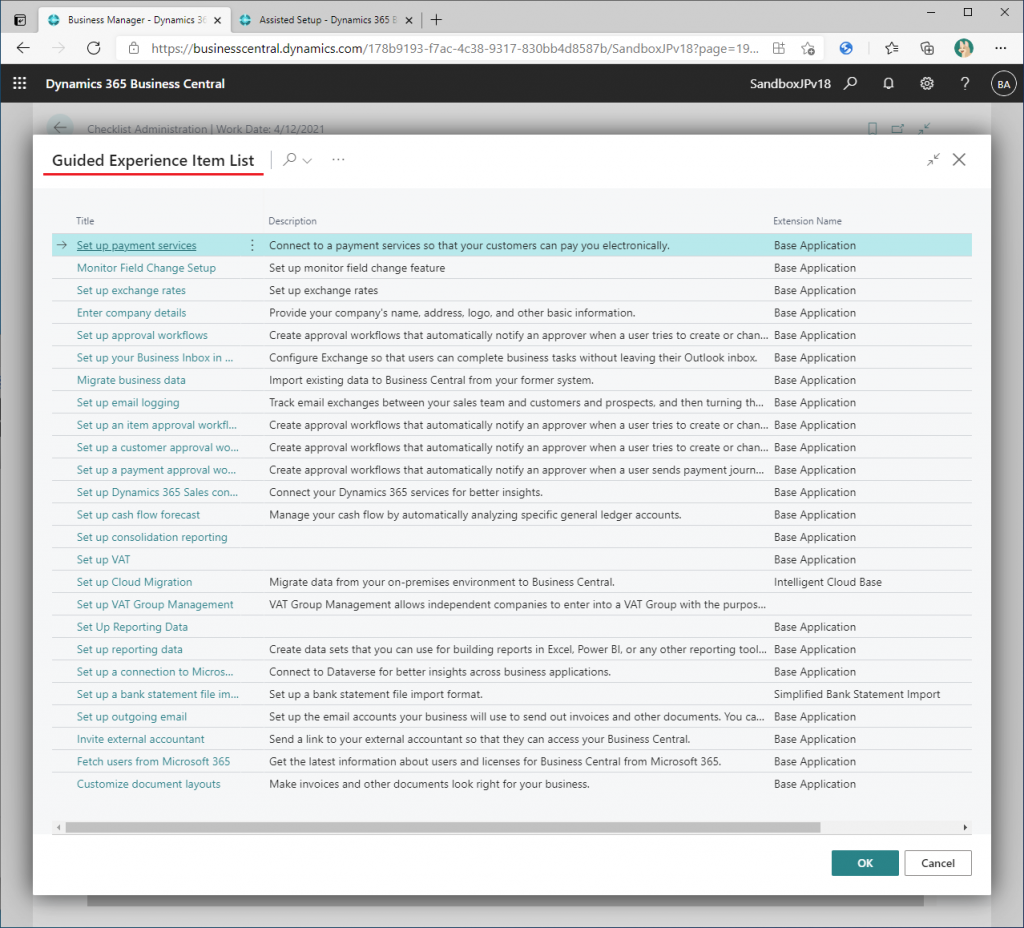
Here is the list page of Assisted Setup. I compared them and found an exact match.
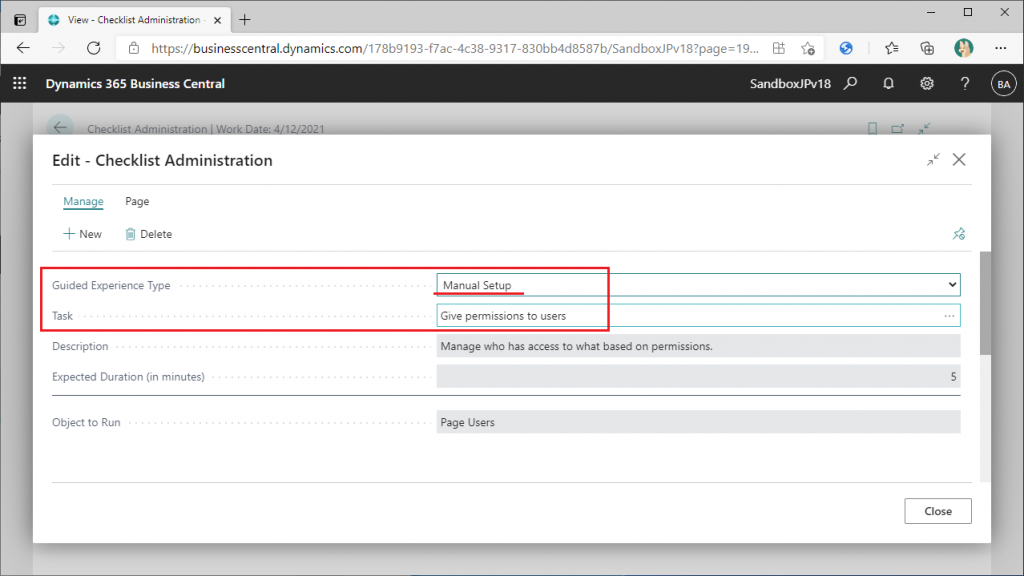
5. Guided Experience Type : Manual Setup
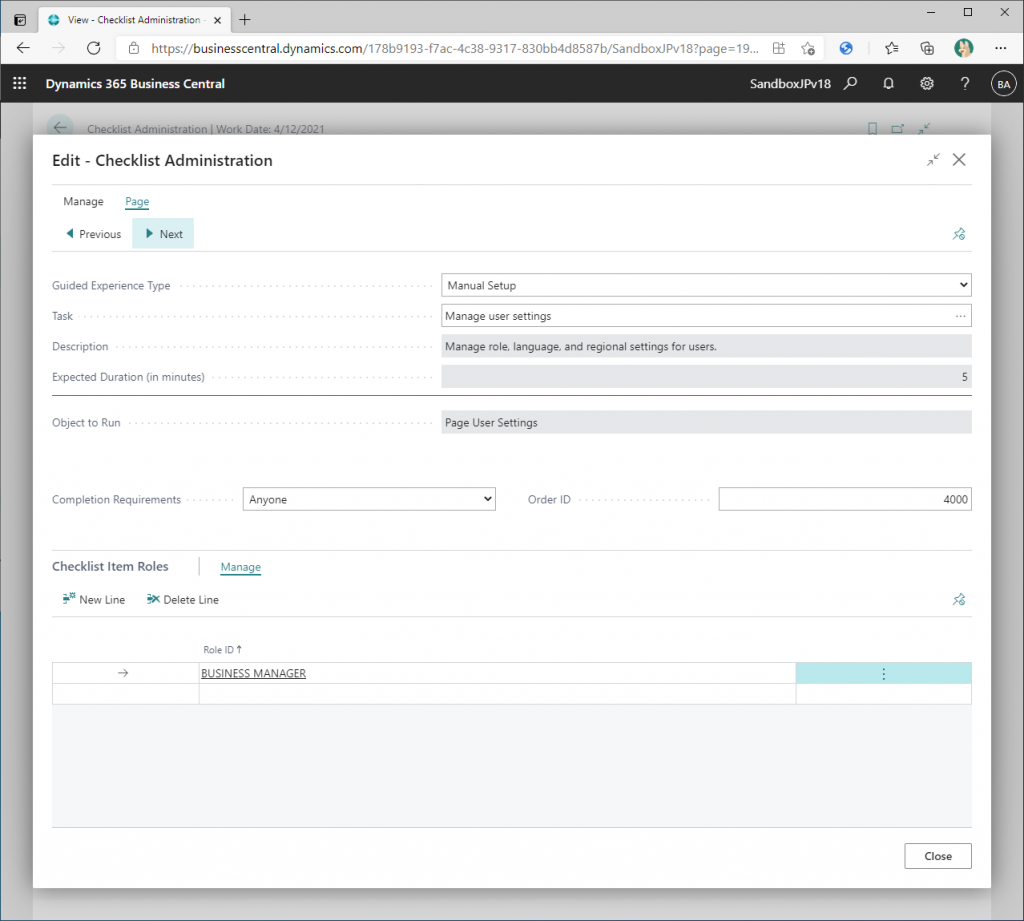
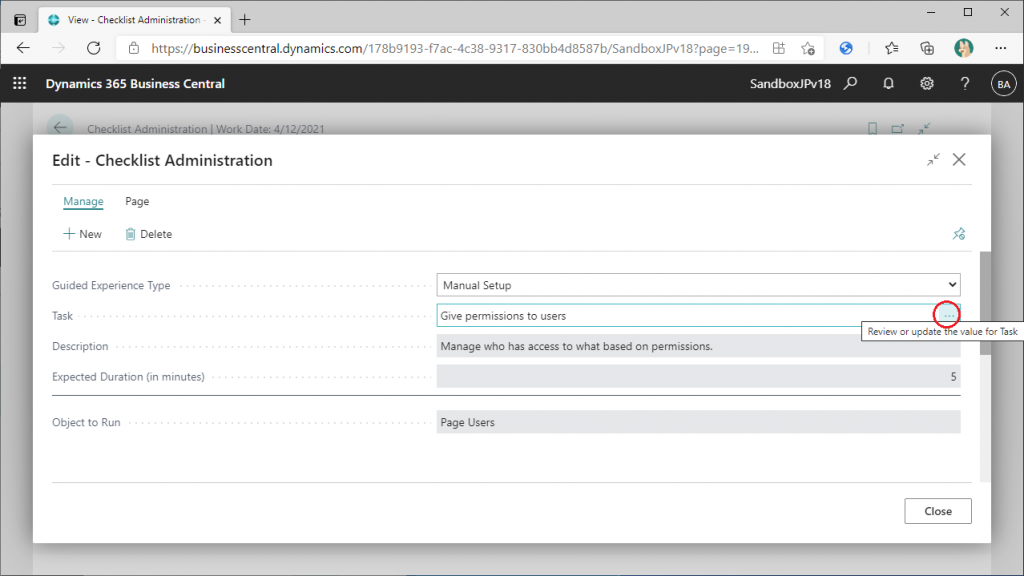
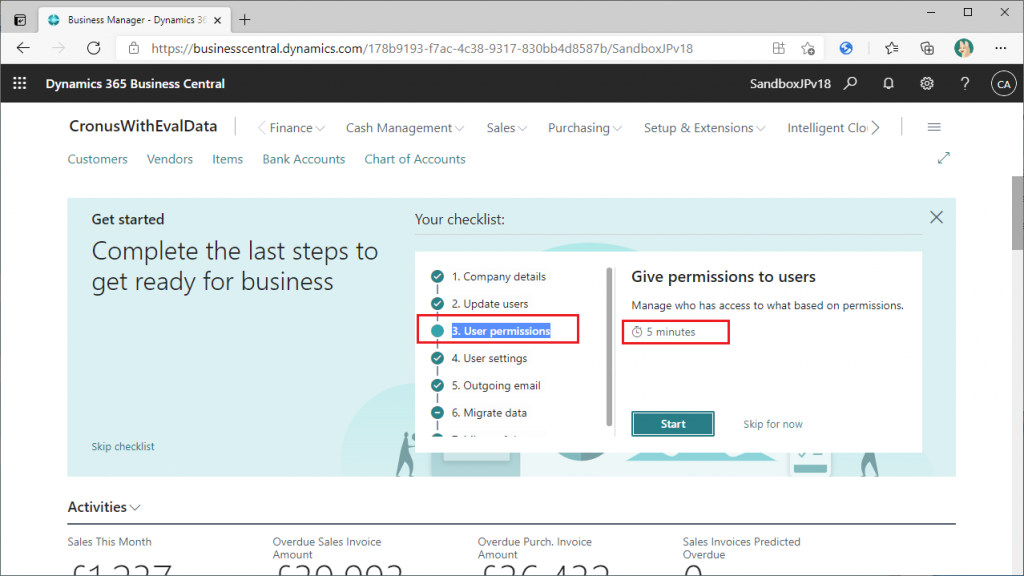
Next, let’s look at the “Manual Setup” type, using “Give permissions to users” as an example.
Select “3. User permission” and click “Revisit” in order to remember the page when you run it from the checklist.
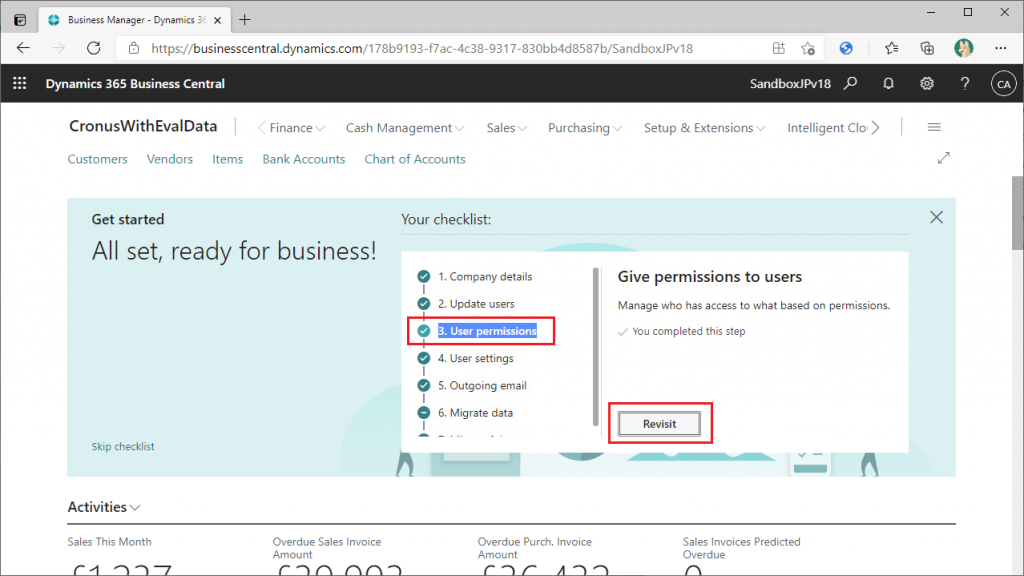
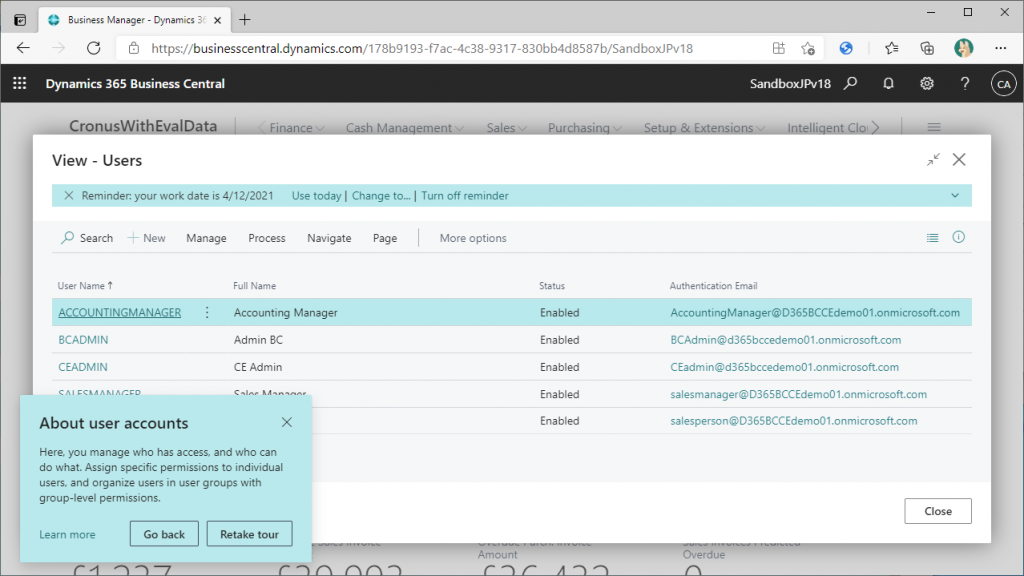
In the case of Manual Setup type, it seems that the wizard does not start but just displays the page.
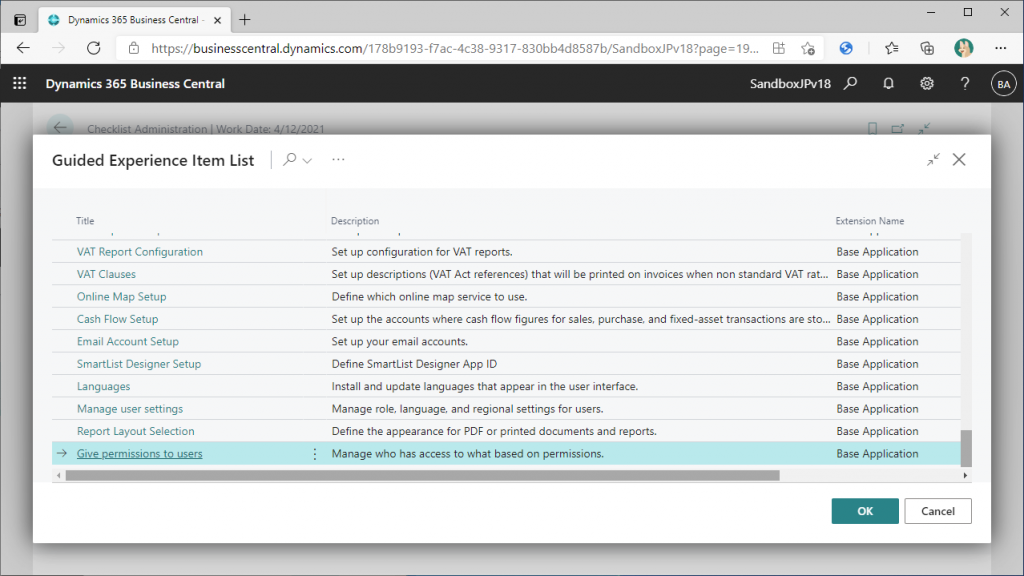
Let’s see the other options as well. On the “Get permission to users” card page, click the “…” button.
The name of the list page is the same as the Assisted Setup type, “Guided Experience Item List”, but the contents displayed are different.
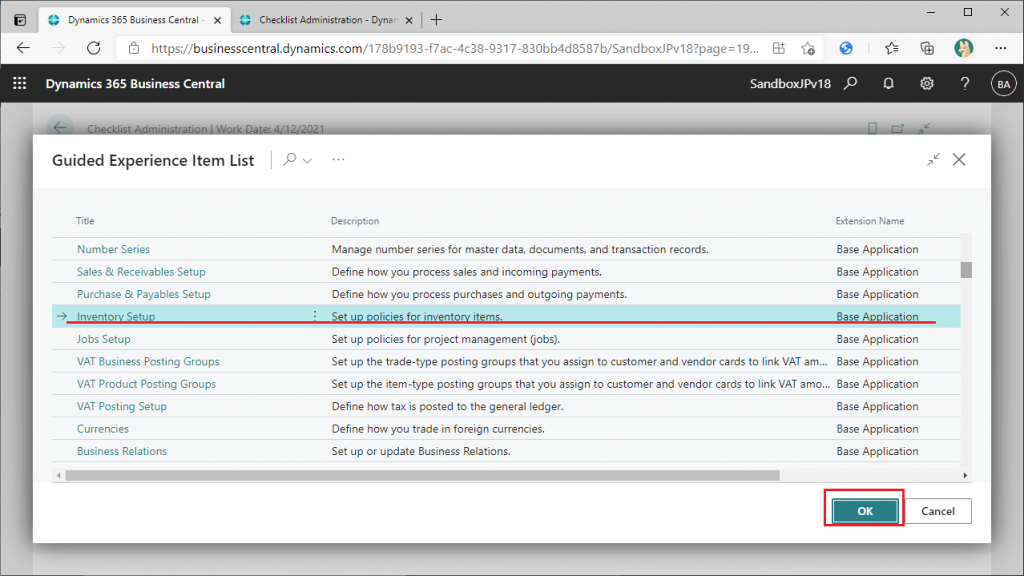
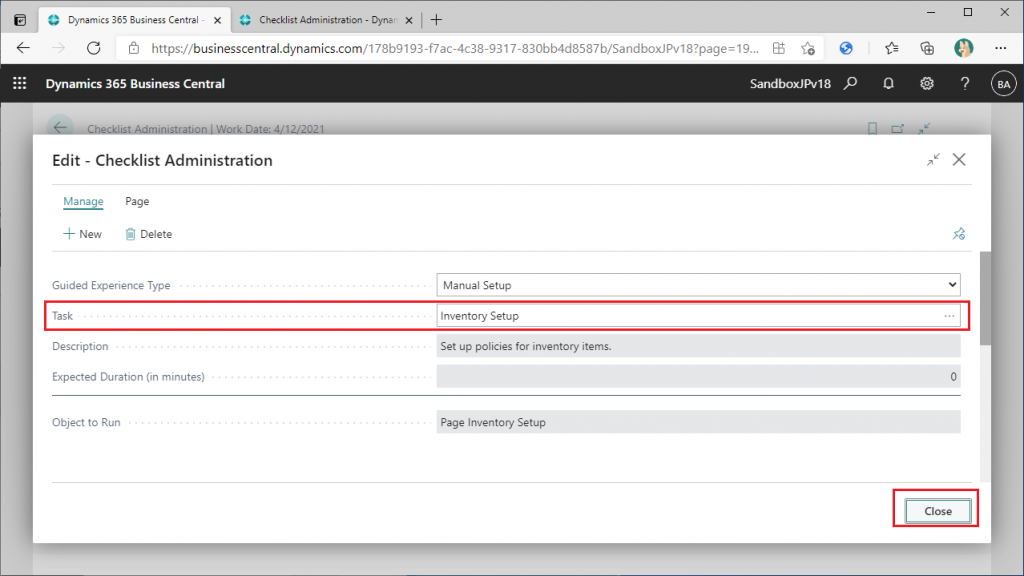
Let’s try selecting “Inventory Setup”.
If you want to change the settings, you will be warned as shown below. Select “Yes” this time.
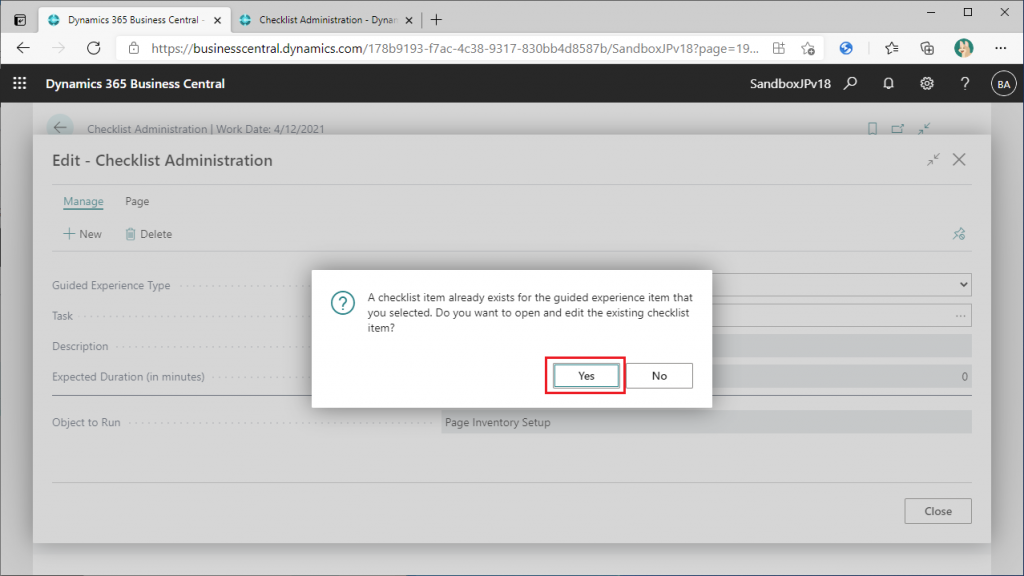
The Task has switched to “Inventory Setup”. Click on the “Close” button to close the window.
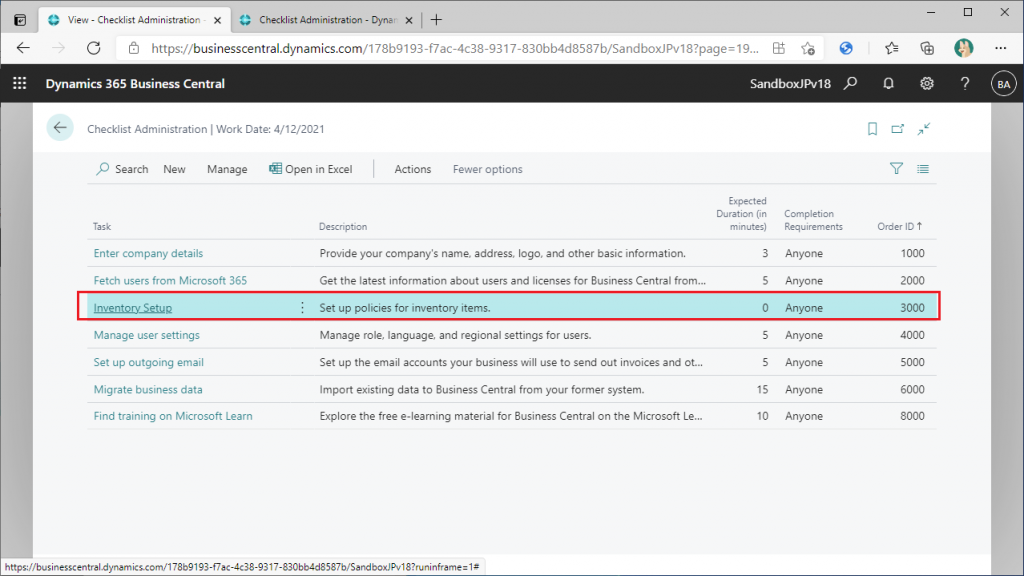
We are back to the list page. You can see that it has been changed to “Inventory Setup”.
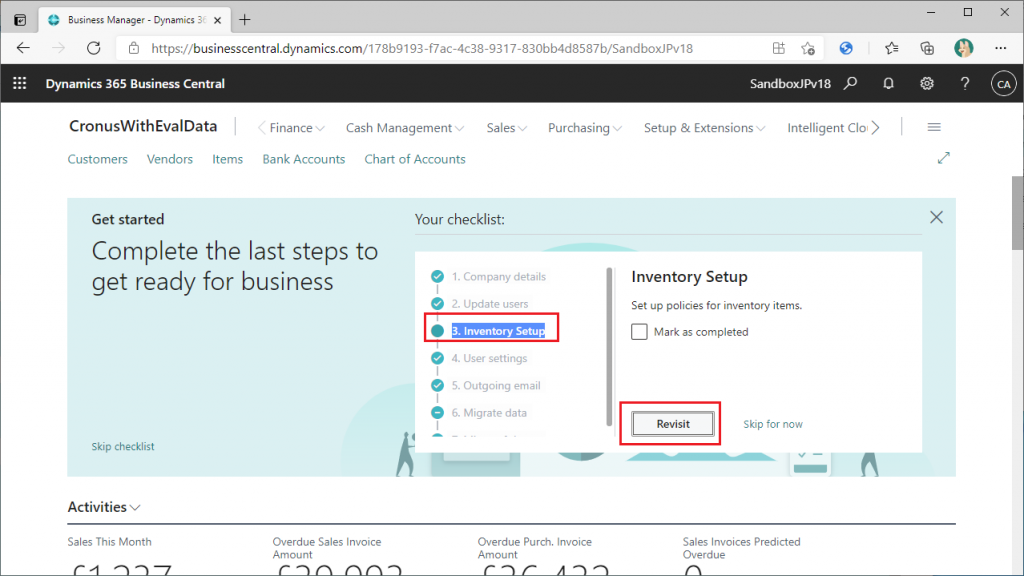
Let’s take a look at the checklist banner. When you sign in again, Step 3 will be changed to “Inventory Setup”, select Step 3 and click “Revisit”.
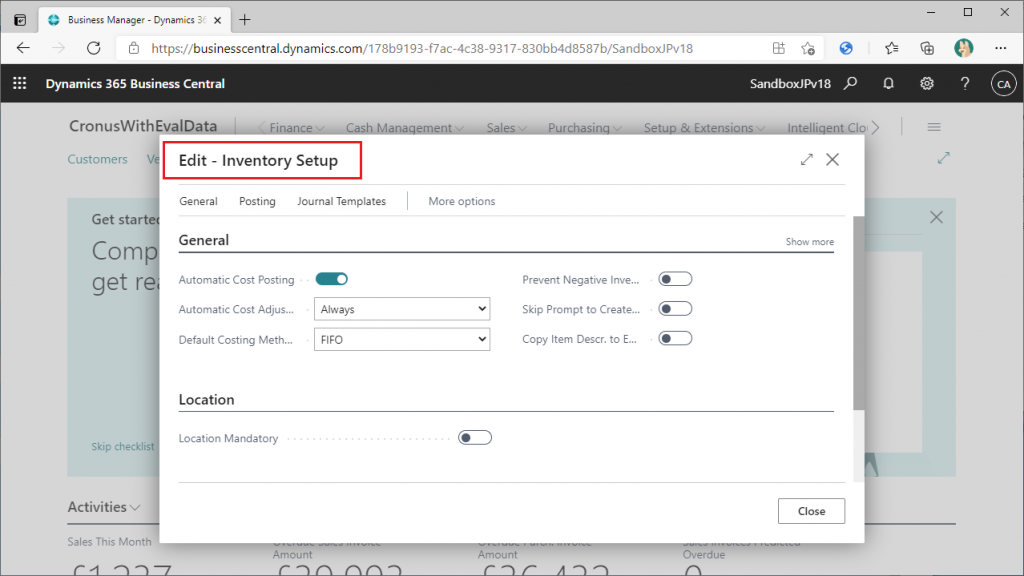
Then the Inventory Setup page was displayed. As expected, the wizard did not start, it simply displayed the page.
After checking is done, return to the original setting.
The checklist is now back to default. It seems that once I changed it back to another option, it was no longer in the completed state.
By the way, is it possible to add more options for the Manual Setup type?
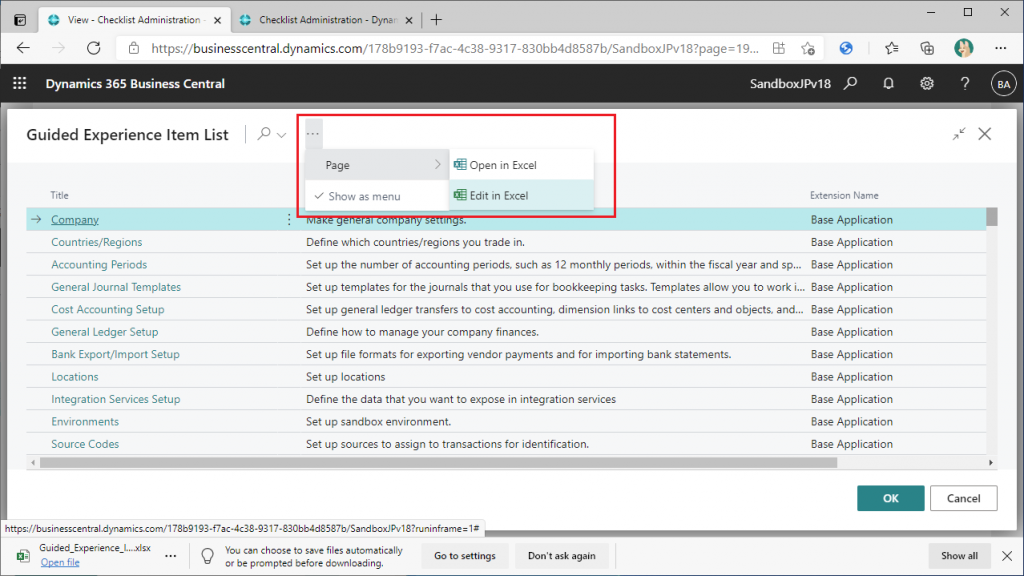
Assisted Setup is a Wizards, so I don’t think it can be added easily, but Manual Setup just displays a page, and there are various Setup pages, so it seems like it could be added. However, there is no Add New button in this list page. There is barely an Edit in Excel button, so I’ll try to see if I can add items using Edit in Excel.
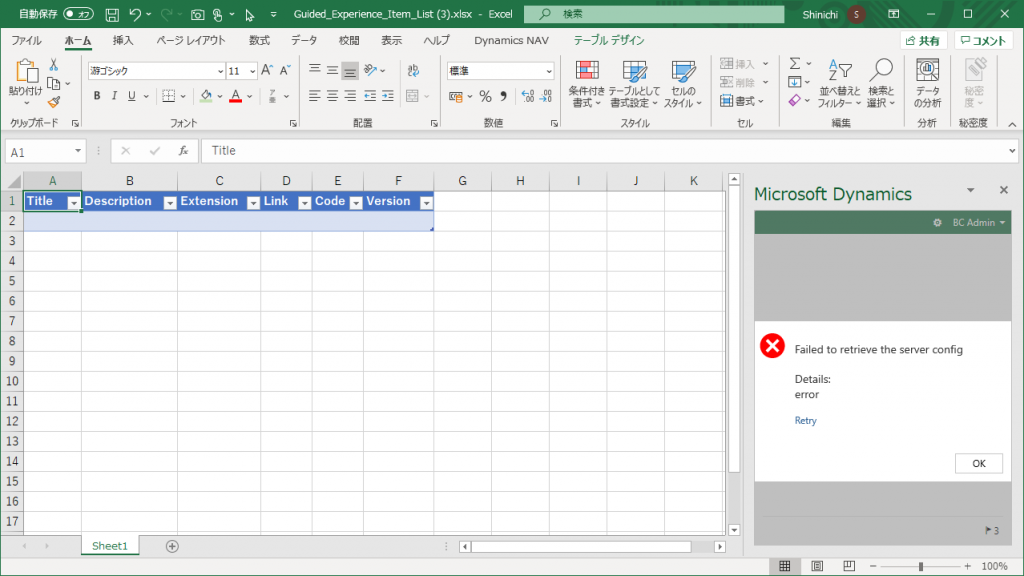
Unfortunately, it gave me an error when I opened it. I also tried to see if I could add it in the configuration package, but I could not.However, I hope that this will be added in the future.
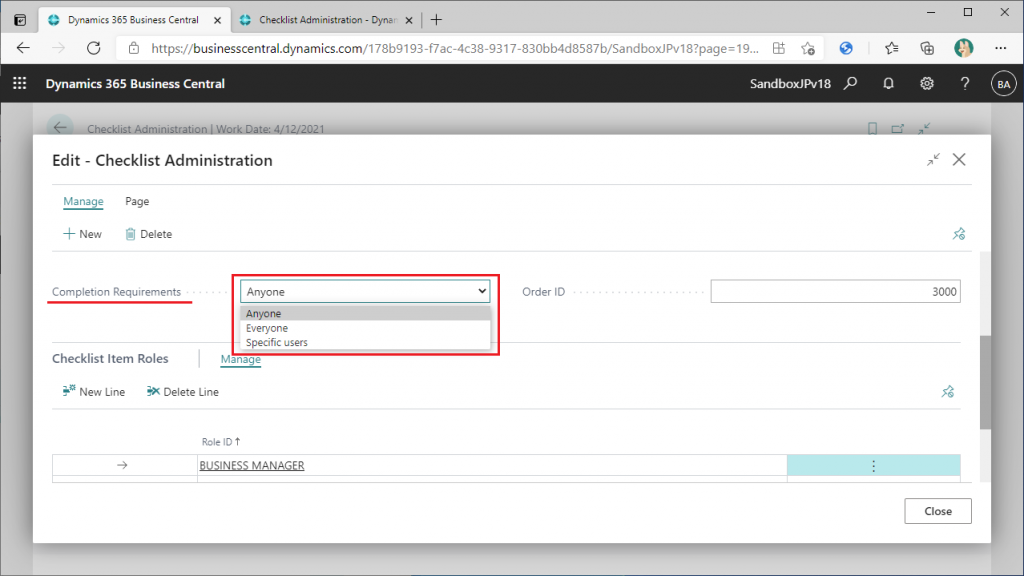
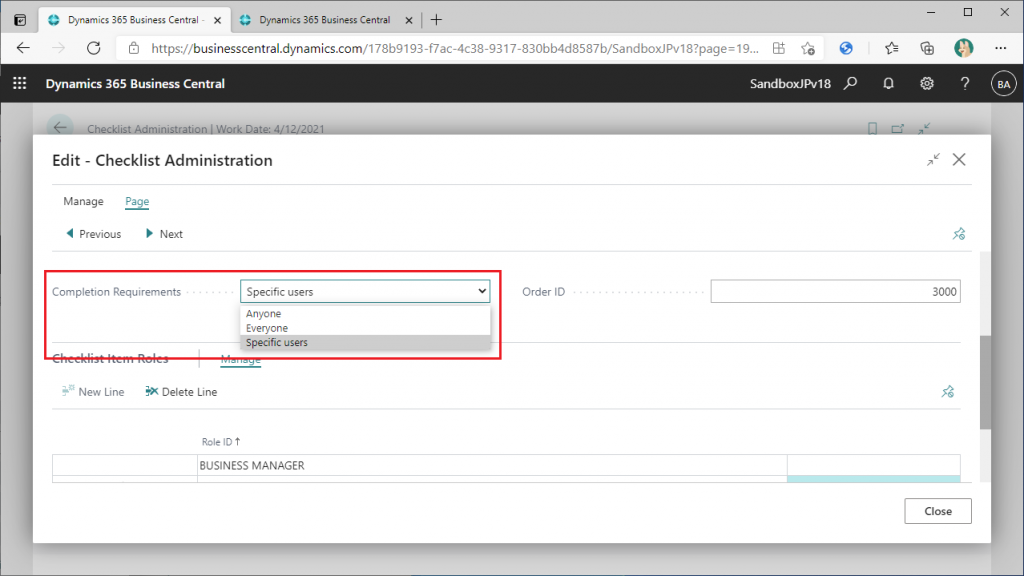
6. Completion Requirements
see the items by scrolling to the bottom of the card page. There are three options: “Anyone”, “Everyone”, and “Specific Users”. By default settings, all the checklist cards are set to “Anyone” and “Business Manager” is set below it. What does this mean?
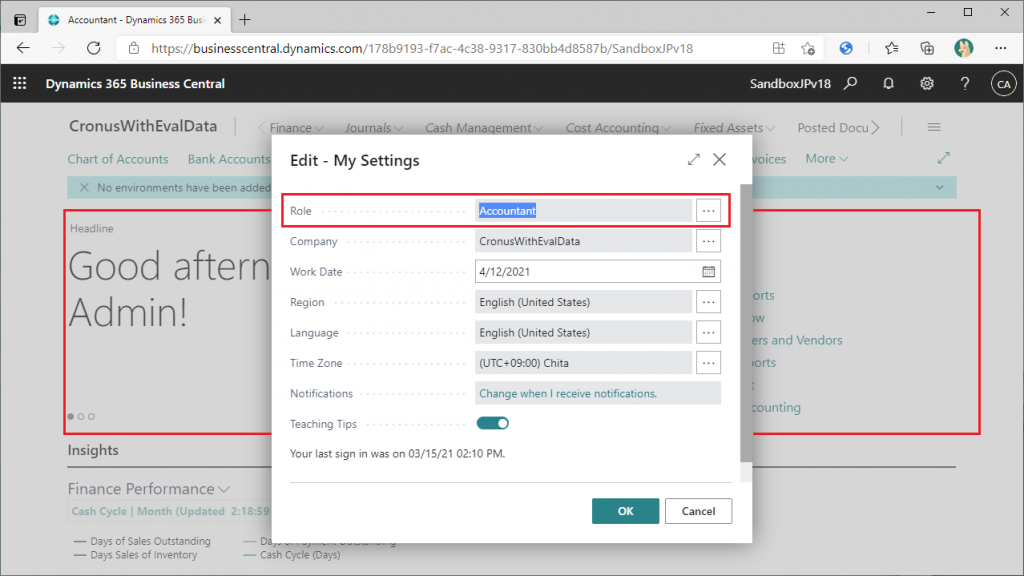
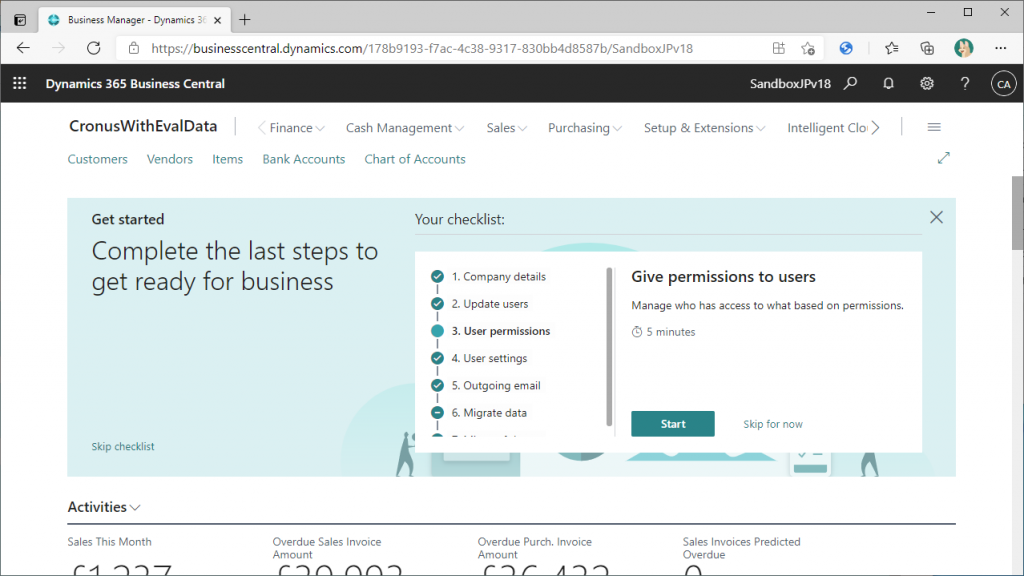
Display the checklist banner and switch the role from “Business Manager” to another role.

For example, if you switch to Accountant and click OK, the checklist will not be displayed.
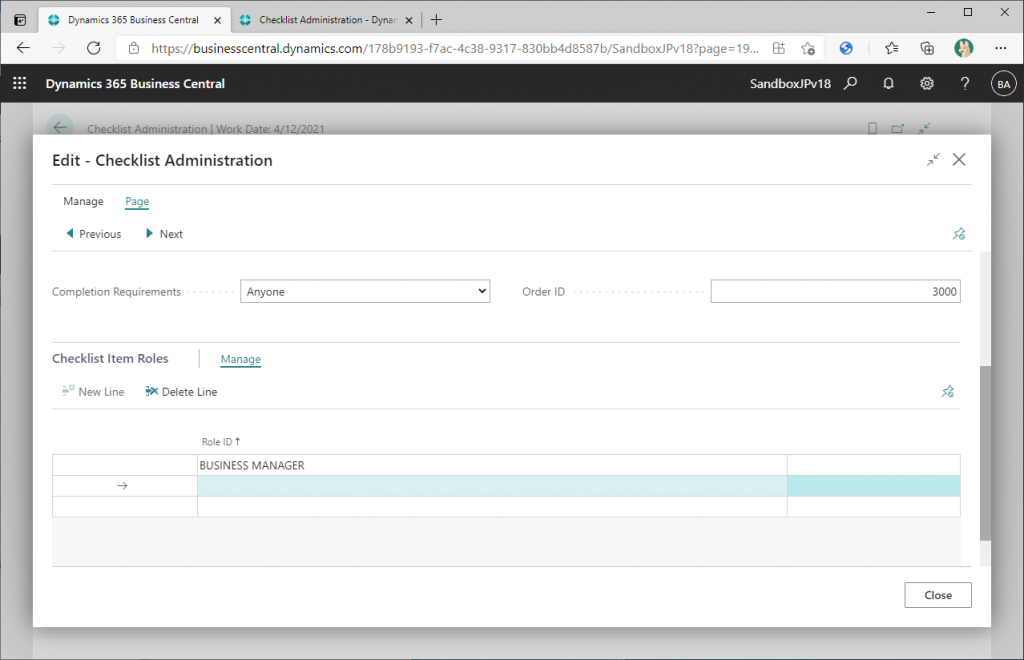
So what happens if you try to add a role other than Business Manager?
Unfortunately, at the moment, it is not possible to change the role in the checklist card page. I hope this point will be improved eventually.
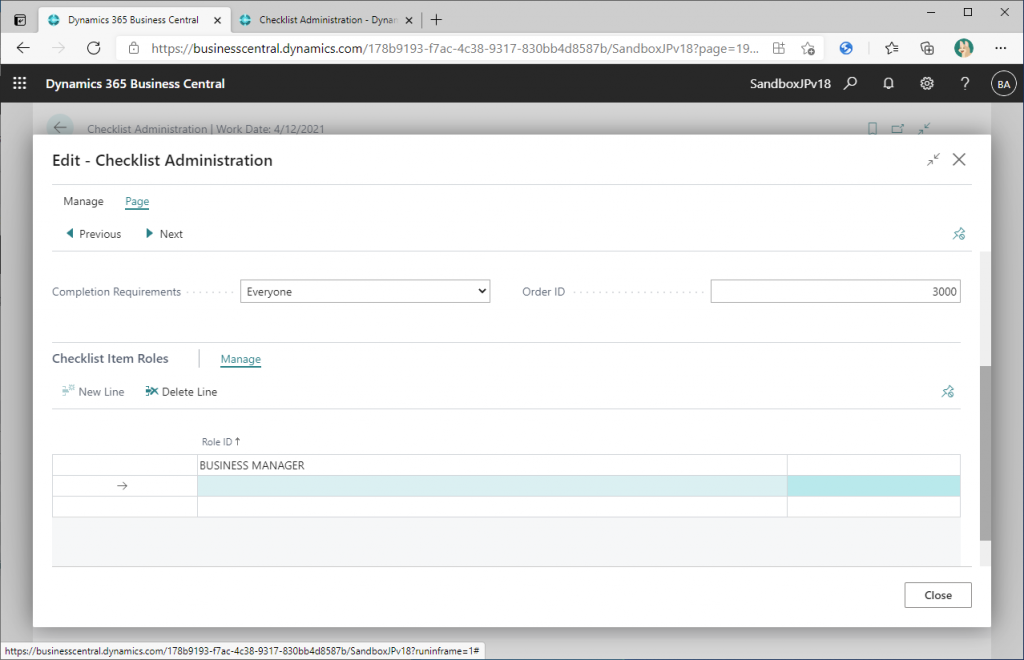
If you switch the type to “Everyone”, the behavior is the same. Roles cannot be added. The only thing we can do is delete Business Manager row.
I thought I might be able to add it from another page, but I couldn’t because there was no add button on the page.
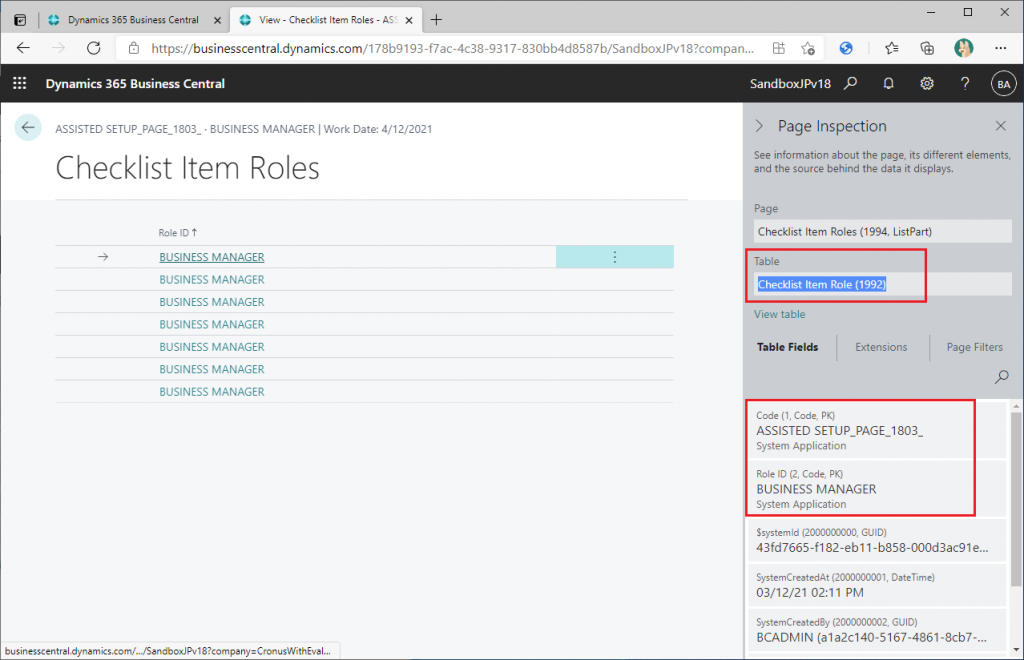
how about to add by configuration package? An permission error will occur..
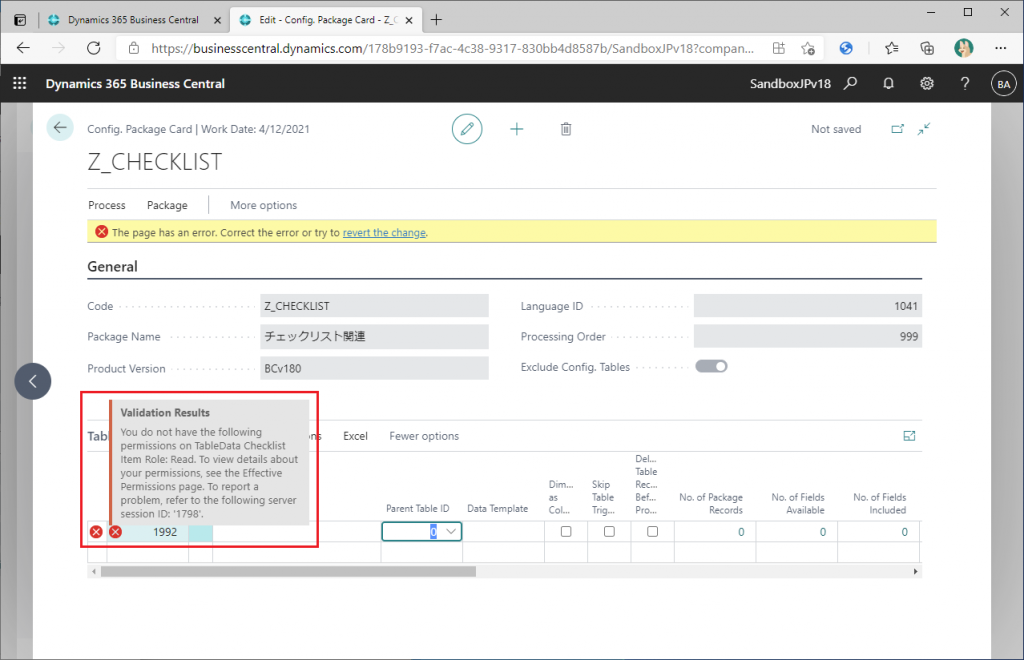
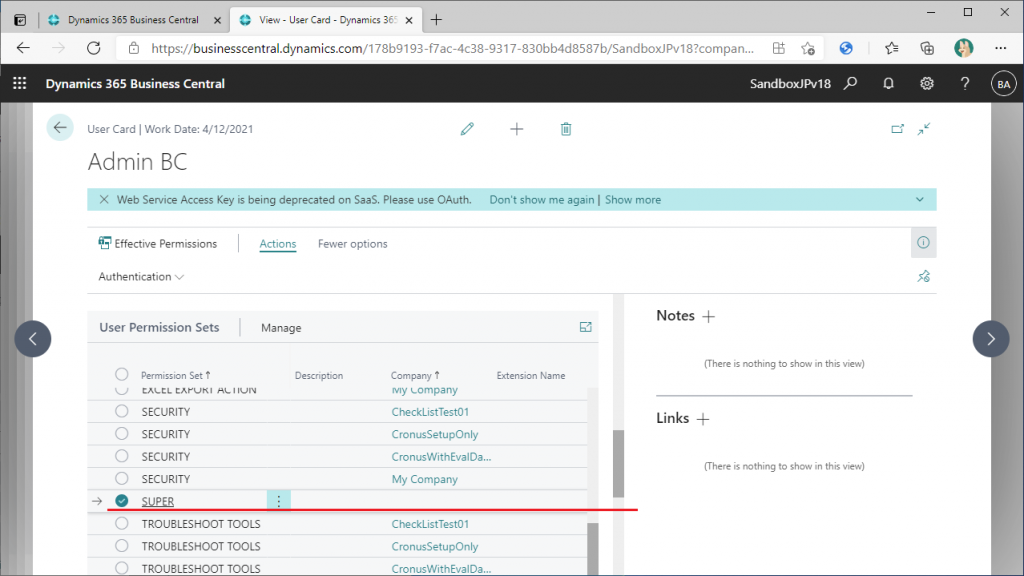
The user has been granted Super permissions, so there should be no lack of permissions. It looks like there is some special logic guarding it. We should wait for future updates here.
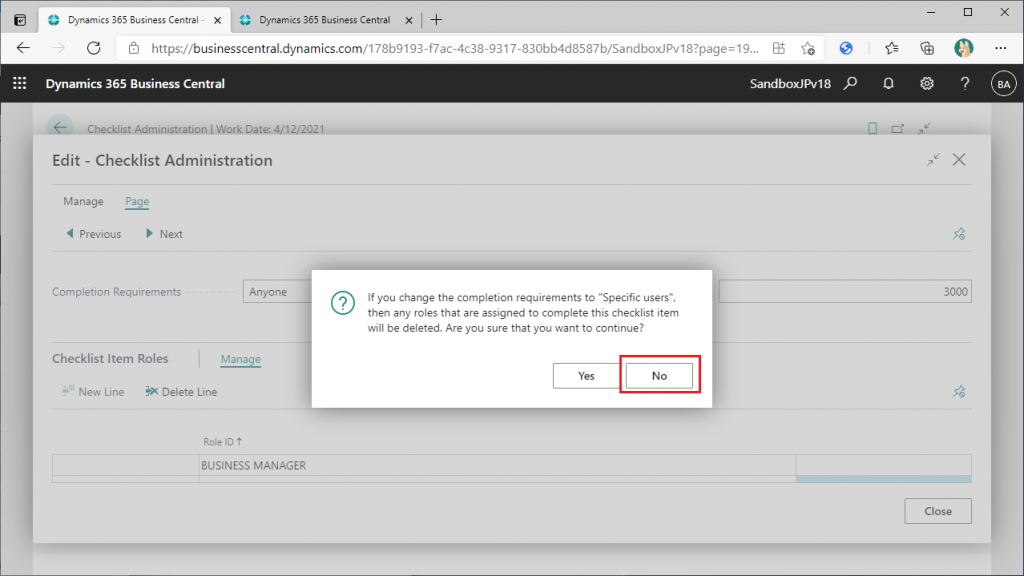
Let’s switch to the third option, “Specific User”.
This is a warning that the roles that have been set will be lost. I don’t want them to disappear because there is no way to add them again. I’m going to choose “No” here. I’ll try another way.
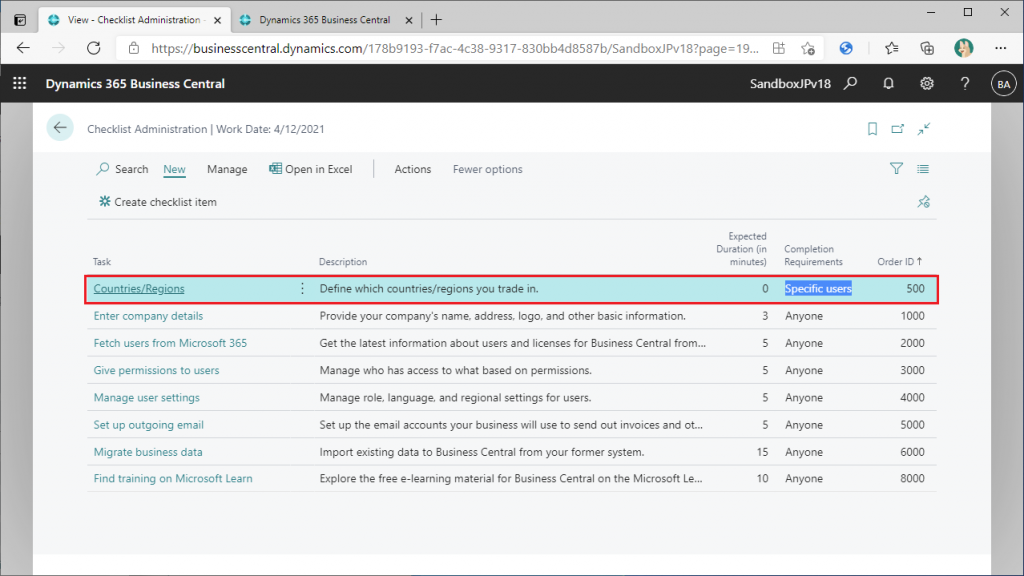
7. Create Checklist Item
Return to the checklist list page. In the “New” tab, there is a “Create checklist item” button. You can add a new item, so let’s try it.

Specify “Countries/Regions” in Manual Setup as exsample. Then we can specify the user ID. You can now specify the user ID.

The checklist now looks like this. Now we can add them to the checklist banner. Let’s sign in with the specified user and display the checklist banner.
Unfortunately, the settings were not reflected. This is probably still under development. I hope it will be improved in the next update.
8. Summary
There are some parts that can be changed from the default values and some that can’t, but I think this will probably be improved in future updates. If the number of areas that can be changed increases as expected, I think it will become a powerful user support tool. I’m looking forward to it!