
In 2020 release wave 1, integration between Business Central and CDS has been improved. In this article, I’ll walk through the process of setting up Business Central and CDS integration.
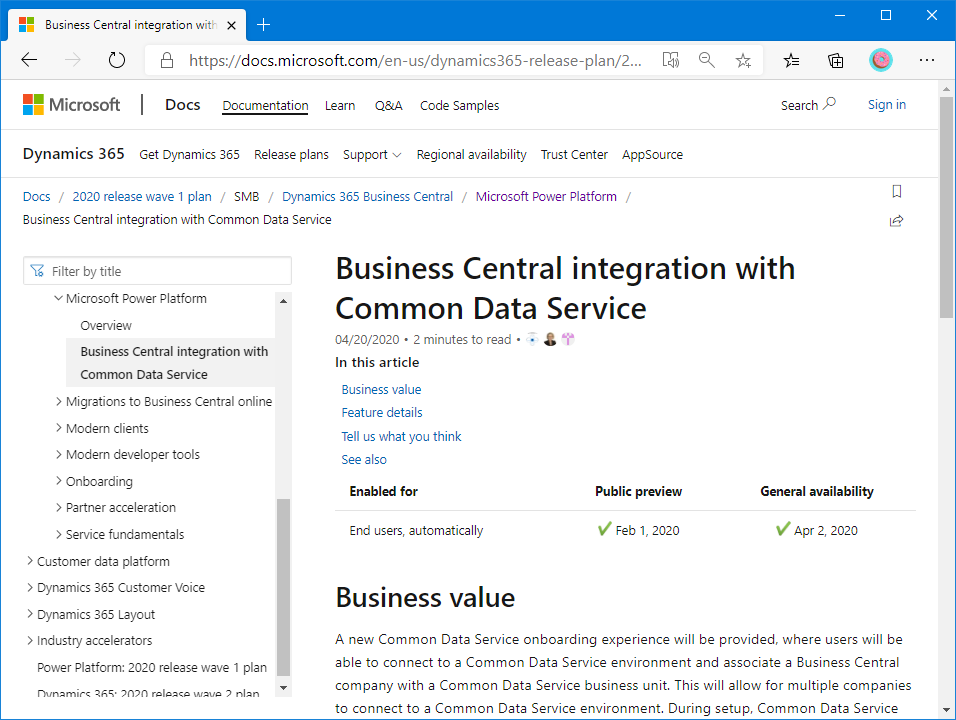
You can learn more about Business Central’s integration with CDS in the following article.
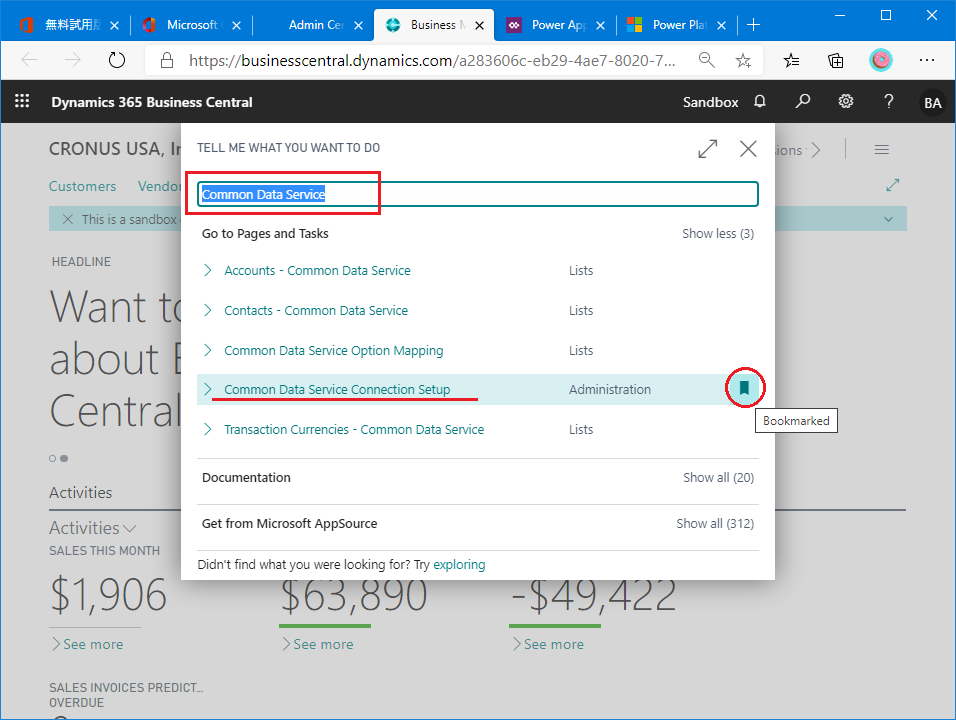
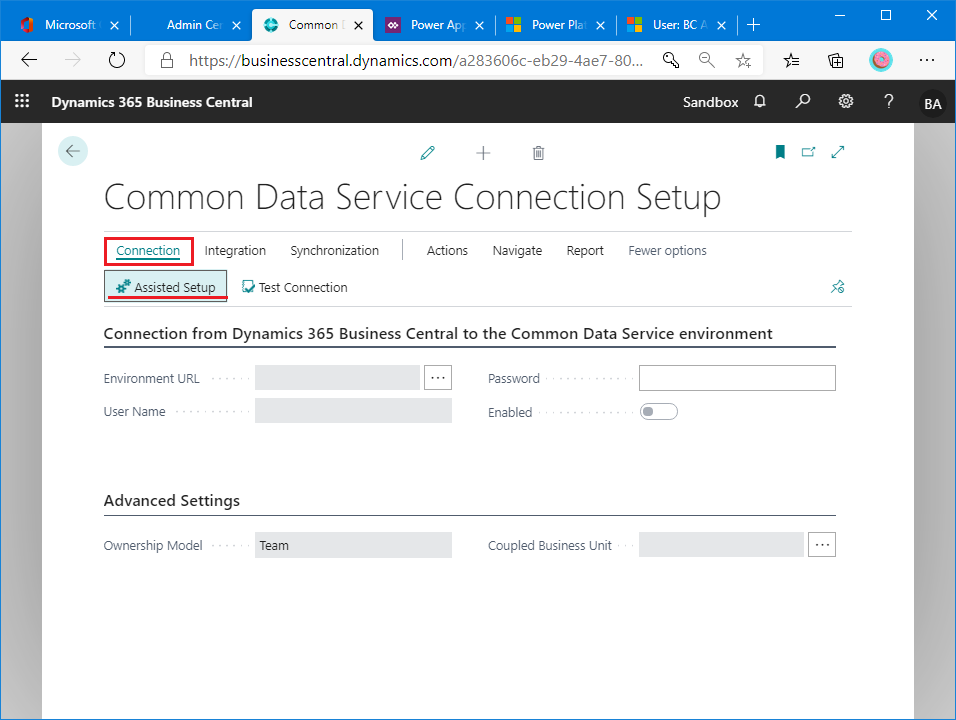
First, let’s take a look at the page for setting up the CDS and BC integration. In the search box, type keyword ‘Common Data Service’, and choose function Common Data Service Connection Setup. It’s good idea to bookmark this function, because you will use this function a lot of times in later steps.
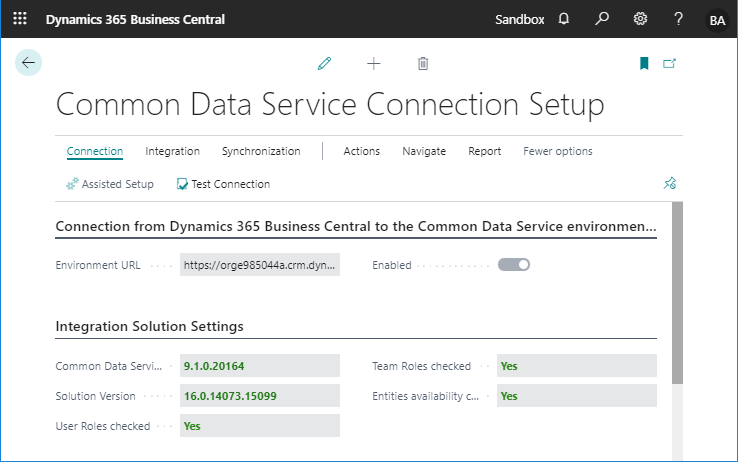
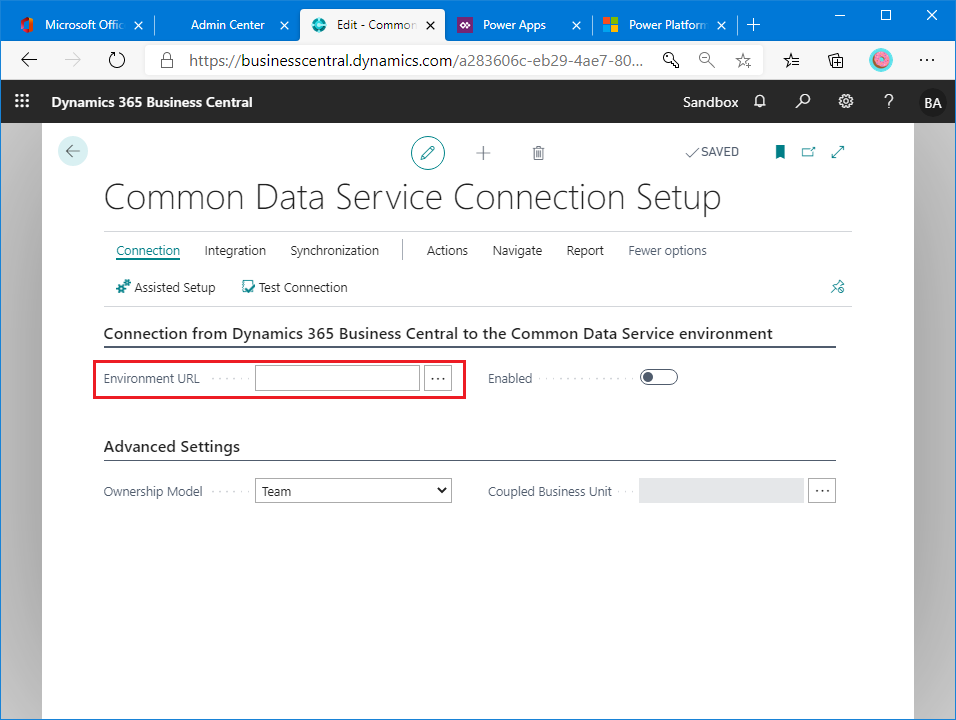
On Common Data Service Connection Setup page, you need to specify the CDS environment URL to setup connection between CDS and BC.
So, you should have CDS environment for connect to BC. In this walk through scenario, I create new CDS environment for BC instead of using default environment.
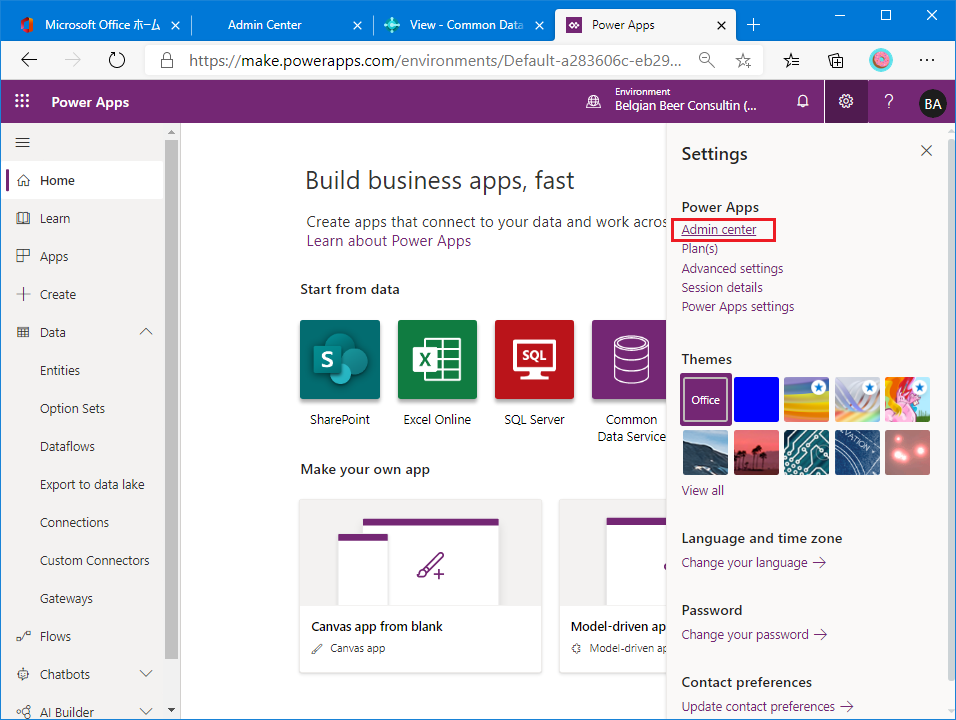
To create new environment, click gear icon and then choose ‘Admin center’.
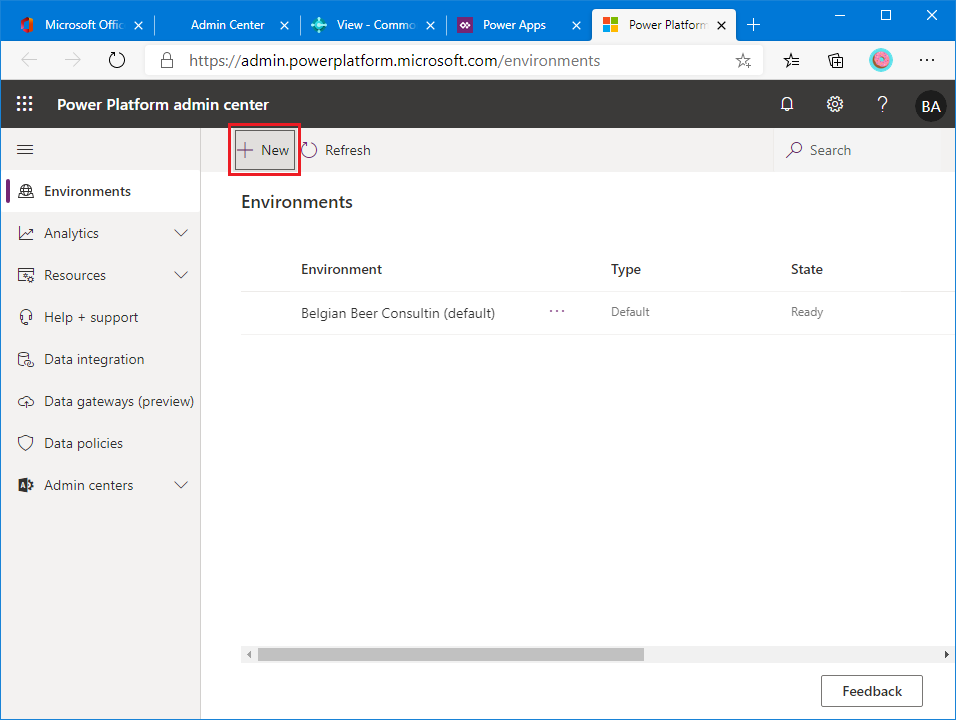
There is only default environment on Environments list page. To create new environment, click on ‘+New’ button.
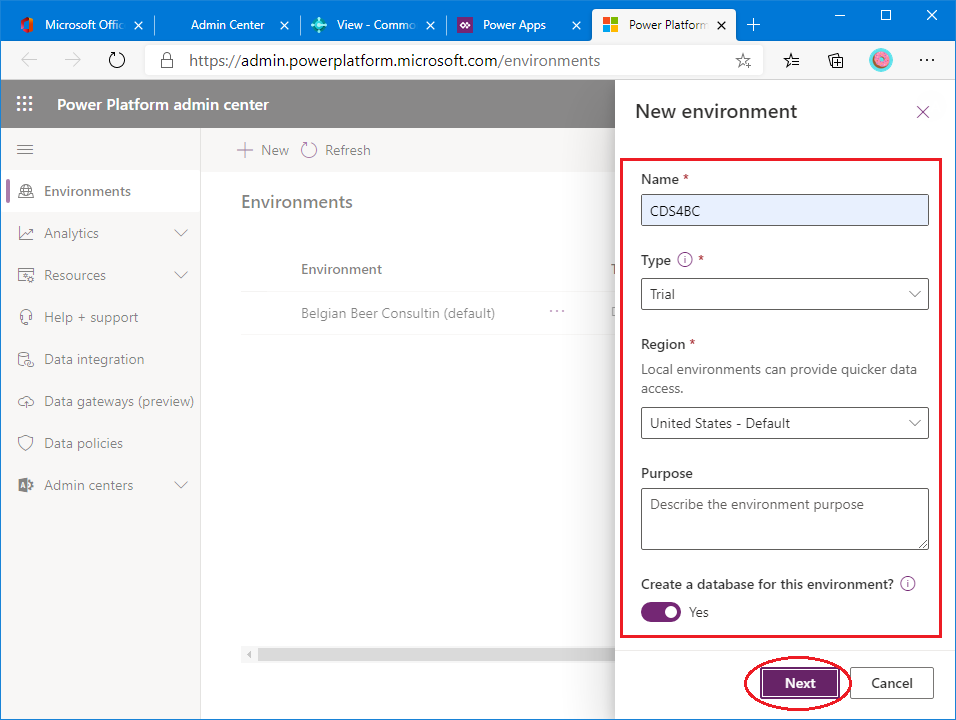
Describe new environment. It’s important to check on Create a database for this environment. Then choose ‘Next’.
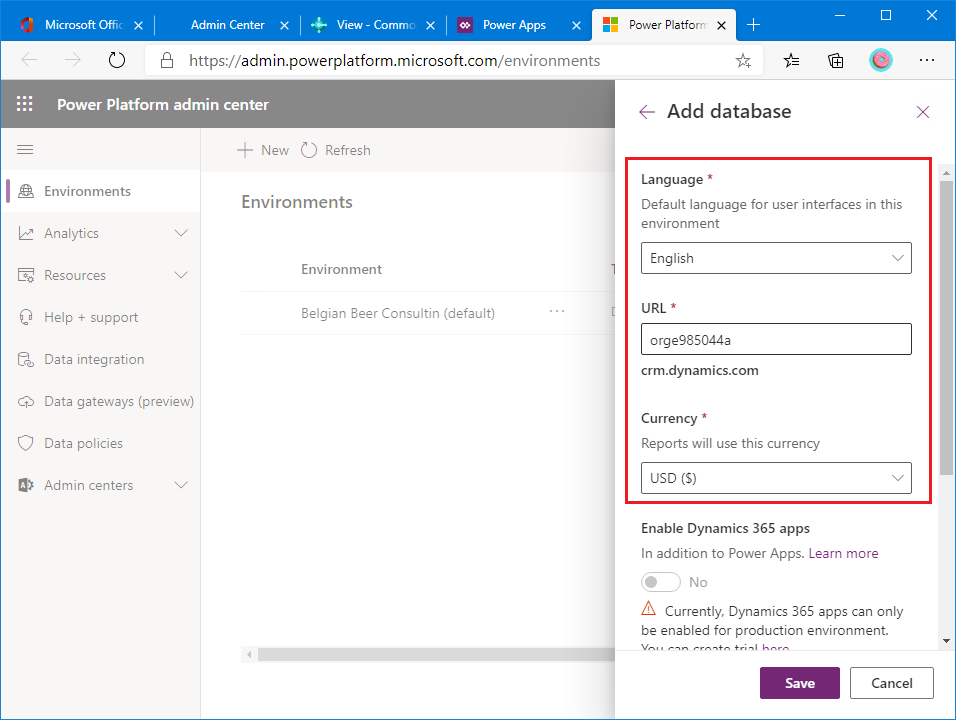
Describe new database. DO NOT click on ‘Save’ before scroll down.
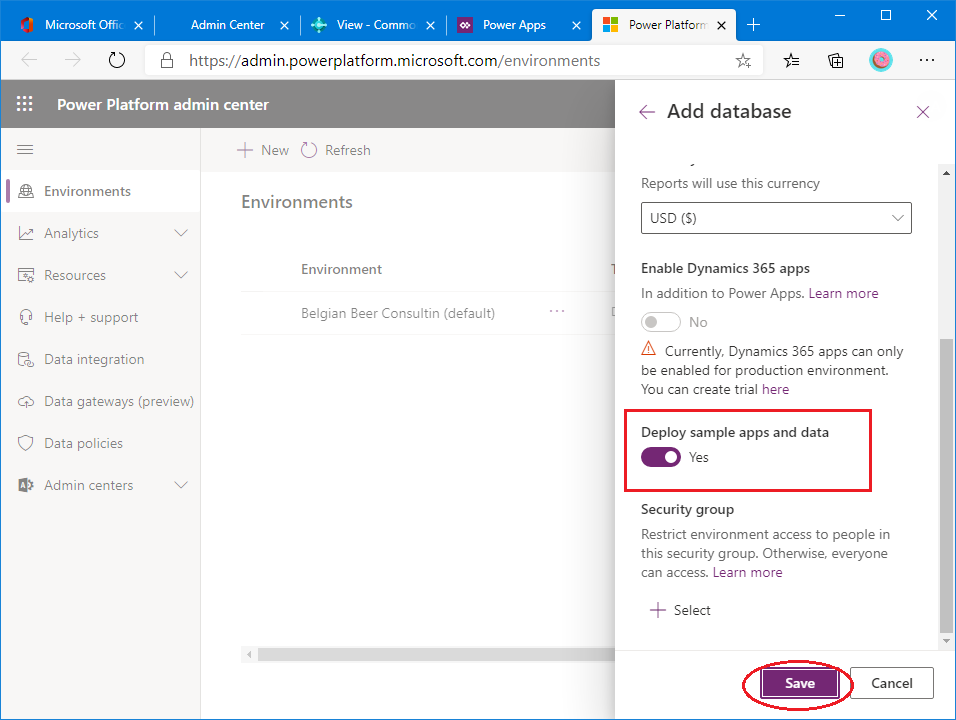
It’s very important to check on Deploy sample apps and data. You can save time to prepare data for integration test. And then save.
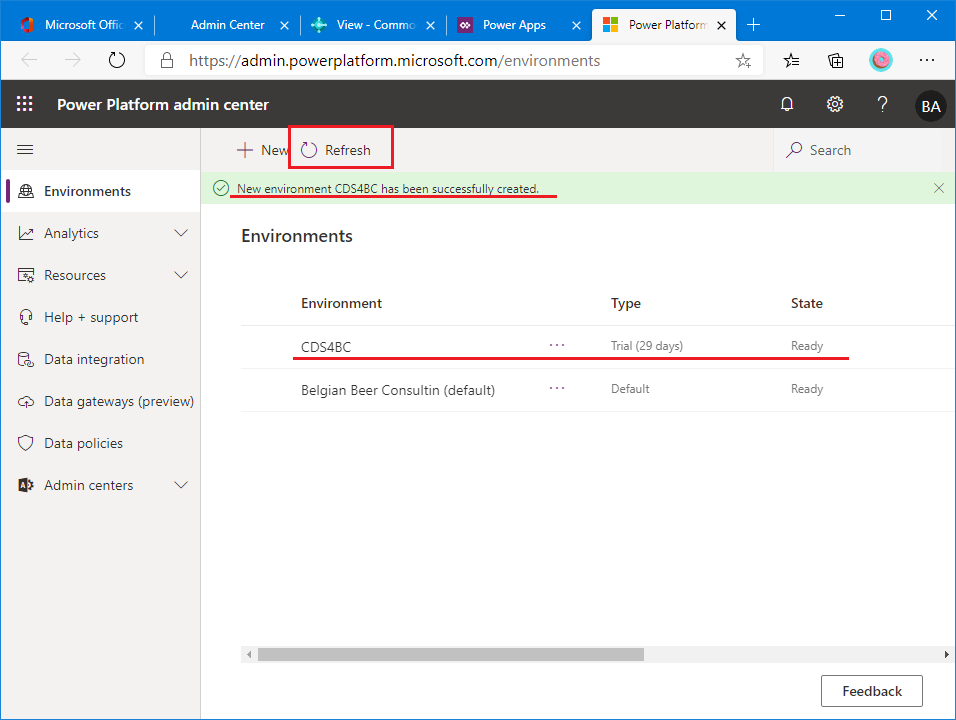
New environment will be created in a few minutes.

Now, the new environment has been created. You are able to see the column State ‘Ready’ after clicking on Refresh button.
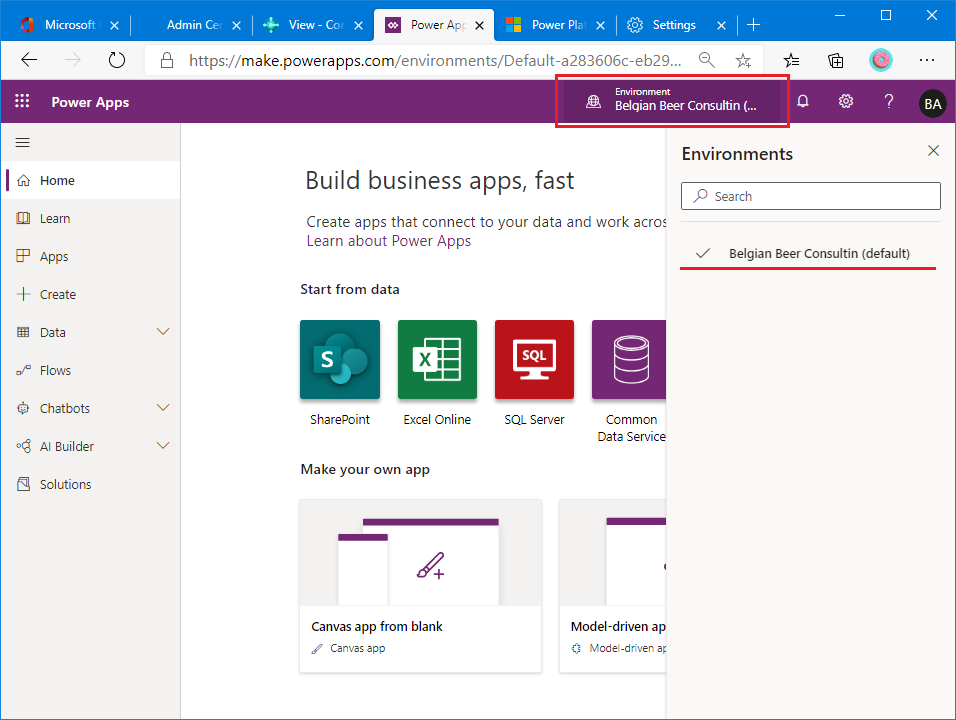
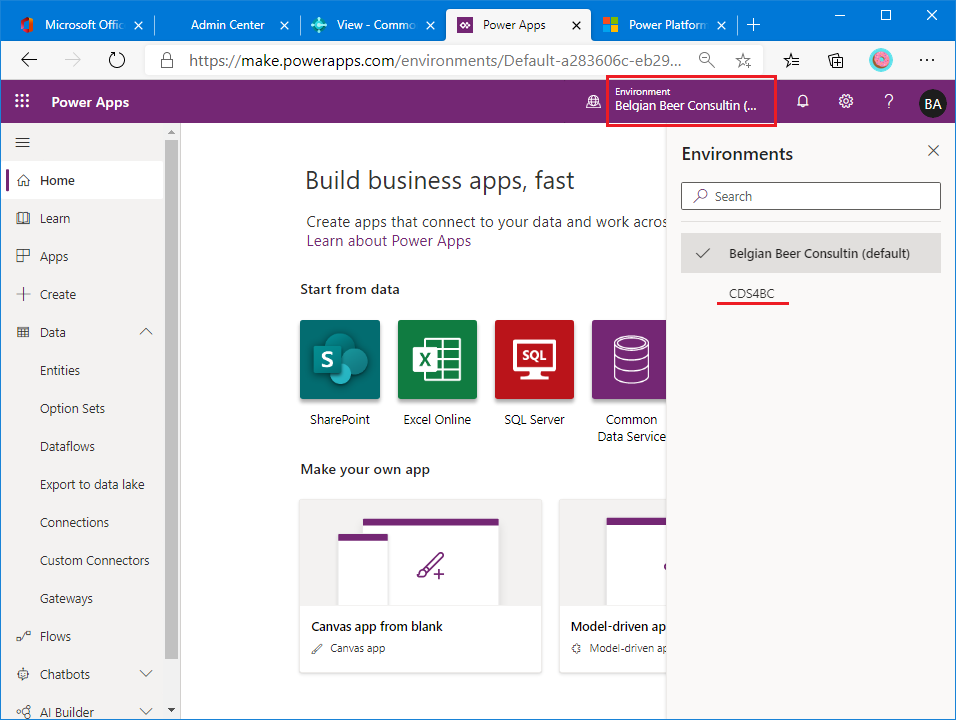
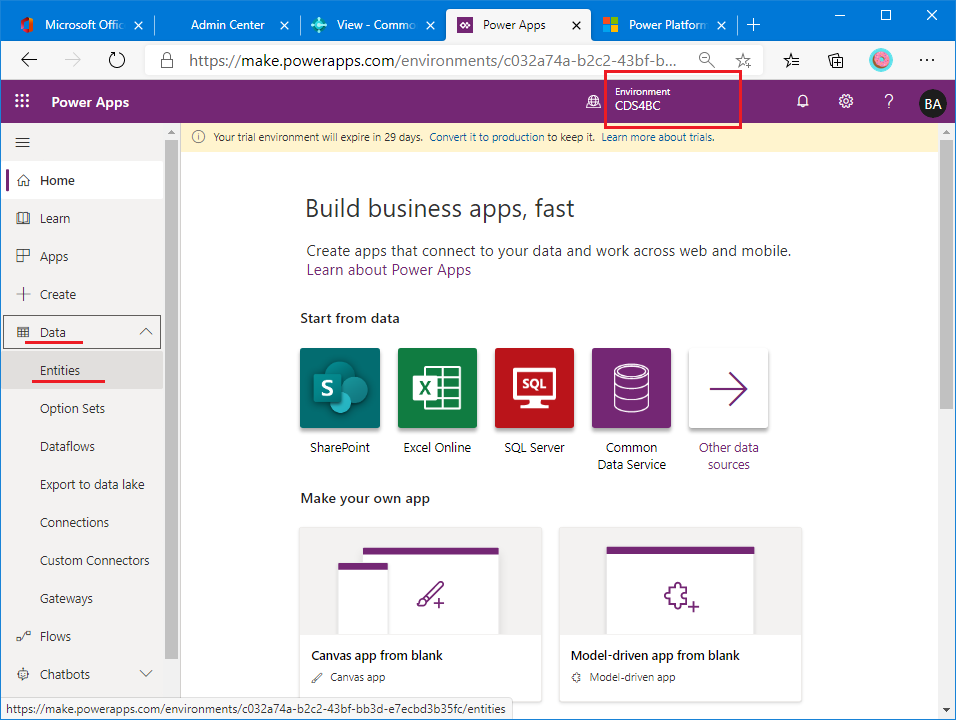
Back to Power Apps page, and click on Environment button. You can choose new environment that you have just created.
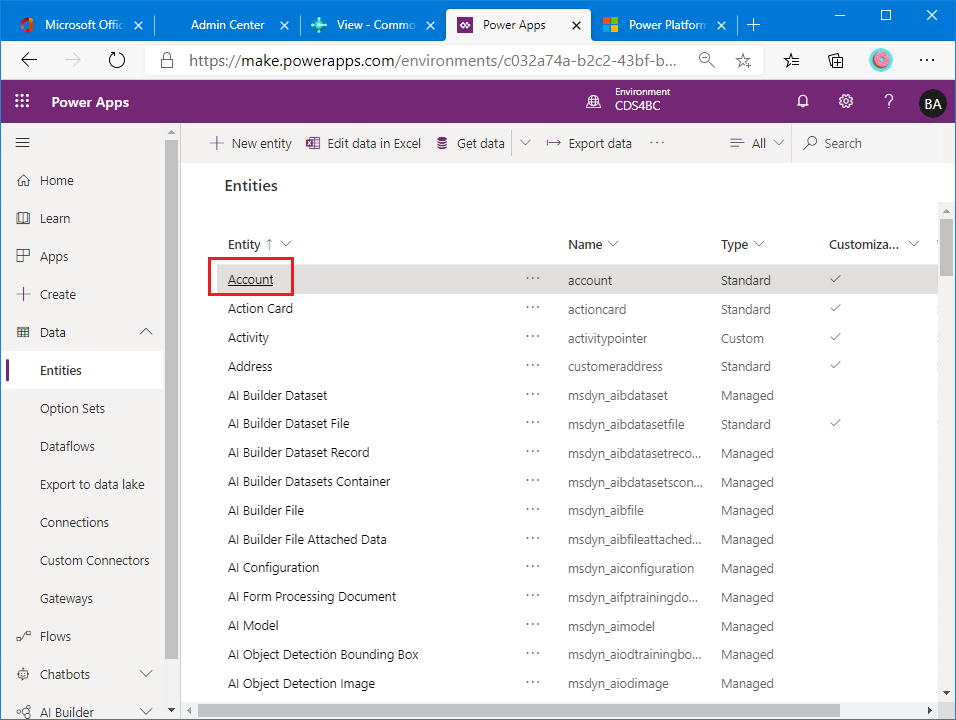
After choosing new environment, choose Entities menu under Data section on left side pane.
In previous steps, you checked on ‘Deploy sample apps and data’ in creating database page. So sample entities was created and you can see the sample entities on the Entities list page. To check sample data, choose Account entity for example.
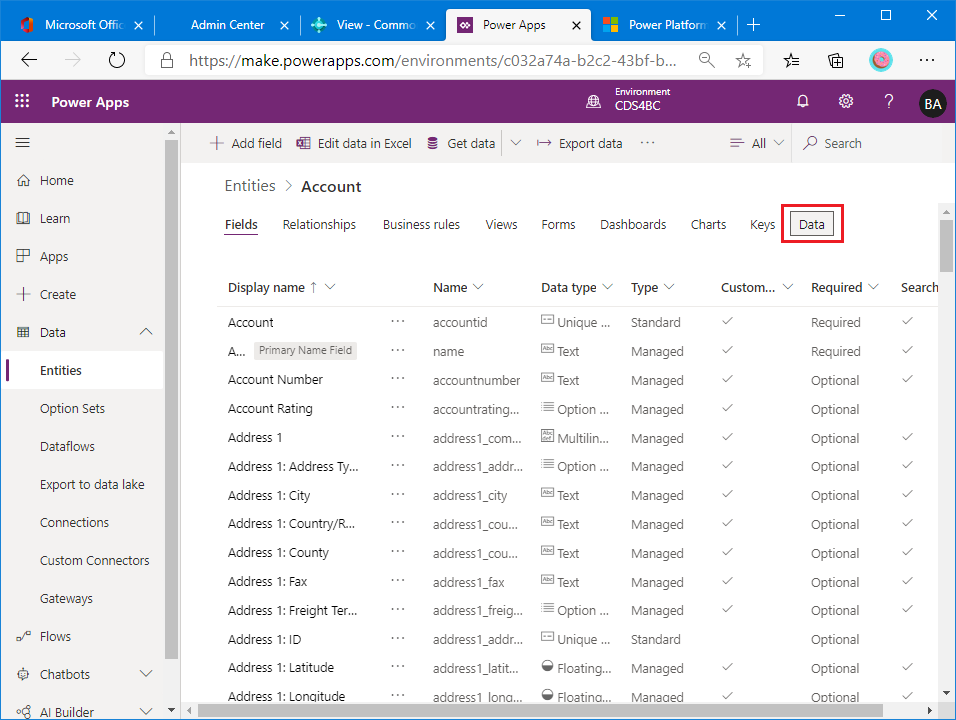
Click on Data tab.
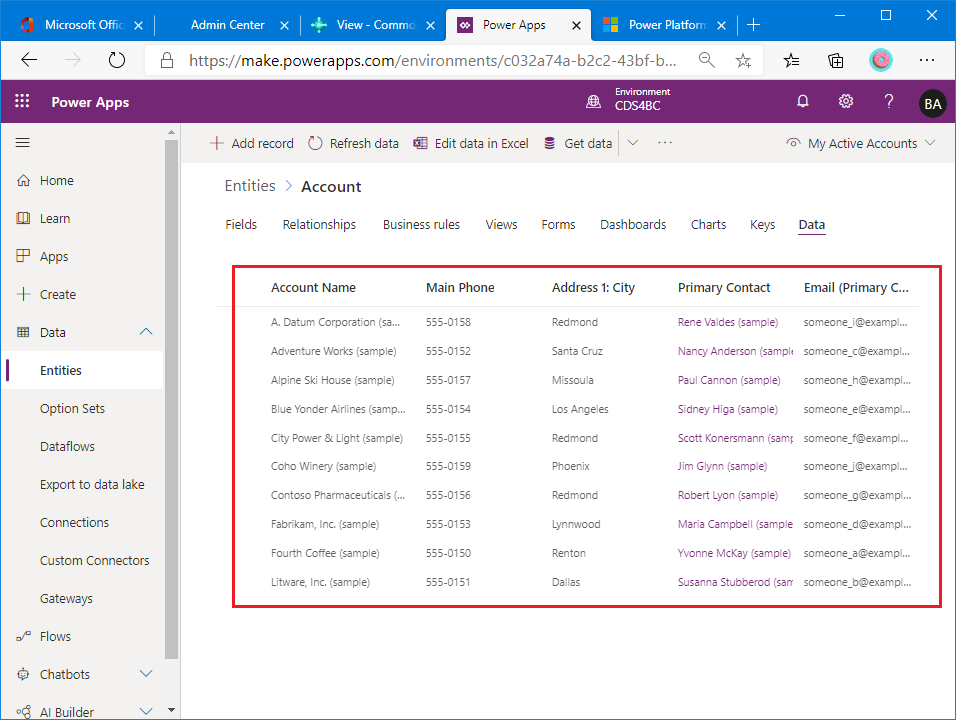
10 sample data record will be listed on Data tab page.
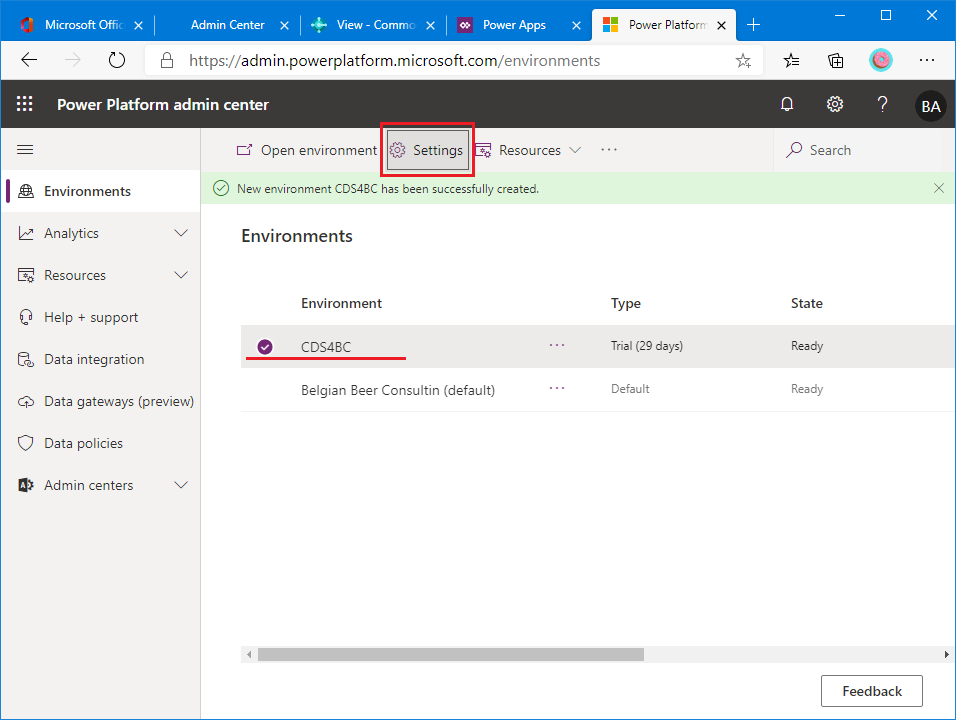
To connect BC and CDS, you have to setup admin user with proper permission. Go to Power Platform admin center, and select target environment, and then click on Settings button.
Expand User +Permissions group.
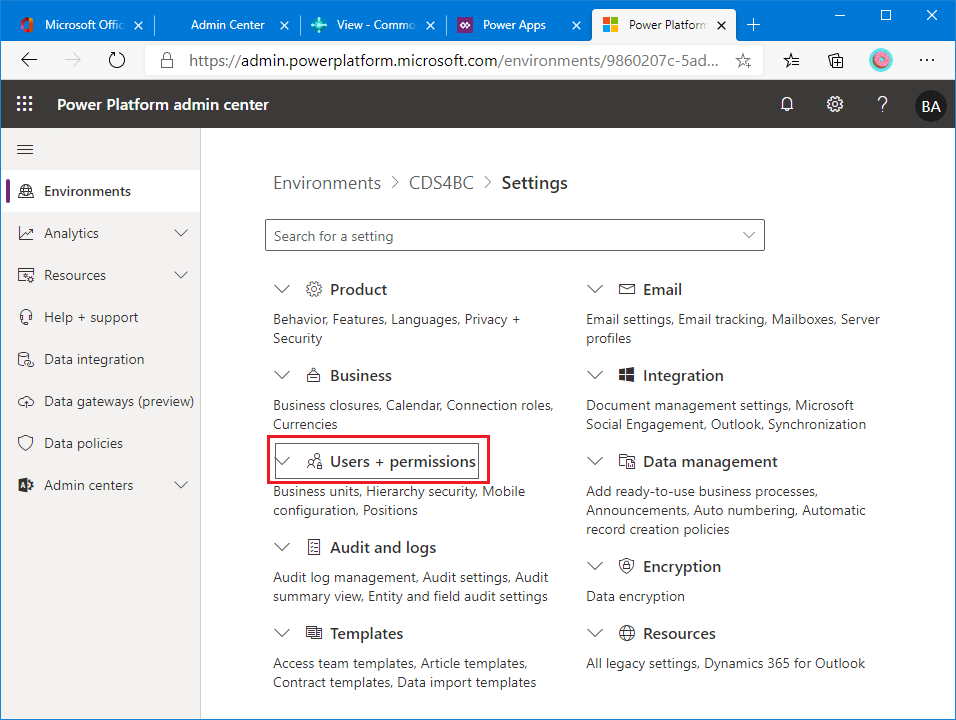
Choose ‘Users’ feature.

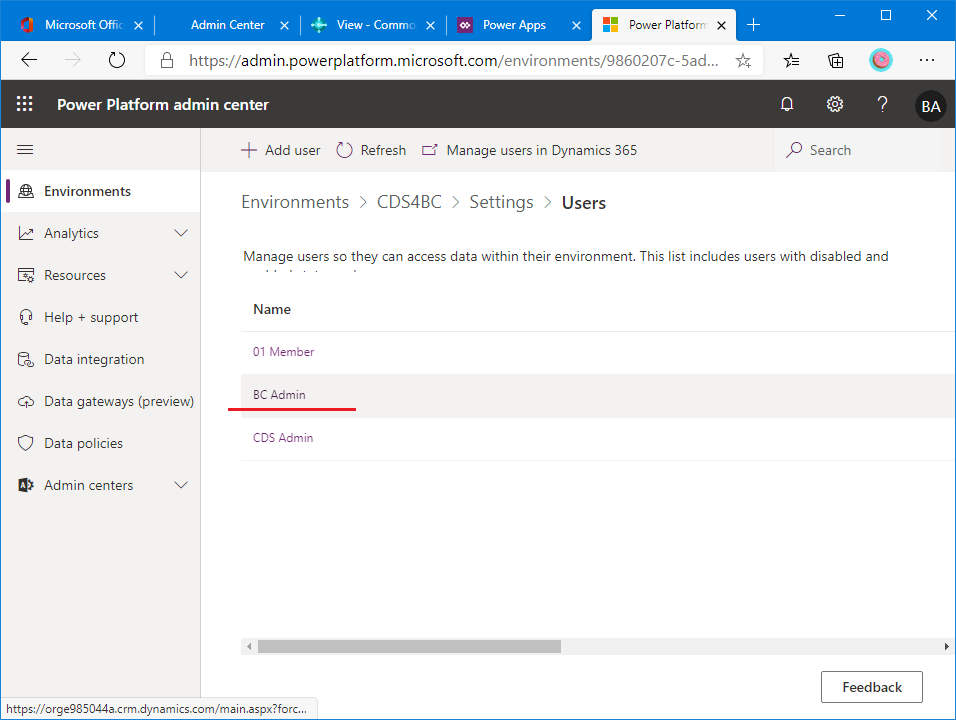
Choose your own ID.
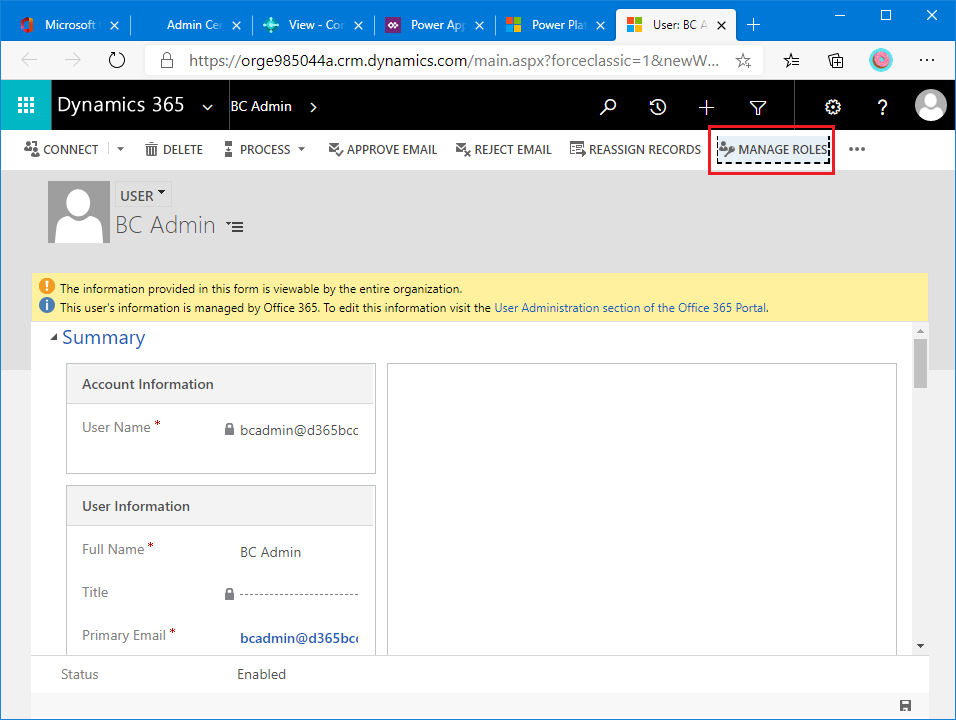
Click on MANAGE ROLES.
You will see every roles that you can assign to the user. Scroll down this list page.
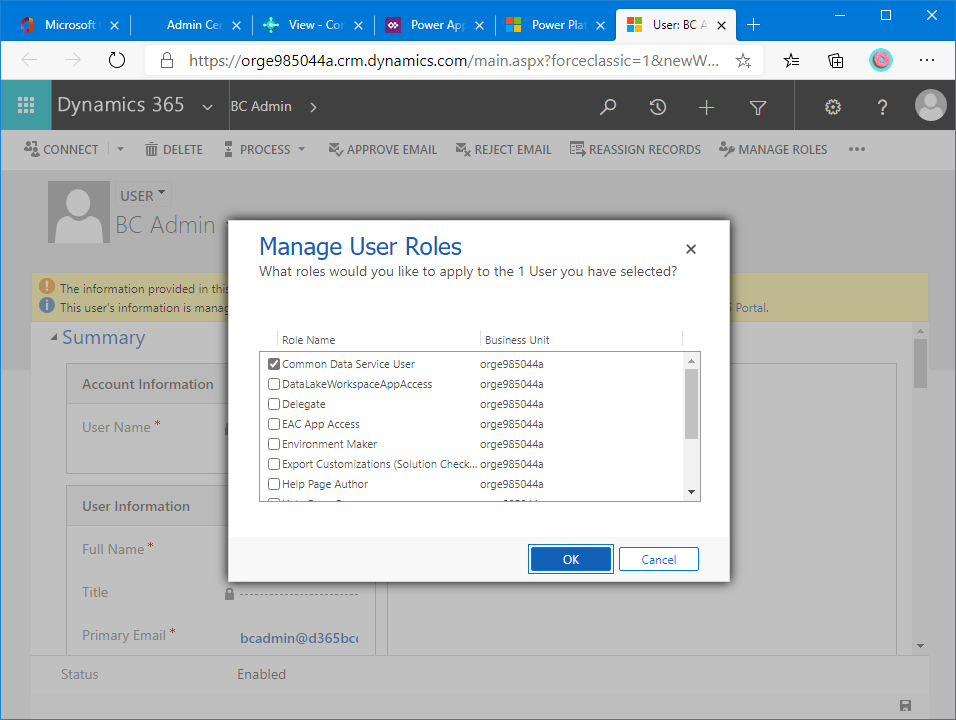
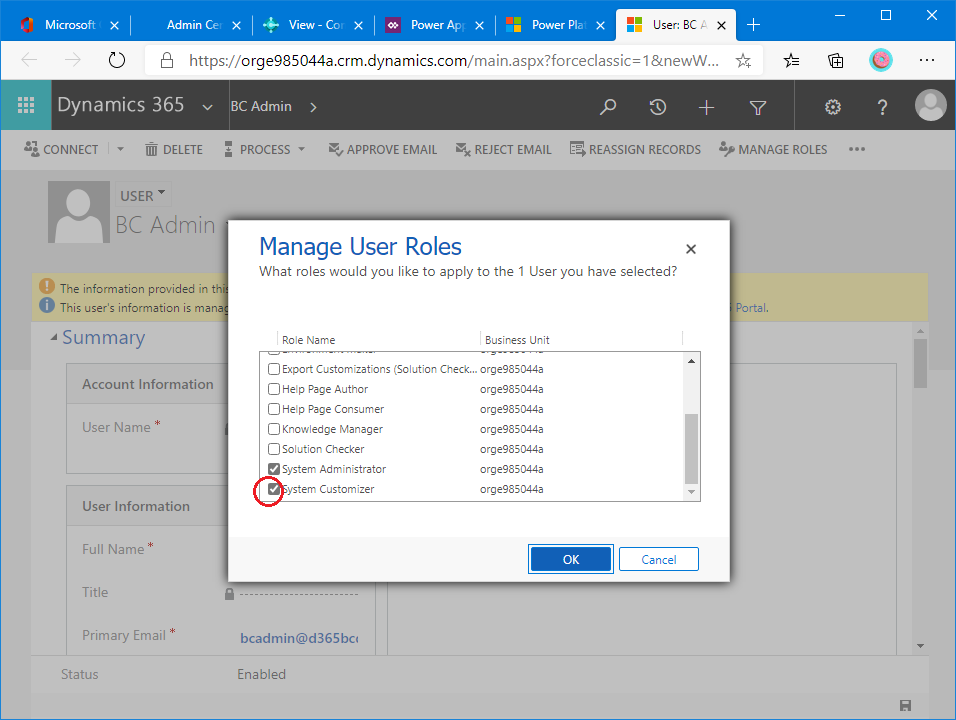
At the bottom of the list, you may see System Customizer role unchecked.

Check on System Customizer Role, and then OK button. System Customizer role is mandatory role to setup connection between BC and CDS.
Go back to Common Data Service Connection Setup page, click on Assisted Setup button under Connection tab.
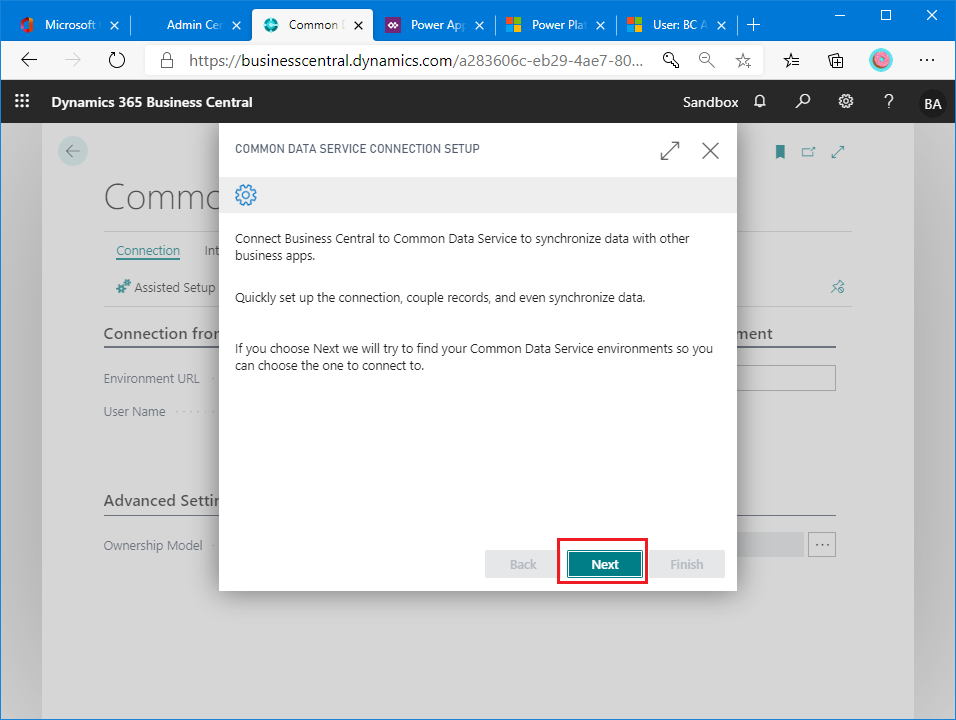
Setup wizard will start. choose next.
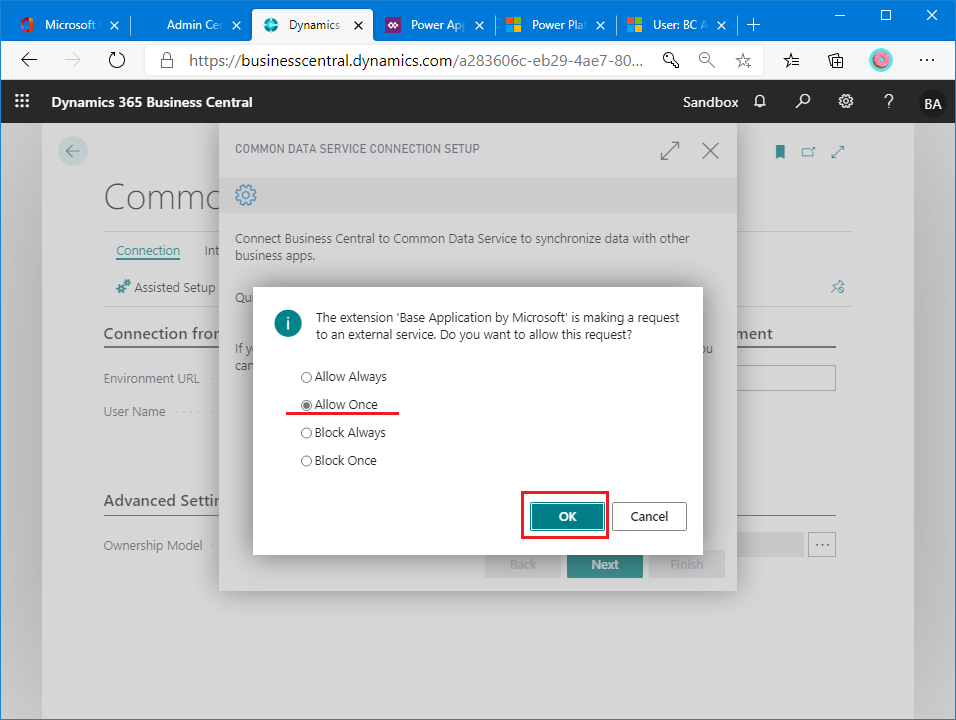
If a message like below is appeared, choose ‘Allow Once’ and click on OK.
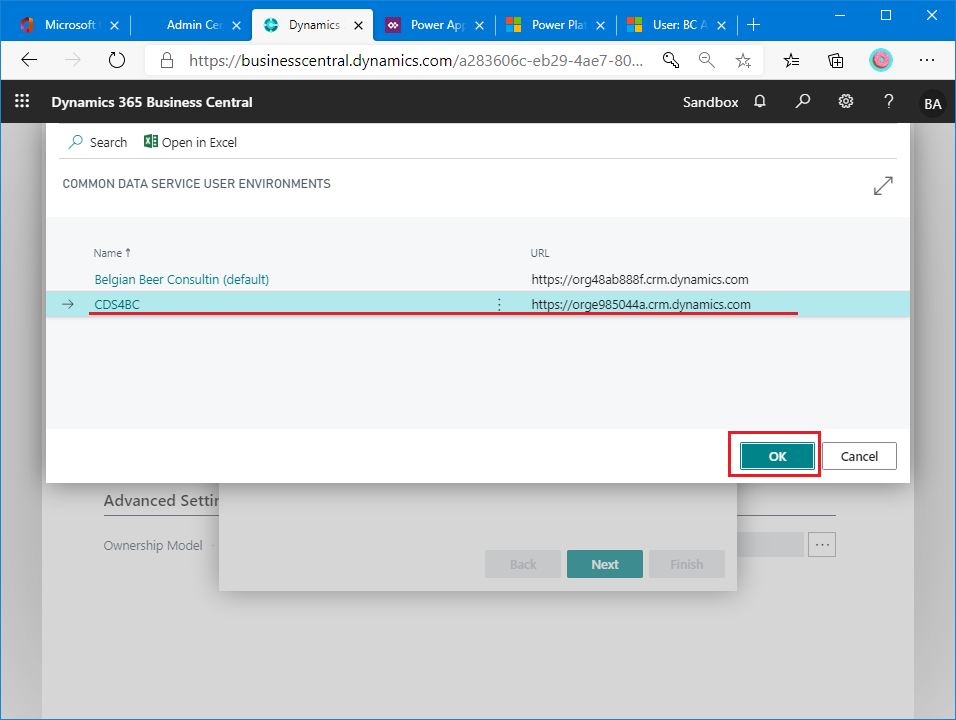
You may see CDS environments list. Choose target environment and click on OK button.
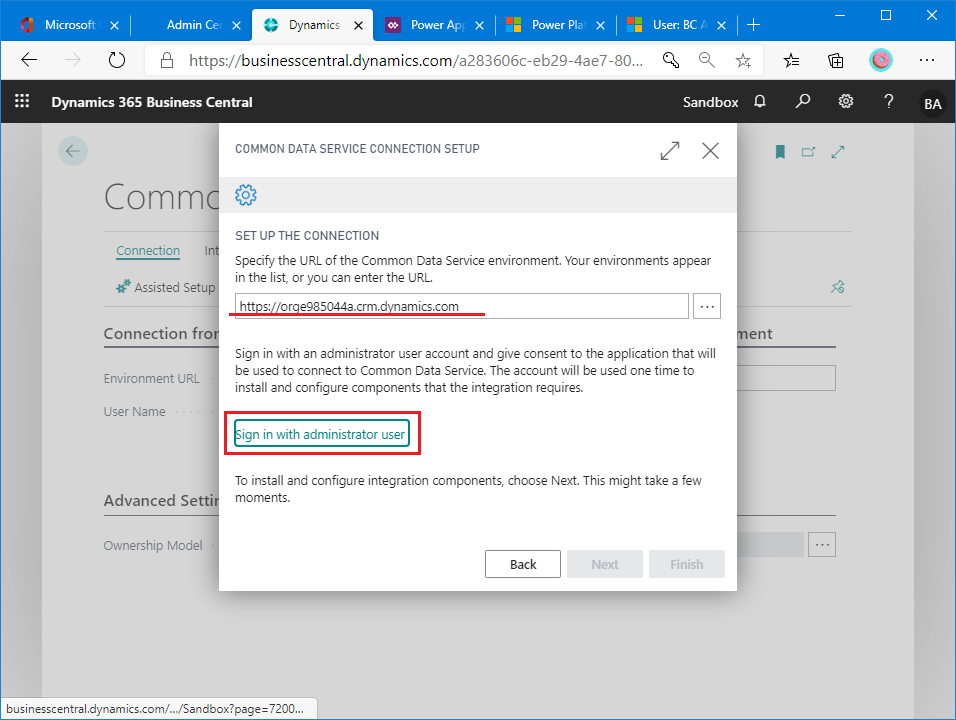
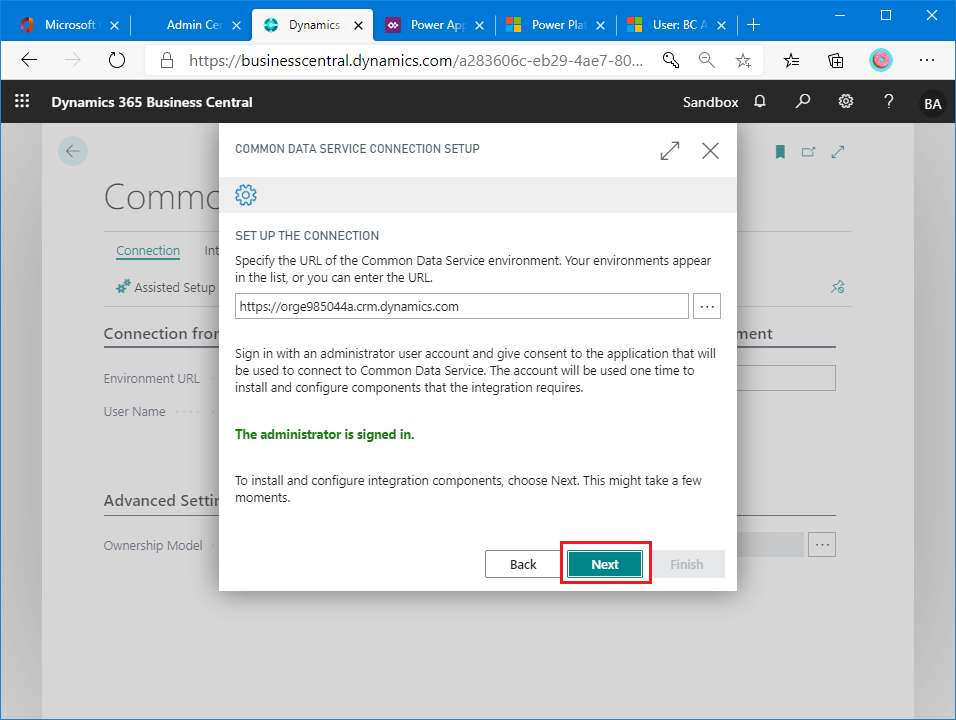
Now, target environment’s URL is described in the wizard page. and then click on ‘Sign in with administrator user’ button.
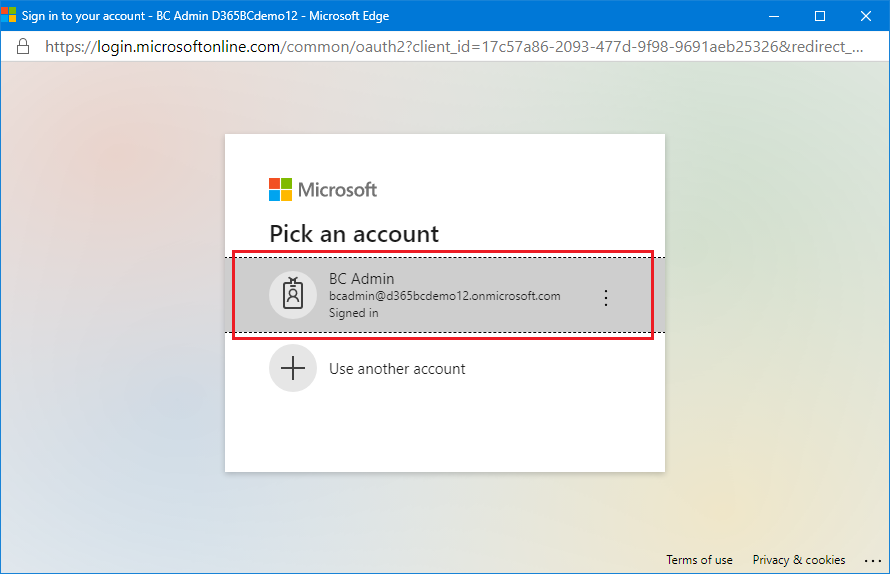
Choose your account.
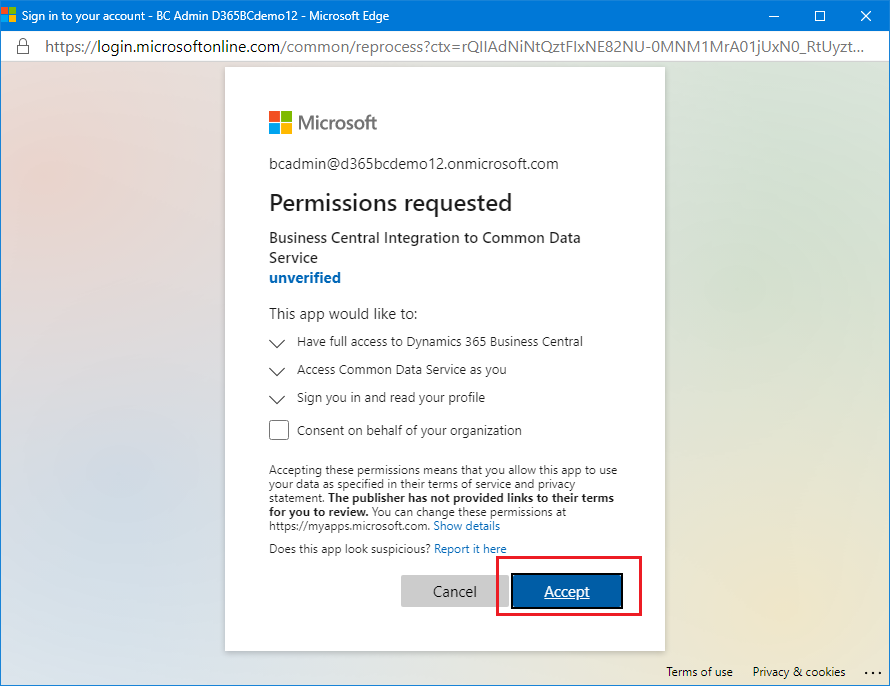
Accept permission request like below.
The page will let you know that the administrator account is signed in. And the click on Next button.
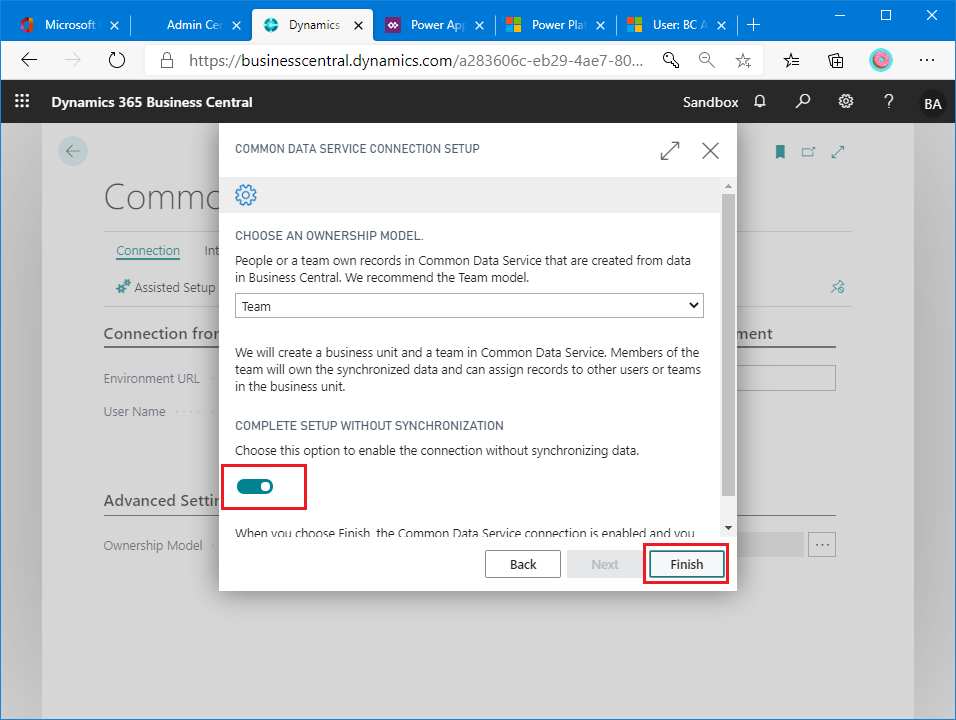
In this page, I recommend you to check on Complete Setup Without Synchronization, because you will be able to synchronize data in later steps one-by-one. And then finish.
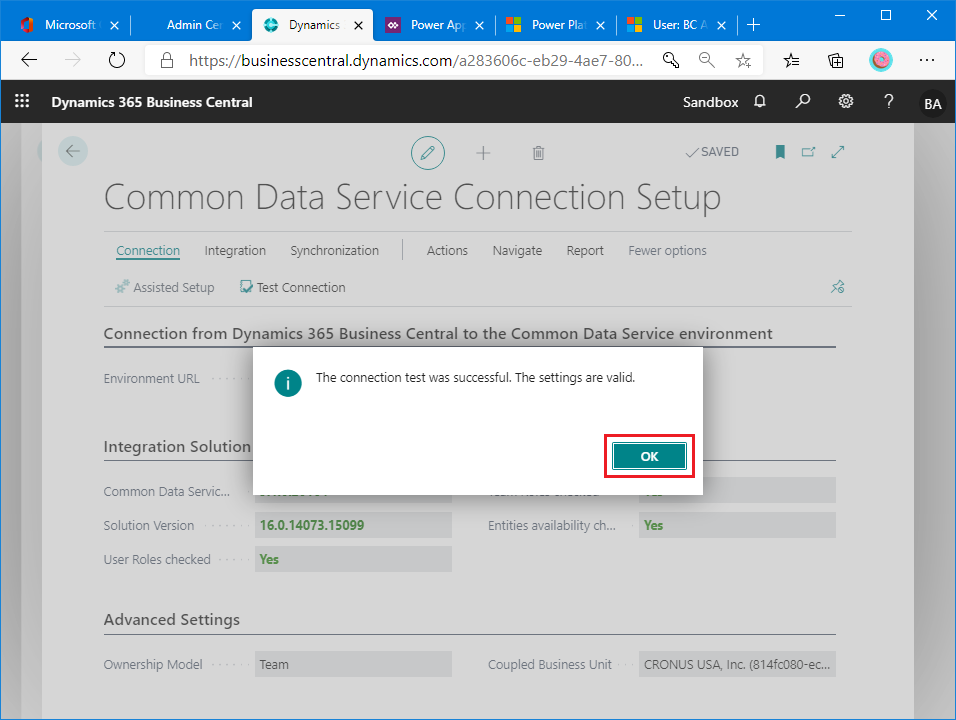
Setup wizard has finished. Do connection test.

You are going to see this message, if you have done setup processes correctly.
Now you have finished basic setup to connect BC and CDS. In the next blog post, I will describe how to synchronize data between BC and CDS.