

This is a sub contents of How to Setup Workflow of D365BC
In the previous blog article, I created an example of a workflow that is triggered when the value of a table record field is changed, that is, when the credit limit of the customer master is changed. In this article, I will try to run this workflow.
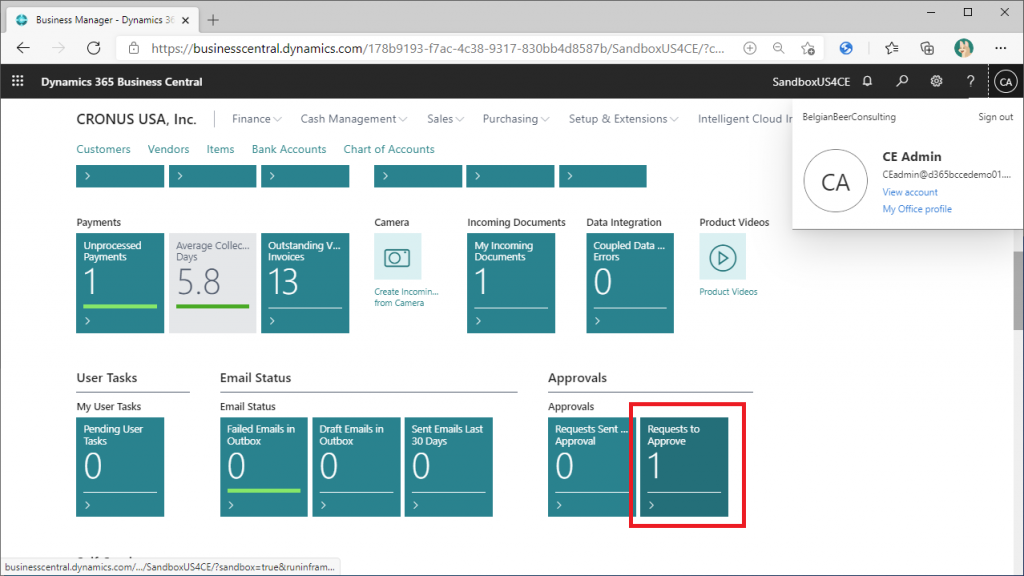
First, open another BC browser window with the ID of the approving user, and check the number of workflow approval requests in the Role Center. You can see that the number is ZERO for now.

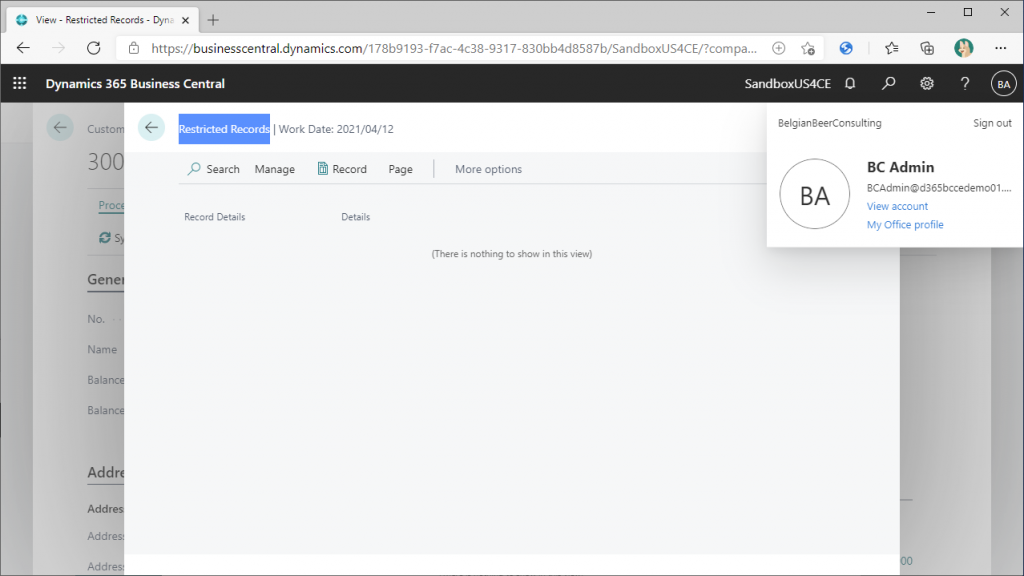
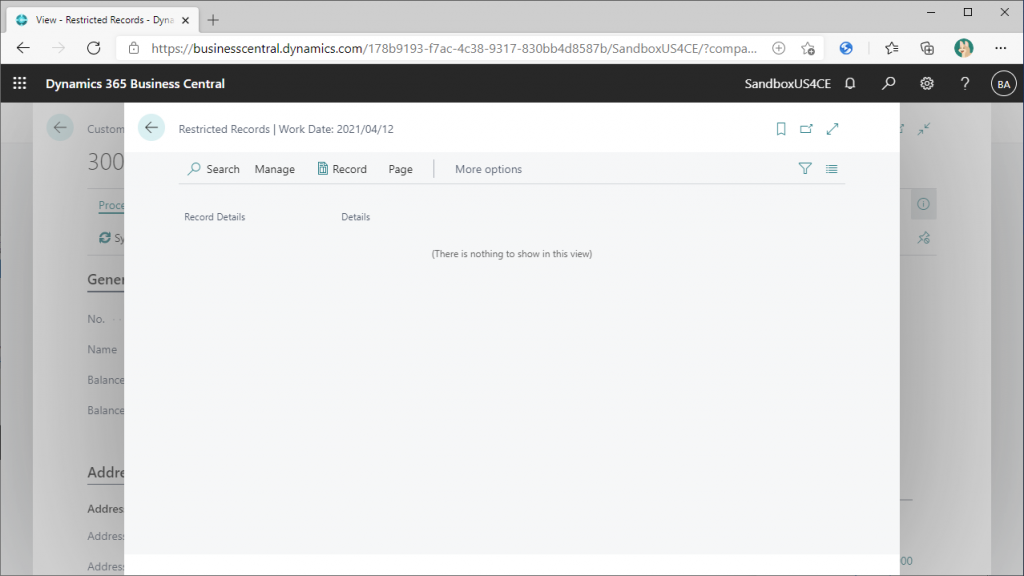
Let’s go back to the BC browser window of the user who created the Workflow and check the Restricted Record. There is no record. We will see what happens when we start the workflow later.
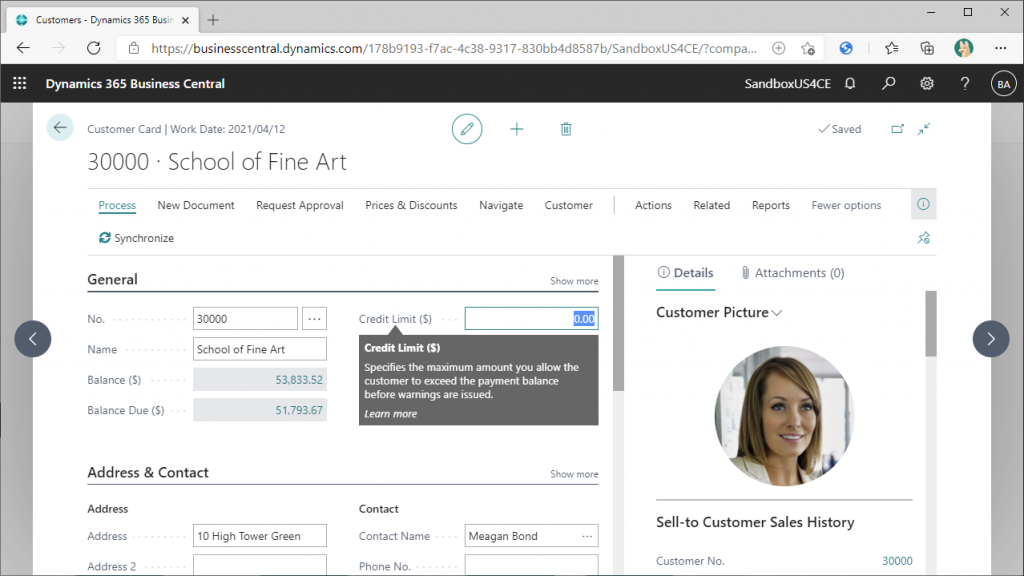
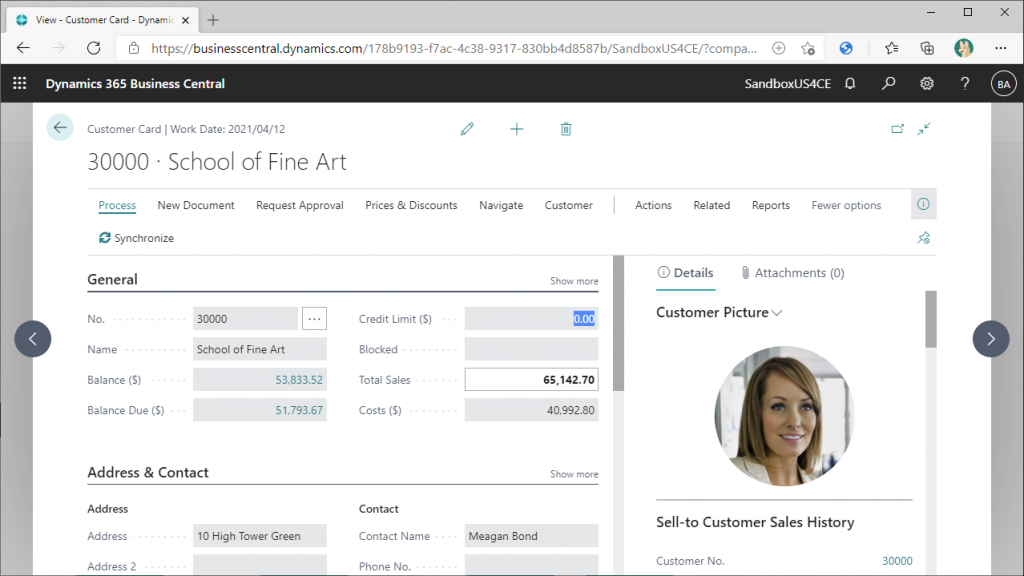
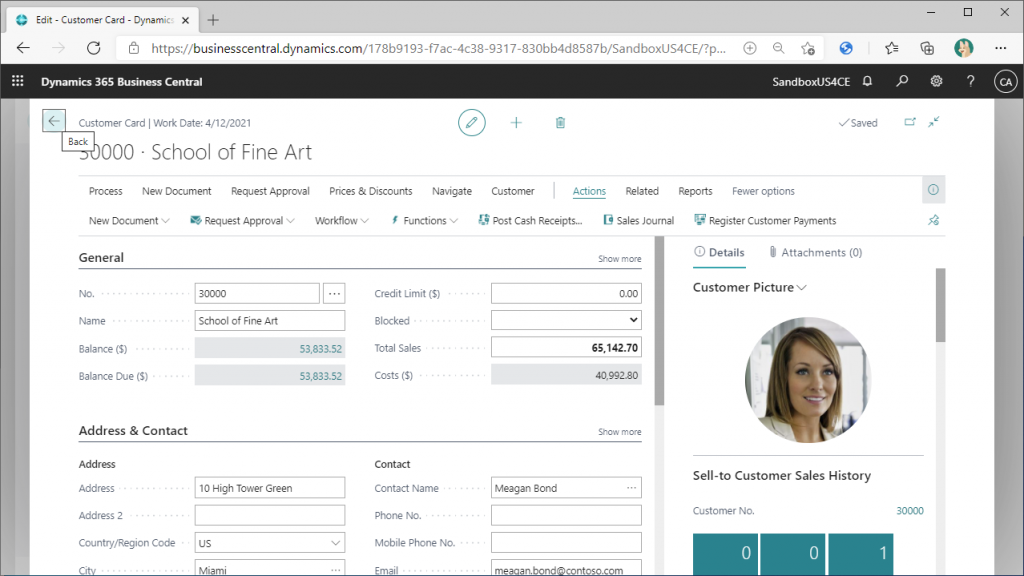
Open the Customer Card page in BC with a different user ID than the approver, and you will see that the Credit Limit is set to 0.
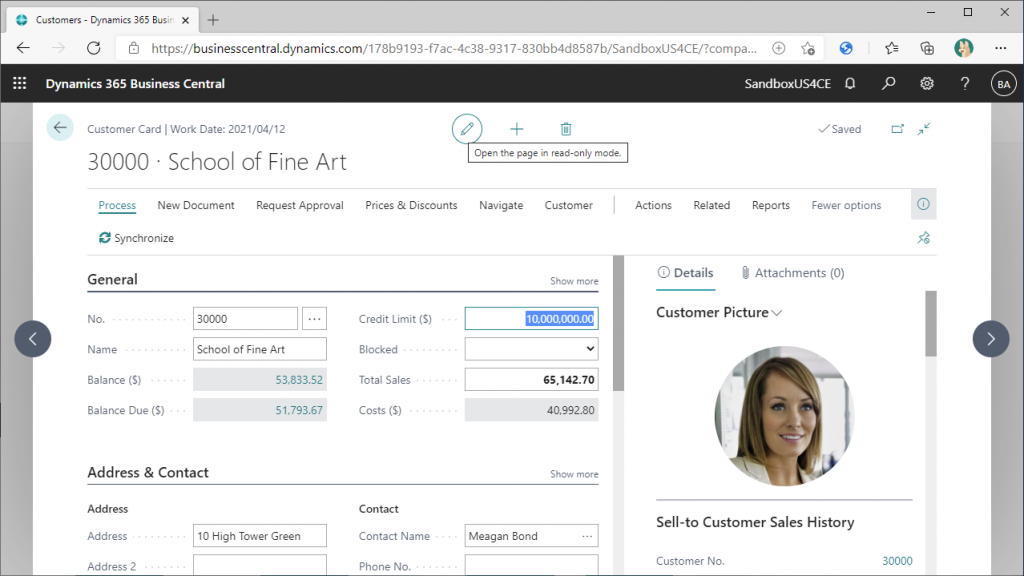
Increase the value. For example, change the value to 10,000,000. Then click the pencil button at the top center of the page to switch to inquiry mode and save.
You will see the following message below. Click the OK button to close the popup.
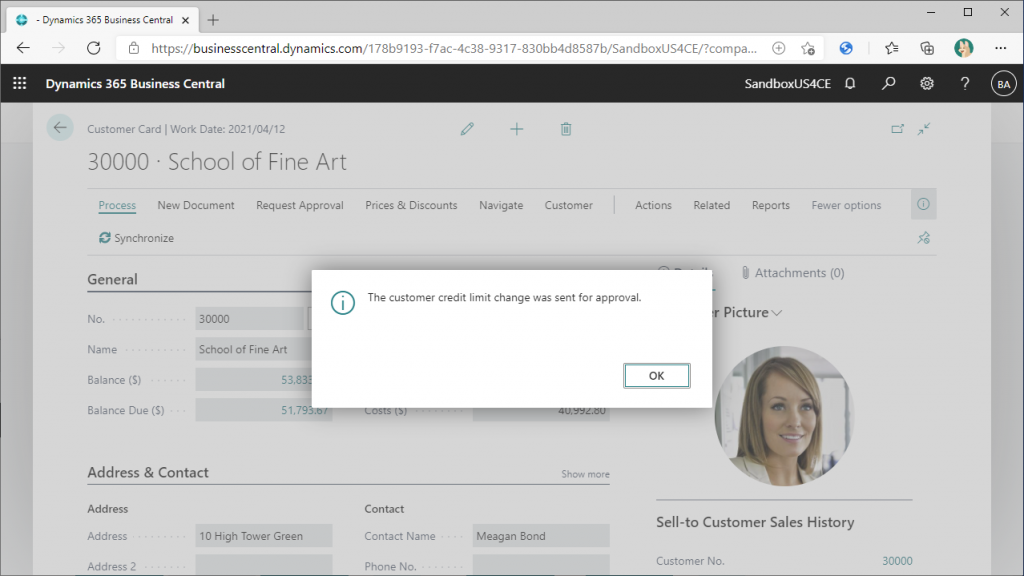
Then you will see that the Credit Limit is set back to 0. This is a feature of this workflow. The changed value will be reflected when the Workflow is approved.
By the way, what about the Restriction Record? You can see that no record has been added by opening the Restriction Record list page and checking it. If you review the Workflow settings, you will remember that we did not add a Restriction Record settings for this Workflow. The reason for this is that there is no need to use Restriction Record to prevent posting, since the changes will not be reflected until the Workflow is approved.
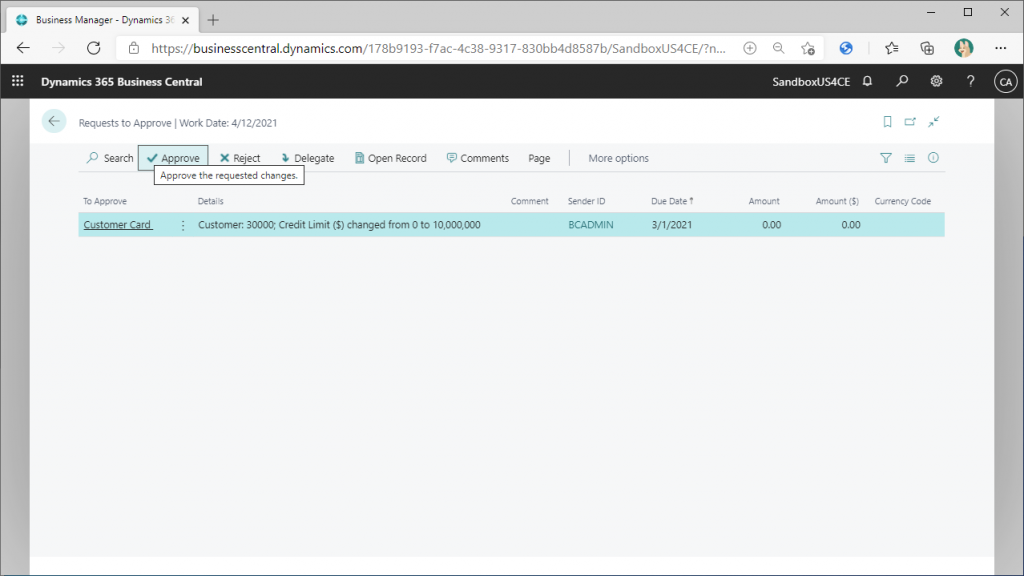
Let’s proceed with the approval process. Open BC with the ID of the approving user. You will see that the number of approval requests in the role center is set to 1. Click on this tile.
You will find the item of the approval request for the customer for which you just increased the credit limit. Click “Open Record”.
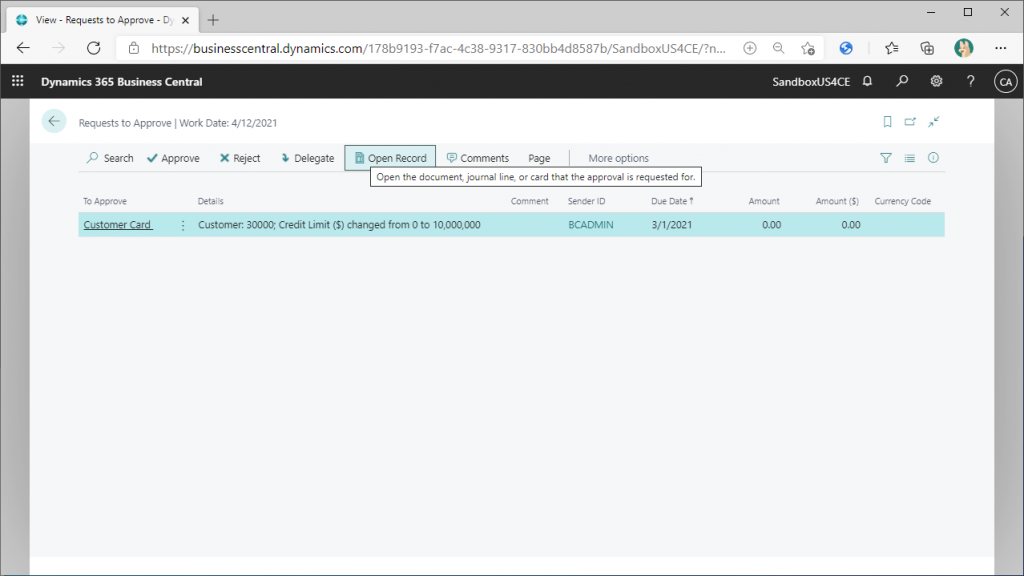
The Customer Card page will open. After confirming the information required for approval, use the arrow at the top left of the page to return.
Press the Approve button to approve.
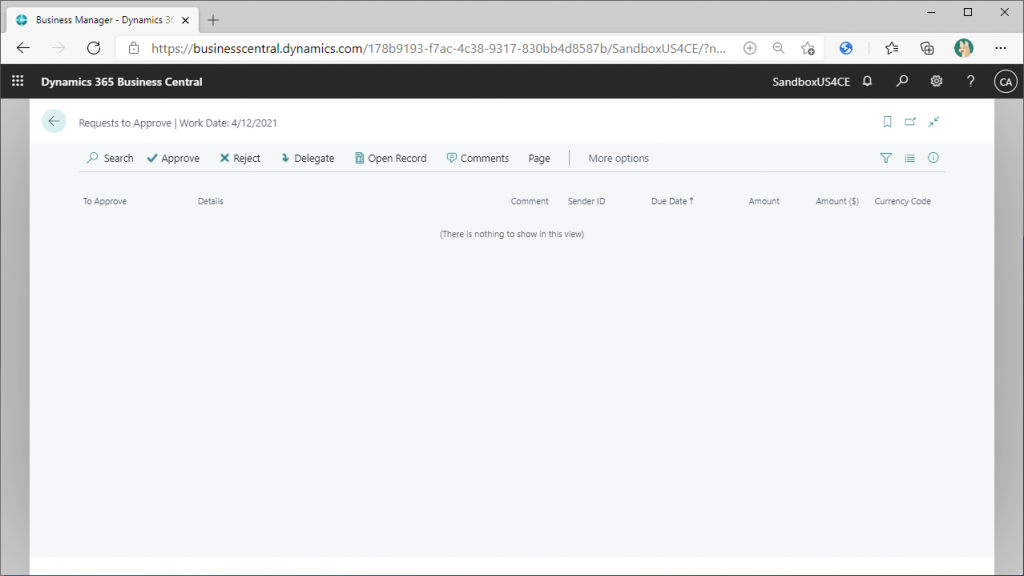
Approval has been completed and there are no more approval requests.
Return to the Customer Card page and you will see that the Credit Limit has been set to 10,000,000.
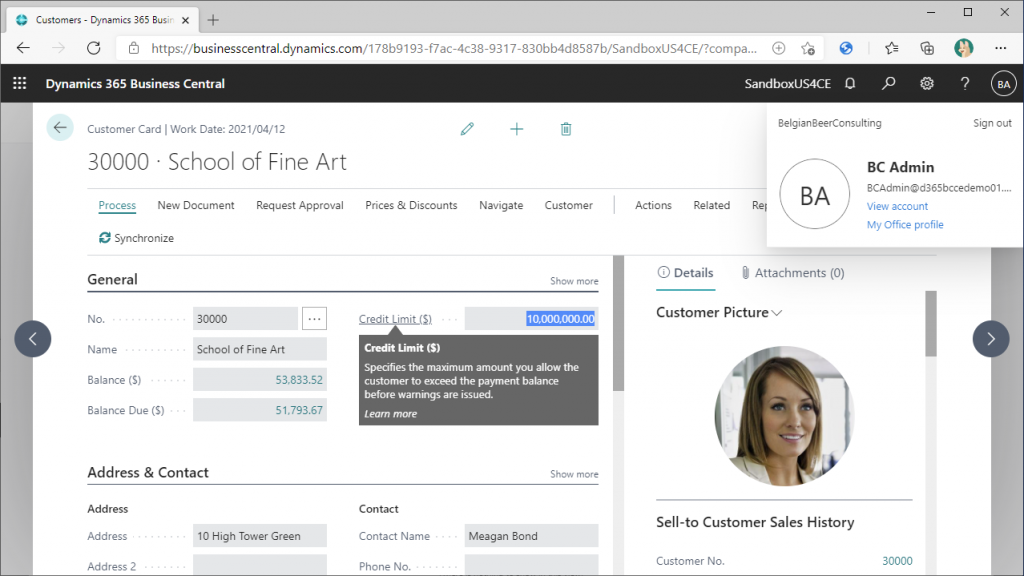
I think you can now understand how the Workflow is triggered when it detects a change in a table value, and how the value change is reflected when the Workflow is approved. I think this mechanism is very interesting and unique to BC, which cannot be realized by Power Automate.
In the next blog post, I will show you how to approve BC estimates with Power Automate.
1件のコメント