
This is a sub contents of How to Setup Workflow of D365BC
In the previous article, I explained the standard BC workflow for approving customers. In this article, I will explain how to use Power Automate to approve a BC Sales Quote.
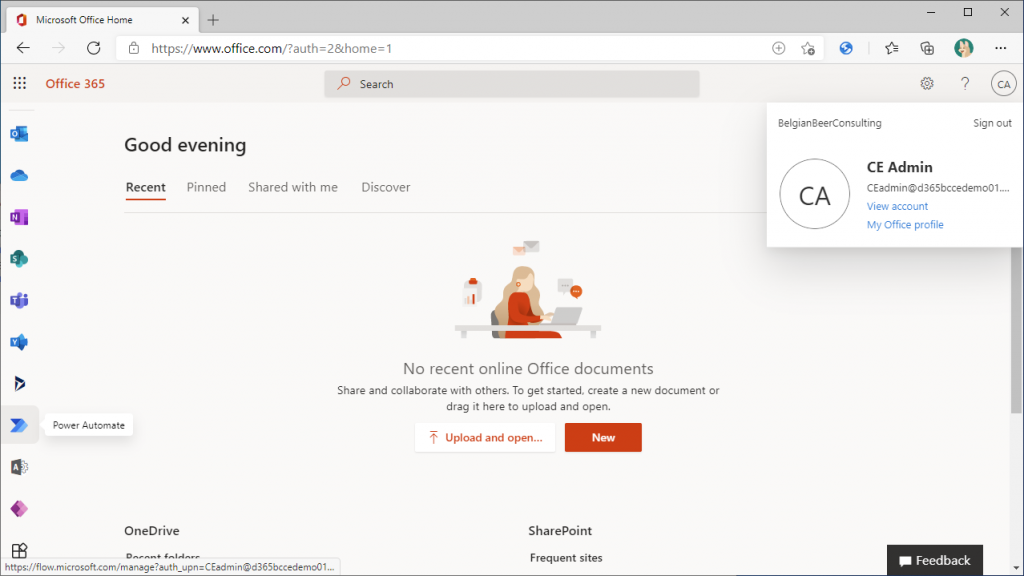
First, open Power Automate. use the administrator of D365Sales instead of the administrator user of D365BC.
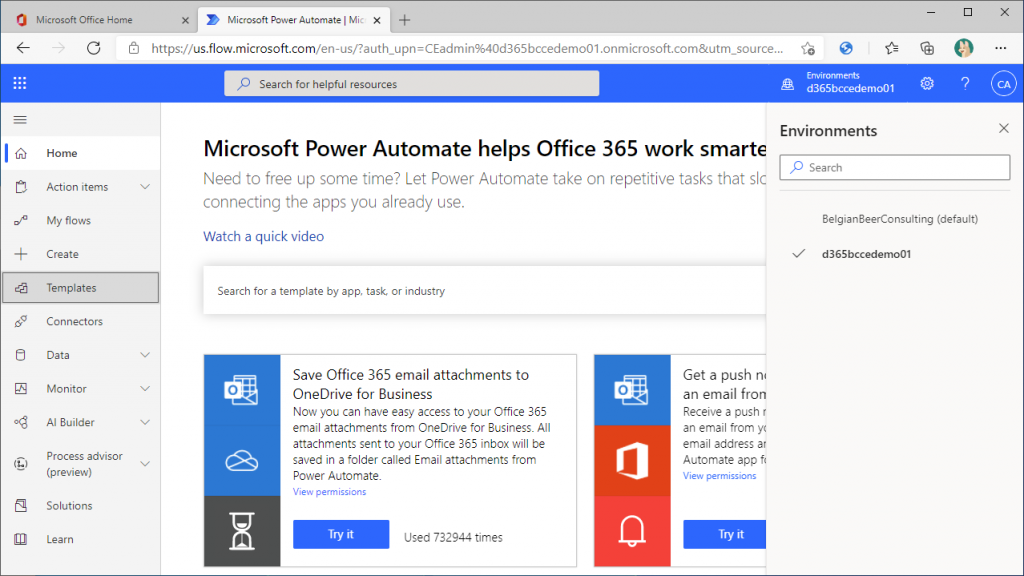
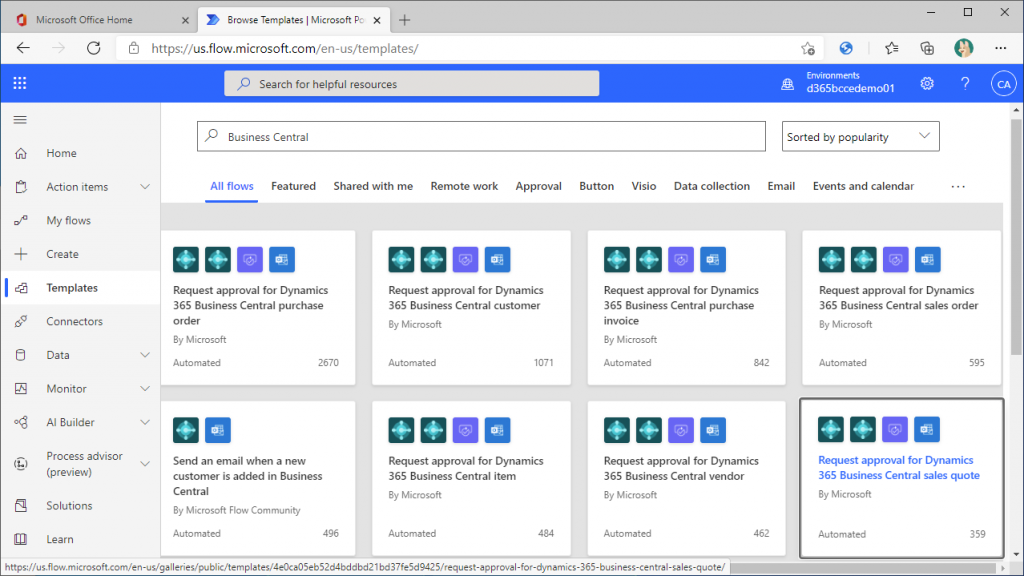
Switch to the proper environment and select “Templates” from the side menu.
Search for “Business Central.” You will see 14 templates for BC.
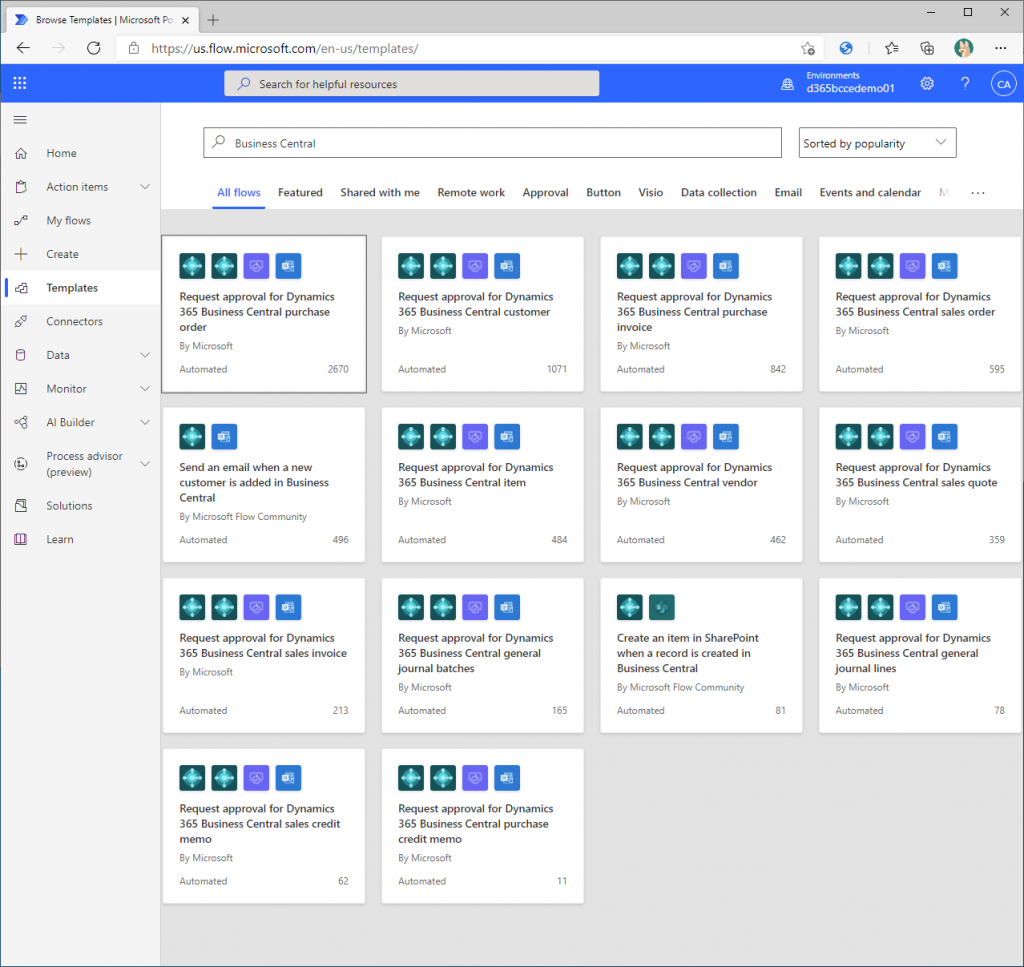
Use the “Request approval for Dynamics 365 Business Central sales quote”.
If this is the first time you are using a BC workflow in Power Automate, you may see the following message. This is because the BC connector is a premium connector. Click “Start trial” to sign up for a free trial and proceed.

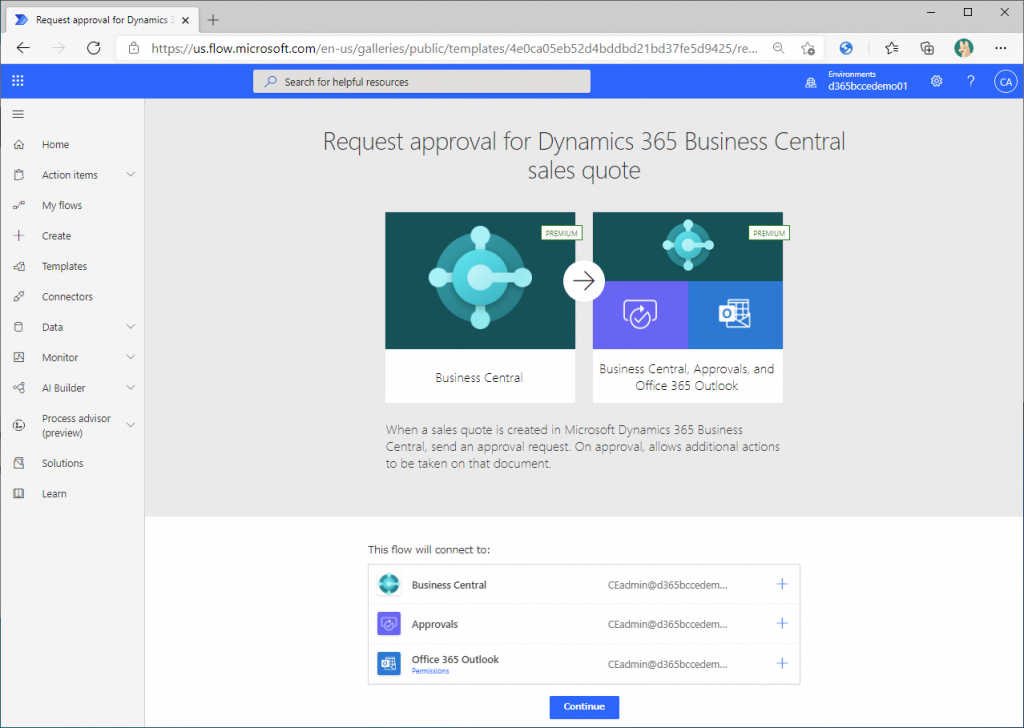
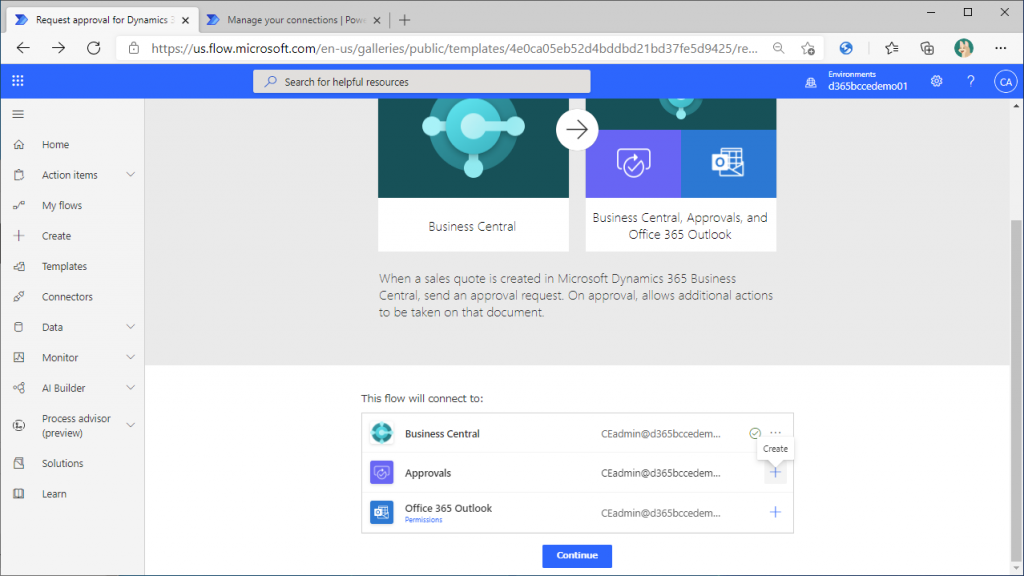
This is the template description screen. The lower part shows the three types of connections that this workflow uses. If you are using the BC, Approvals, and O365Outlook connections for the first time, “+” should be displayed on the right side of each connection row.
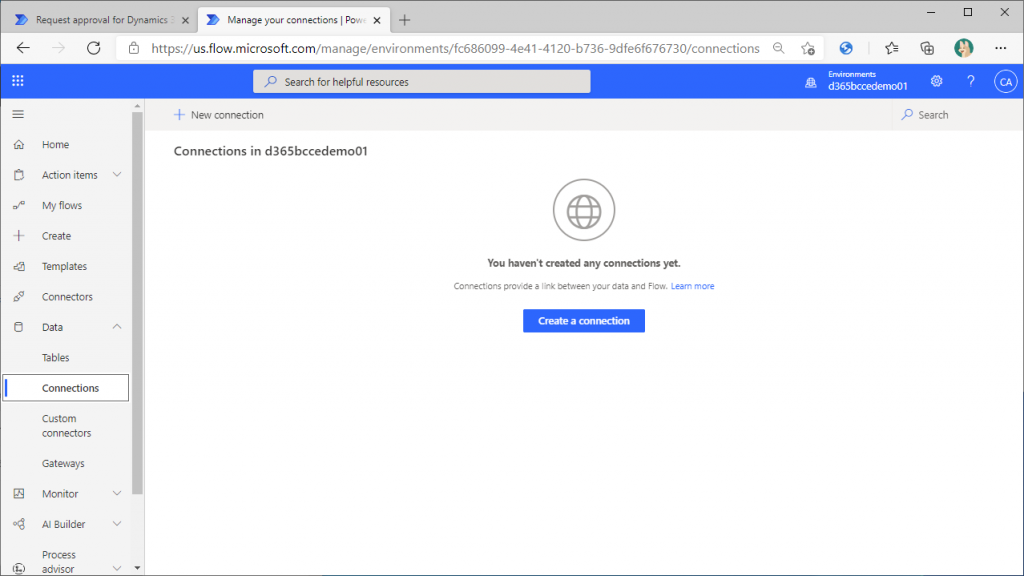
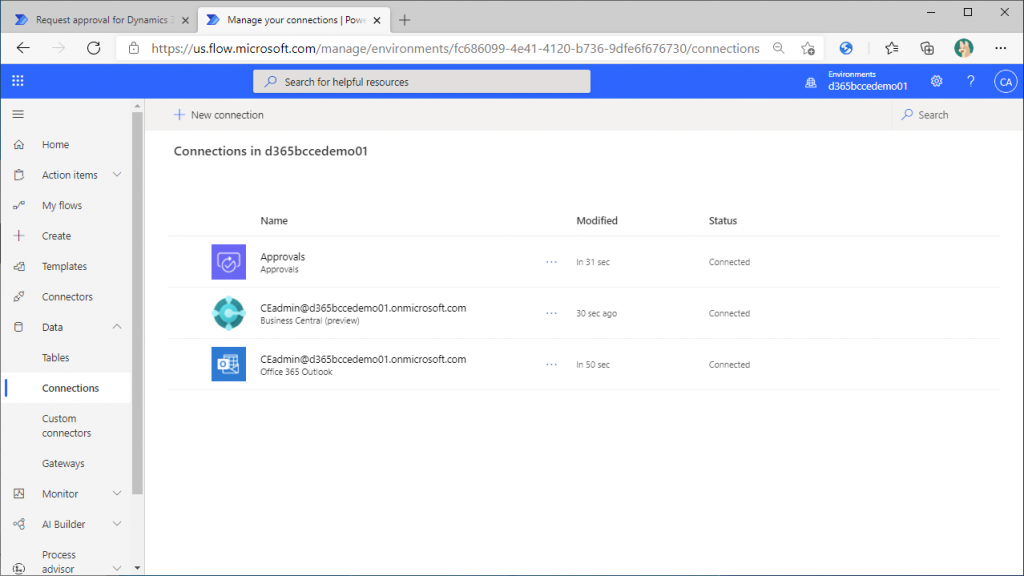
When I open up another screen and click on Connection from the side menu, no connection exists.
Return to the template screen. You need to “connect” each connection.First, click on the “+” in the BC row to sign in. If necessary, authenticate CEadmin user ID.

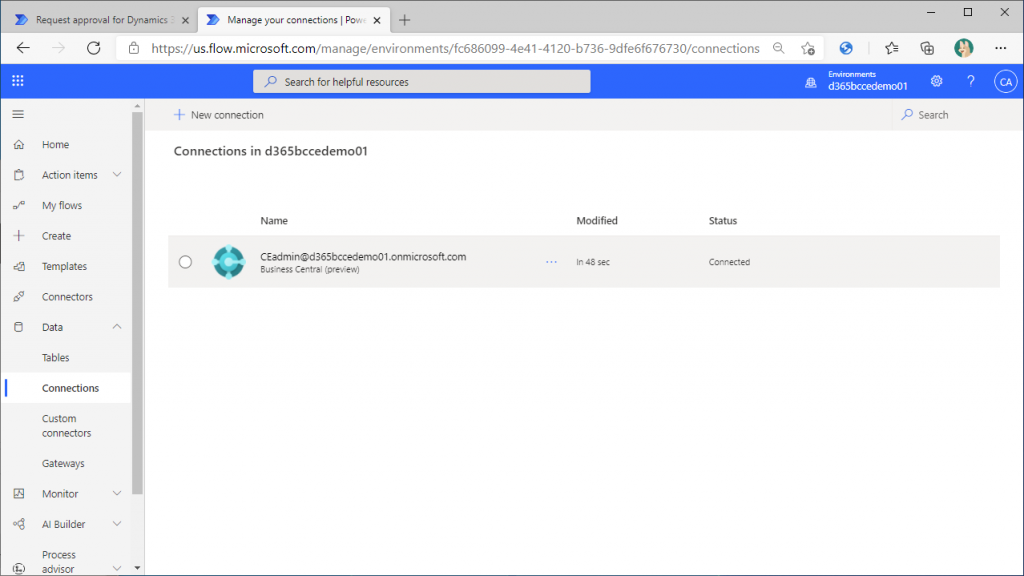
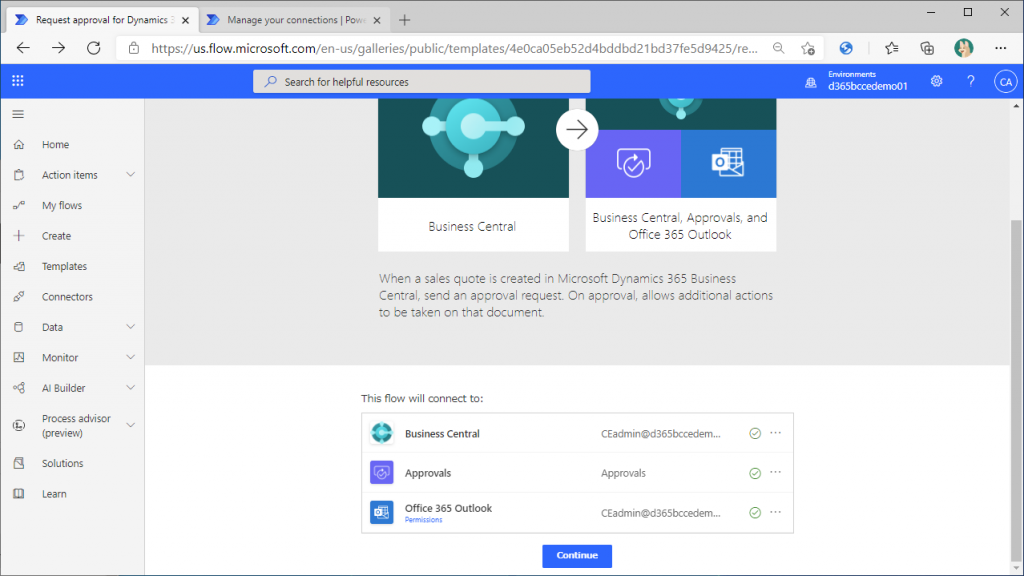
The “+” has been changed to a check mark as shown here after the authentication.

If you check the Connection in another browser tab, you will see that a BC connection has been created.
Go back to the template page and connect the other two connections as well.
Everything was connected.
You will see that three Connections have been created when you check the Connection screen.
Go back to the template screen and click “Continue” at the bottom center of the screen.

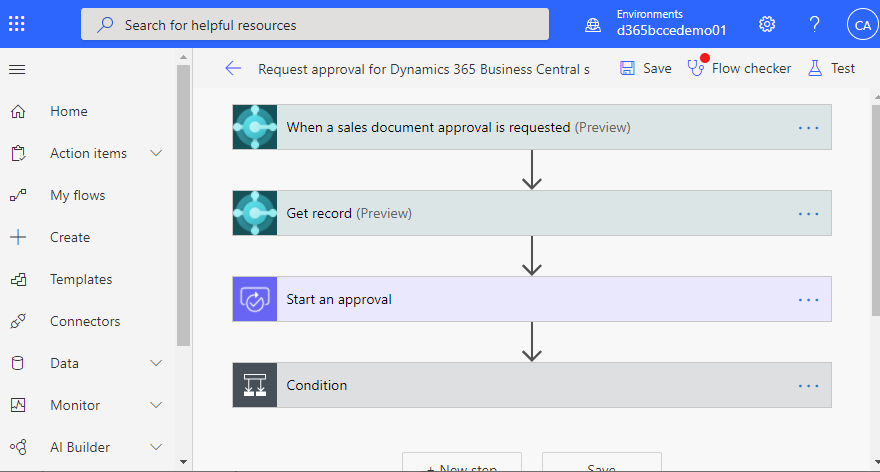
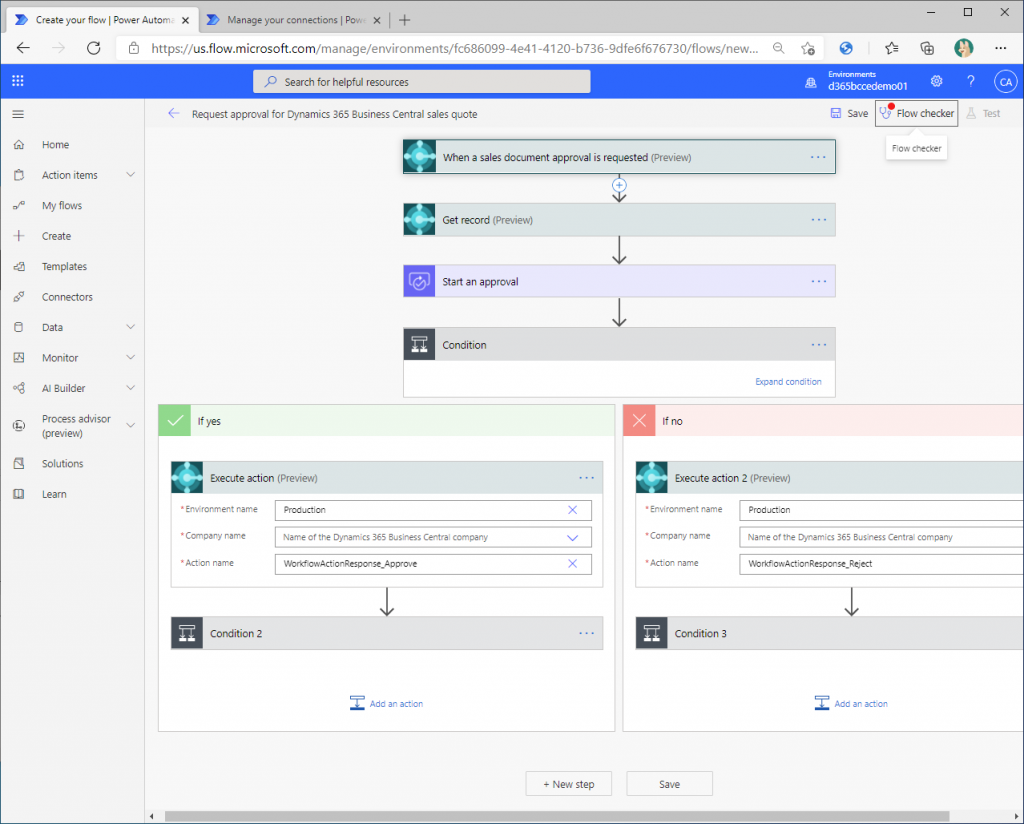
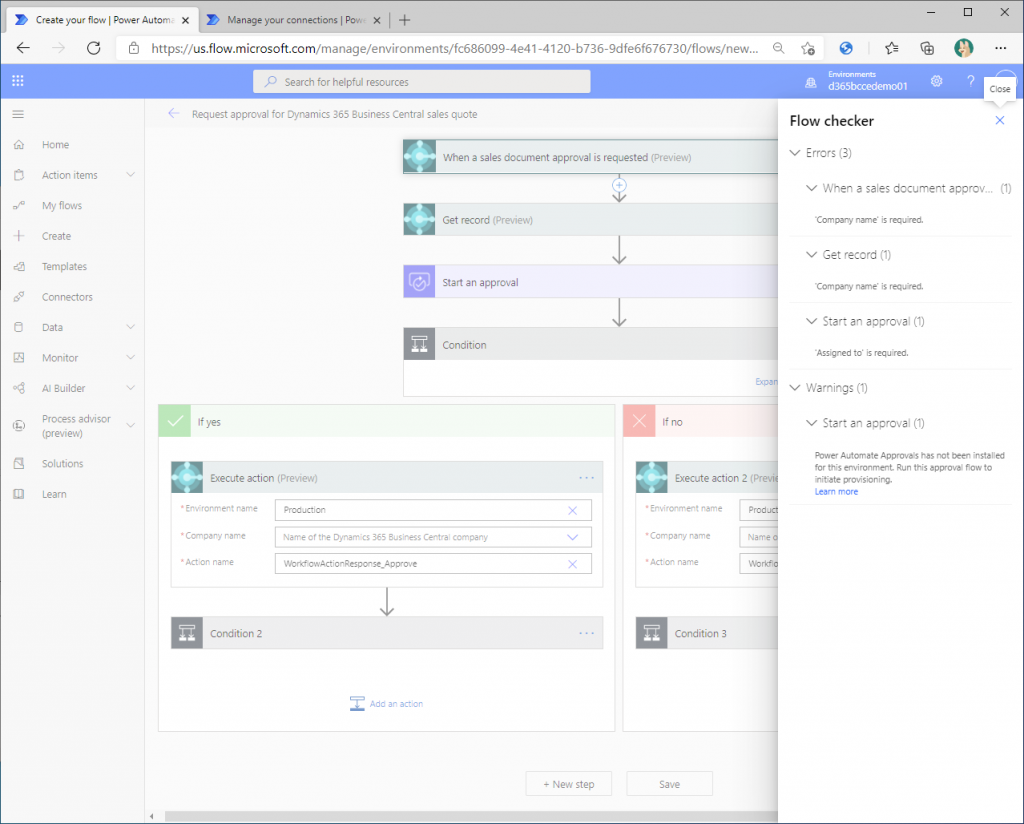
The template will be expanded as shown below. Click on “Flow Checker” in the upper right corner of the screen.
Checking will be performed and the error will be displayed. The error is that the Company and Approver are not set. This is not surprising since they are still being configured. In other words, all you need to do is set them.
Double-click on the top connector to expand it. You will see an error message saying that the Company name is not set, and the Company name must be set together with the Environment Name.

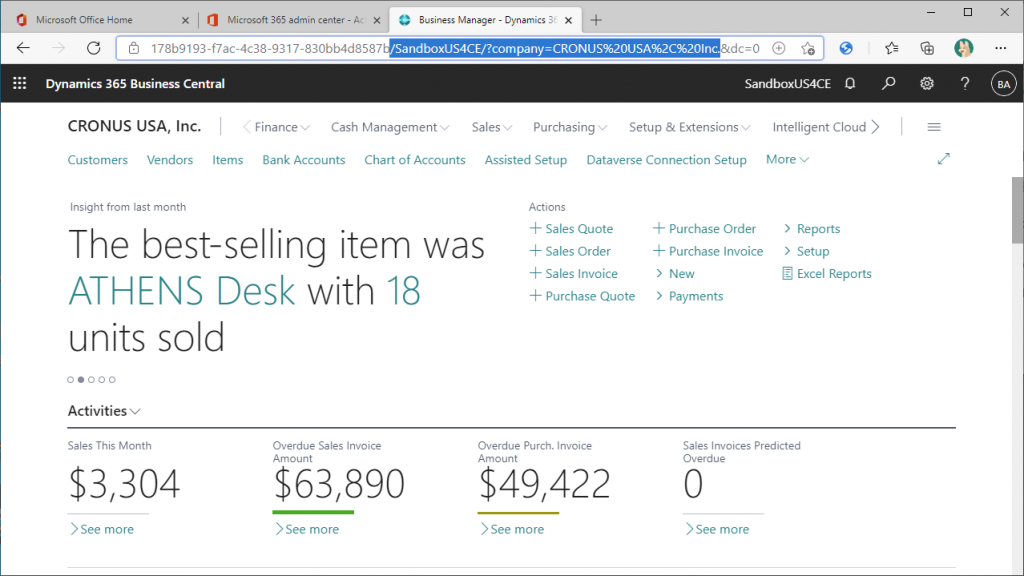
Environment Name and Company Name can be obtained from the URL on the BC screen.
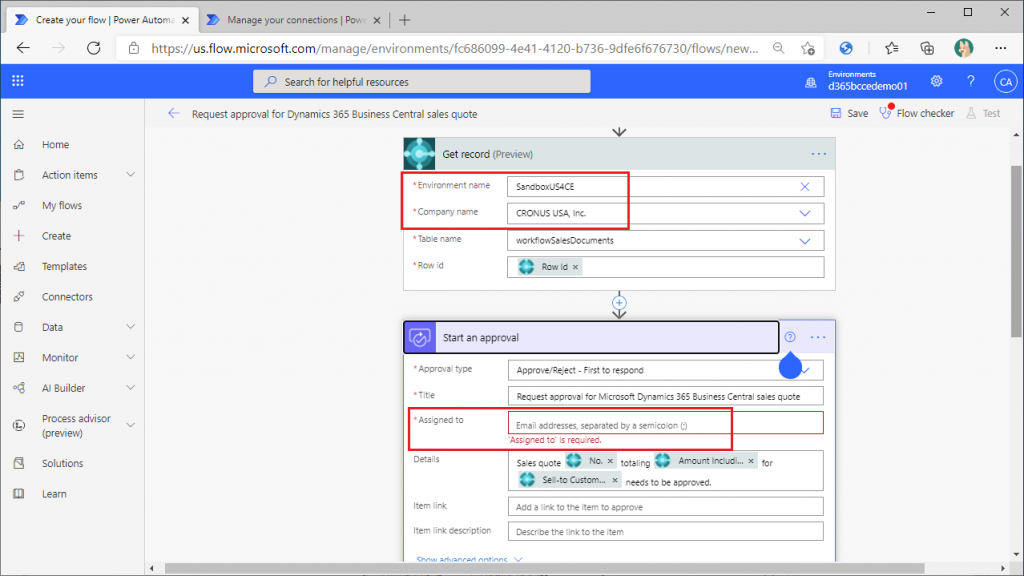
Environment Name and Company Name are now set.

Set the second BC connector as well, and the third connector is the Approval connector. And the error is that Approval is not set here.
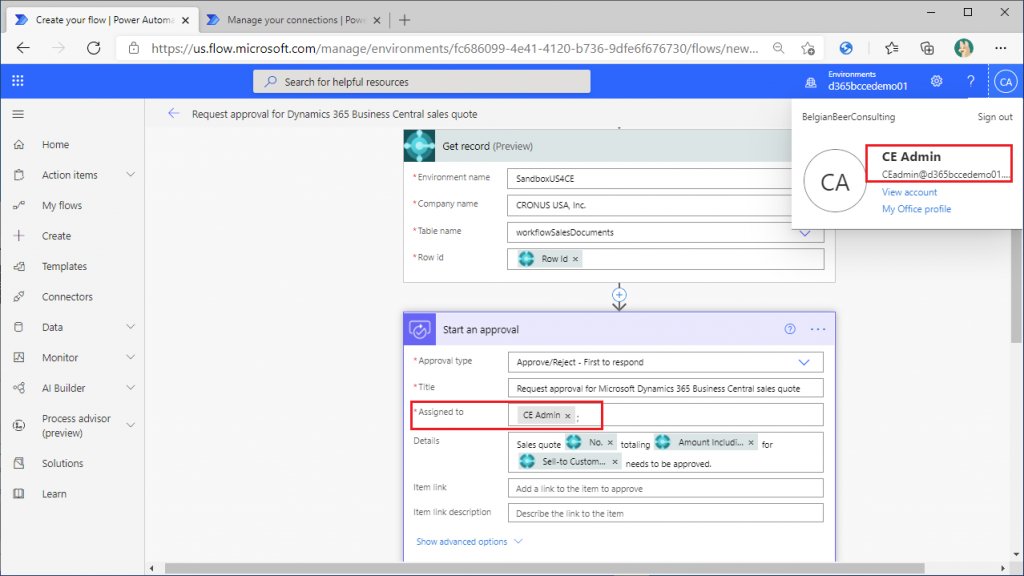
For the approver, this time specify the CEadmin user.
There are two branches, one for approved and one for not approved. In both cases, there is a BC connector, and in each case, the Environment Name and Company Name are specified.
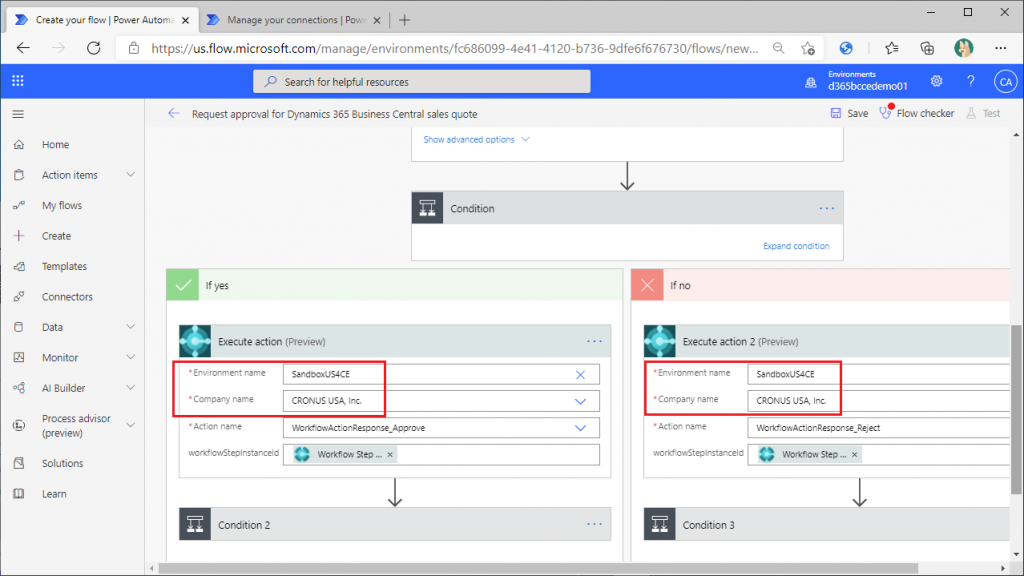
There is a further conditional branch, so expand the Condition connector. Since there is no error, no additional input is required.

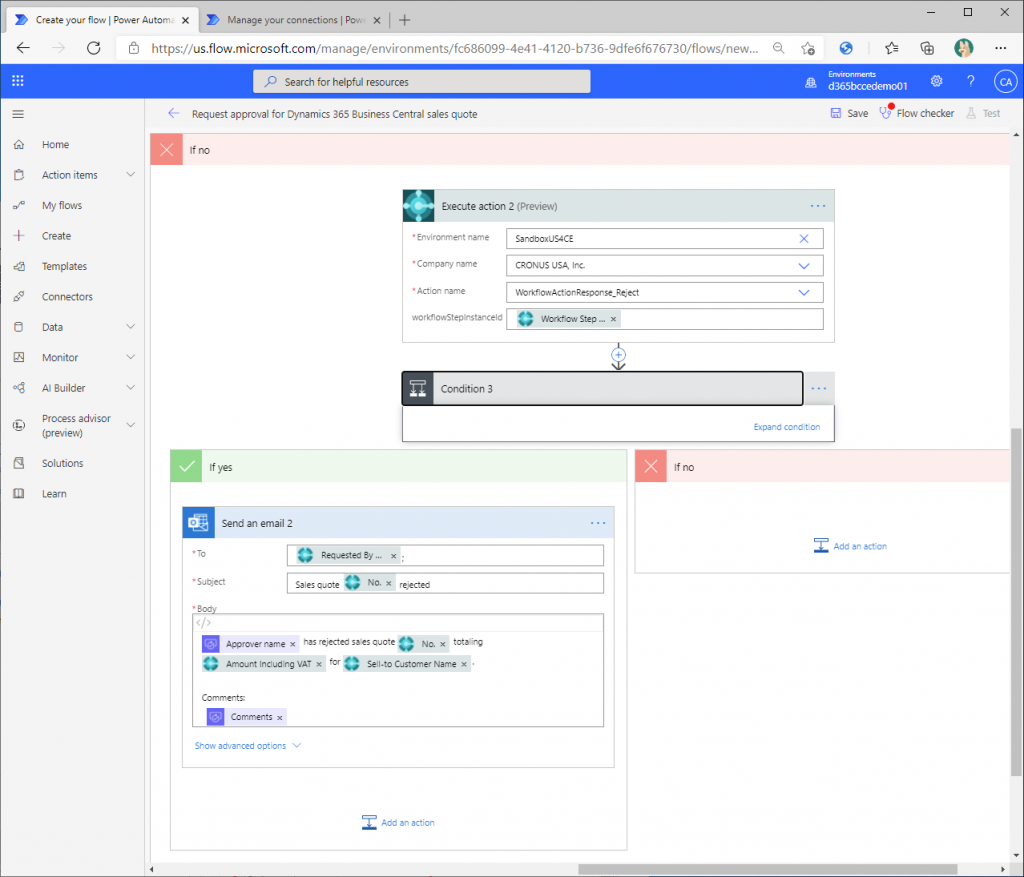
We can see that there are no other settings other than the Environment Name and Company Name.
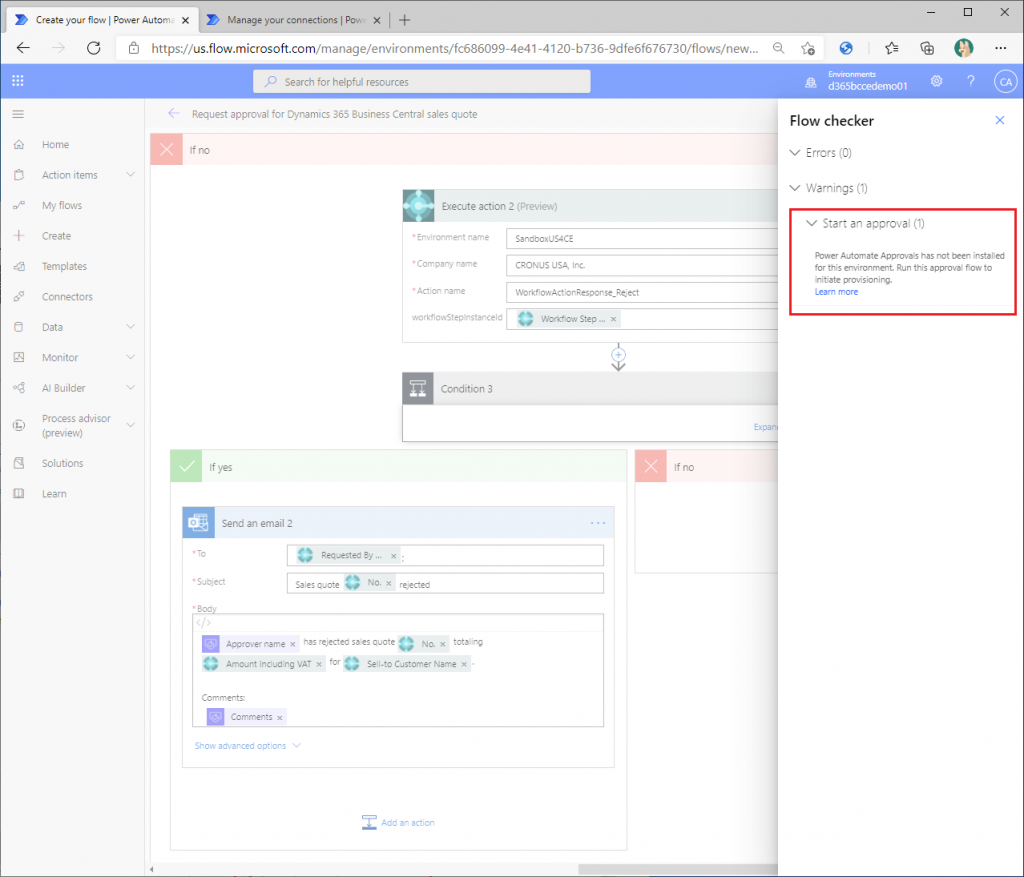
There is a warning in Flow Checker, but you don’t need to worry about this. In my experience, it goes away when you run the workflow.
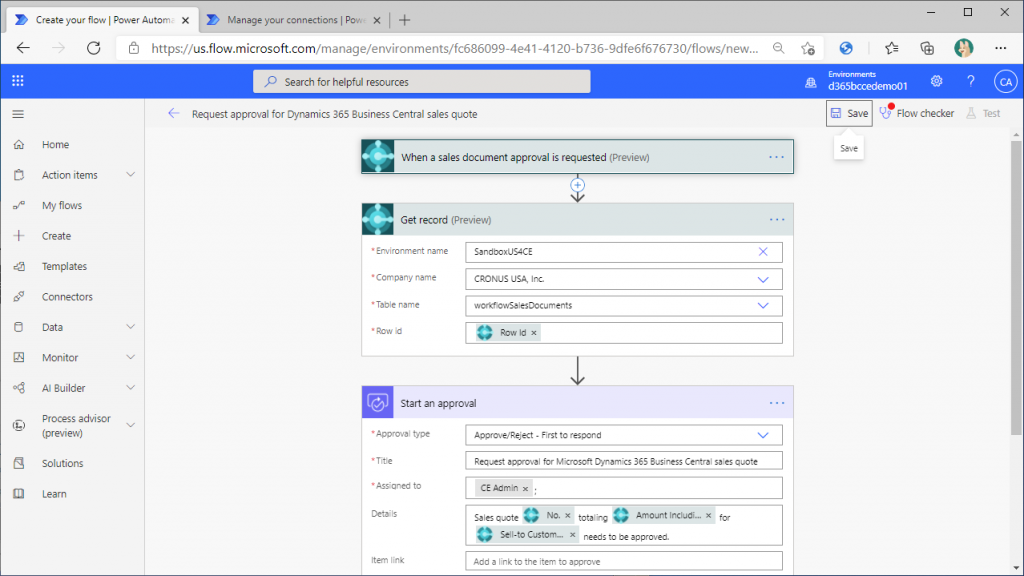
Save the workflow.
That’s all for now, you can see that it is very easy to create a workflow to approve BC sales quotations in Power Automate, as there are templates available. The other templates are just as easy to create, so please try them out.
In the next article, we will try to execute the workflow just created.
1件のコメント